Step 5 - positioning the handle, Before starting engine, always check oil level – DR Power 9 HP (March 2004 - March 2010) User Manual
Page 6
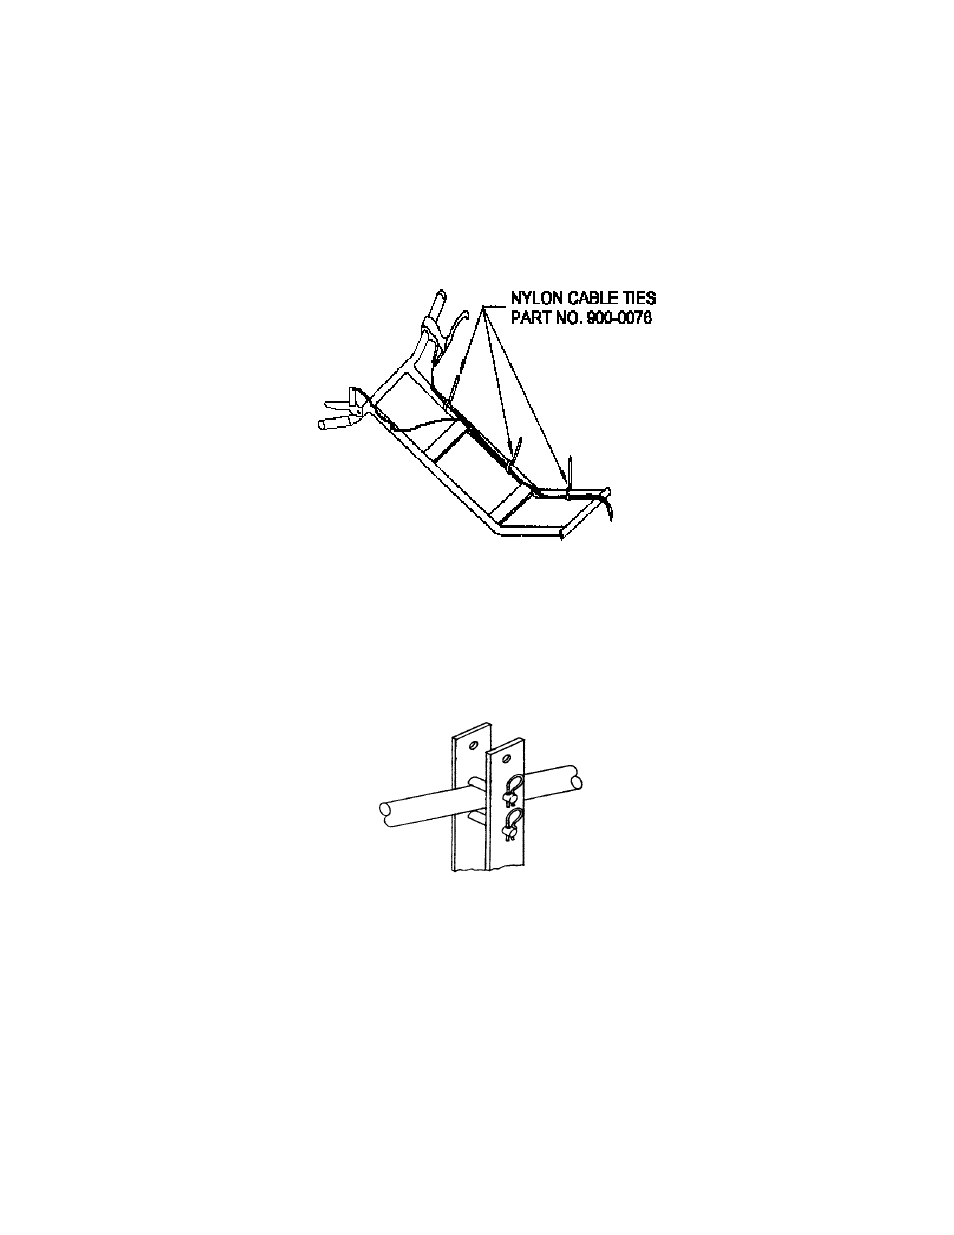
STEP 4 - SECURING THE CABLES
1. Four cable ties have been provided for fastening the cables to the handlebar after it has been installed.
Refer to figure 2 for the correct mounting points of the cable ties.
2. Attach the clutch cable in the center of the handlebar mounting pivot at point #1. Loop the cable so it
provides plenty of clearance from the belt guard and does not bind when the handle is rotated to the front
position. This attachment also keeps the cable away from the idler pulley.
3. With the handle in the rear position, opposite the cutter head, install the other cable ties at points 2, 3 and 4
(fig. 2).
4. Swing the handles from the front to the rear position while checking to make sure the cables do not bind or
become kinked.
fig. 2
STEP 5 - POSITIONING THE HANDLE
1. You can secure the handle in the front or rear position as well as adjust for height with the clevis pins (item
#78, pg. 15) and hair cotters (item #79, pg. 15) provided as shown in figure 3.
2. Note: Brake, throttle and clutch controls will be reversed when handle is switched from front to rear
position.
fig. 3
BEFORE STARTING ENGINE, ALWAYS CHECK OIL LEVEL
GREASE CUTTER HEAD BEARINGS
SEE MAINTENANCE SECTION FOR INSTRUCTION
6