DR Power 9 HP (March 2004 - March 2010) User Manual
Page 8
SECTION IV-OPERATION
These operating instructions are designed to help you get the most out of your stump cutter.
1. It is suggested that tall stumps always be cut to near ground level with a chain saw prior to cutting with this
machine. This is a big time saver.
2. Use a mattock or other digging tool to remove dirt and stones from around the stump as deep as you intend
to cut. This is important to prolong the life of the cutter teeth. Stones that are solidly embedded in the
stump and can’t be seen will only dull the cutting teeth. The loose stones should be removed since they
can chip a tooth or be thrown by the cutter head. Your cutter head is affixed with teeth of a mining grade
tungsten carbide. It will continue to cut in spite of stones, but the fewer stones it strikes-the better.
3. Select the desired handle location for the job. Remove the hair cotter and the clevis pin (items #78, #79, pg.
15). Swing the handle (item #14, pg. 15) over to convert the stump cutter to a front or rear cutter. If the
stump is close to a building or fence, have the cutter head in front. If the stump is in the open, you may find
it is easier to chip with the cutter head in the rear. You can also change the height of the handles by
positioning the clevis pin in one of several locations. Always secure the clevis pin with the hair cotter pins.
(Figure 3 pg. 6).
NOTE: Front Position – Operator position and handle on engine end of machine, farthest from cutter
head.
Rear
Position
– Operator position and handle on cutter head end of machine.
4. If the ground is very soft, place a sheet of plywood around the stump, especially on the sides. Pull or push
the machine up onto the stump so that about 1/3 (3” or 4”) of the cutter head is nearly touching the stump.
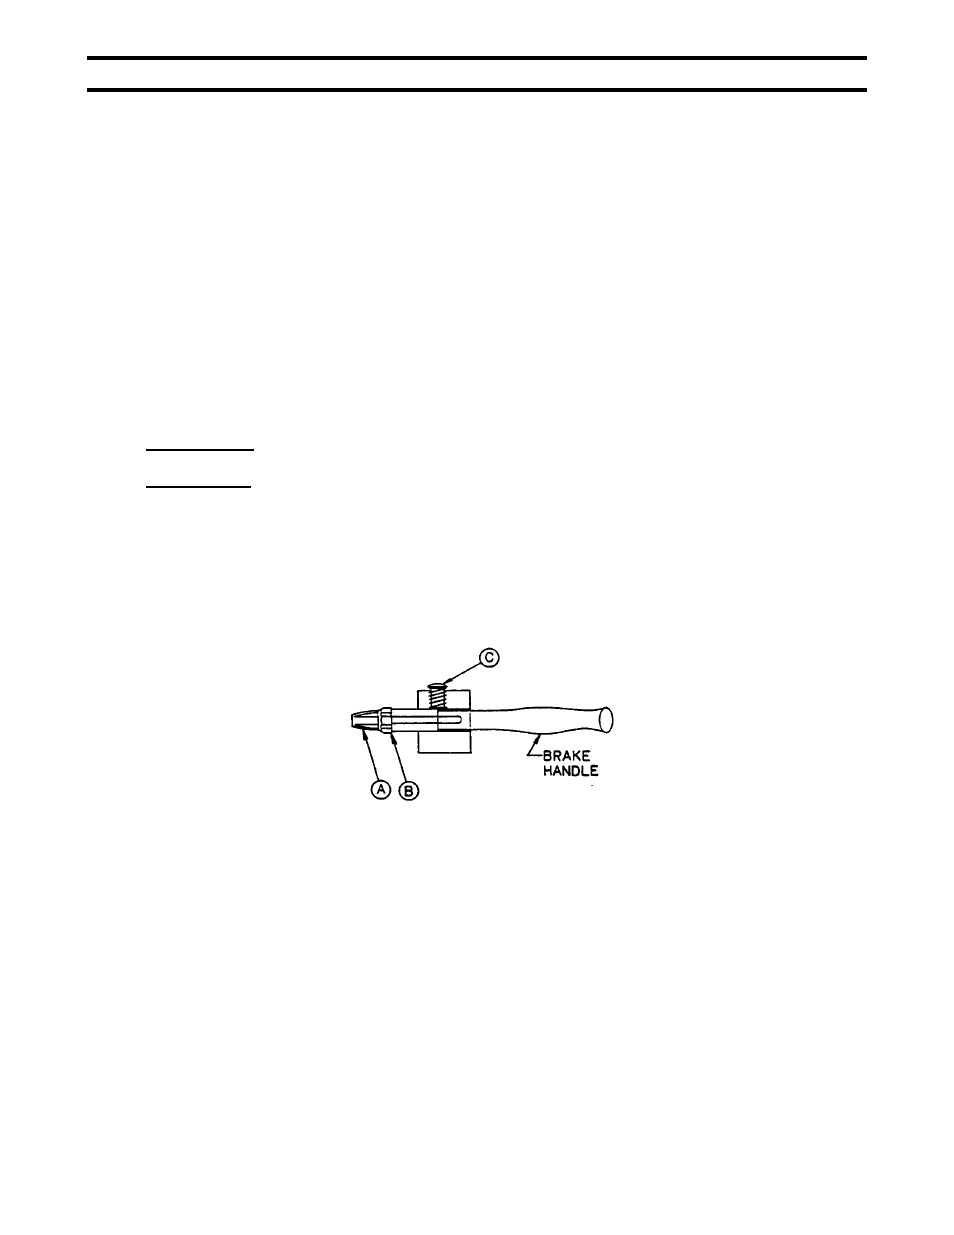
5. Once the machine is positioned over the stump, squeeze the brake handle to lock the wheel. The brake
locks one wheel only and allows you to make a sweeping motion with the cutter head. You can hold the
brake on with one hand or lock it in position by depressing the brake handle lock (item C, Figure 6). To
unlock the brake, simply squeeze the lever and release.
fig. 6
8