DR Power 9 HP (March 2004 - March 2010) User Manual
Page 9
1. Move kickstand to mid-position for rear-cutting and top position for front cutting. While not in use, move the
kickstand to the down position. This keeps the cutter head off the ground, preventing damage to the cutter
teeth.
NOTE: Never adjust the kickstand while the cutter head is in motion.
1. Move throttle control to the run position. The engine will stall if you engage the cutter head while the engine
is in idle.
2. Hold operator presence handle down against the rest of handle. This will engage the cutter head. When
the operator presence handle is released, the cutter head will stop in less than two seconds. Test the unit
before operating to make sure the clutch is performing properly. If the clutch does not perform properly
discontinue use immediately.
fig. 7
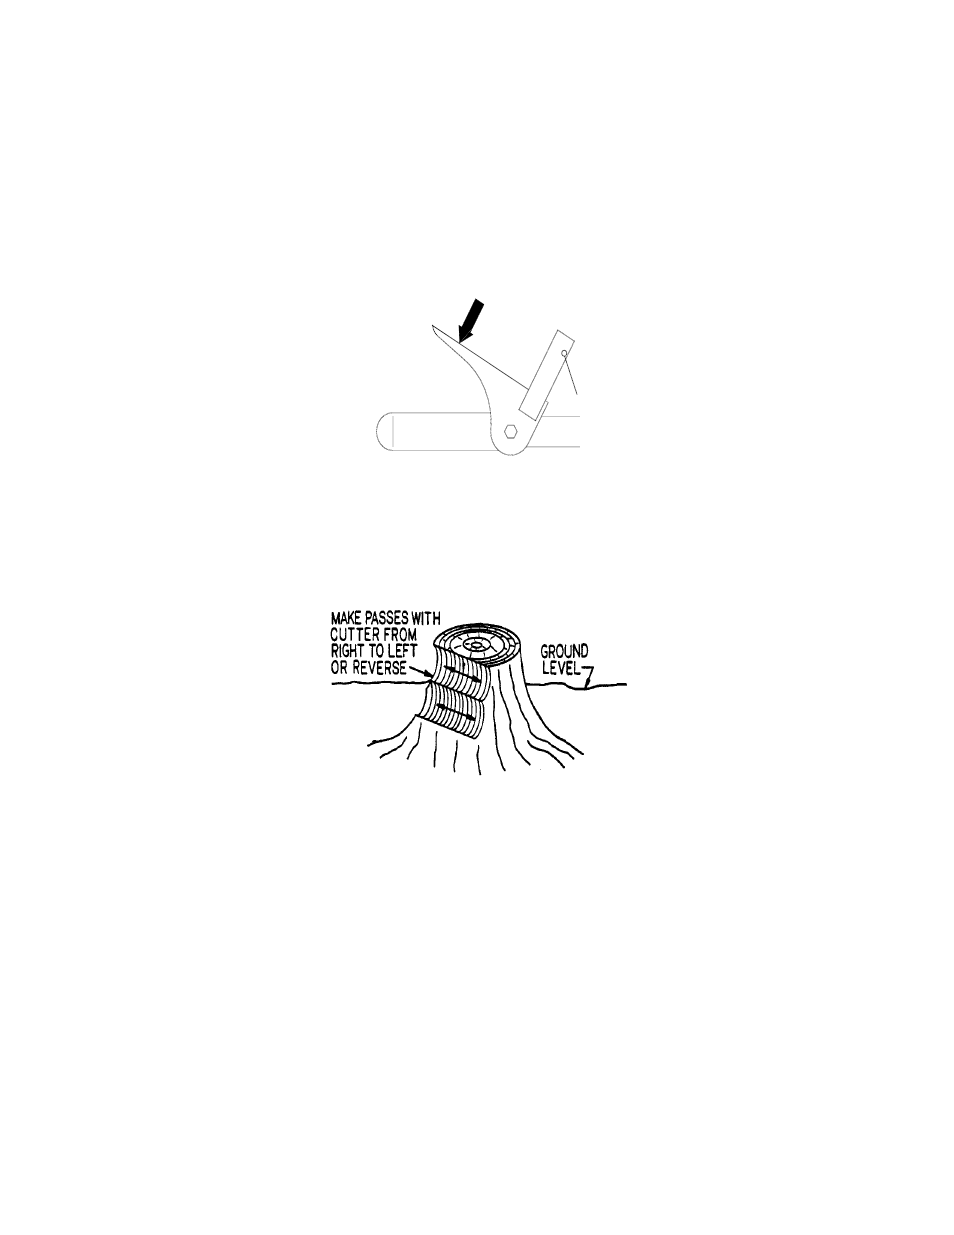
1. Start to cut the stump at the extreme left (rear position) or extreme right (front position). Swing the cutter
head across the stump, cutting approximately 2” of wood at each pass. As you become more familiar with
your machine, you will be able to cut left to right and right to left. The hardness of the wood and the
sharpness of the teeth will dictate how deep and how fast you cut. See figure 8.
fig. 8
1. At the end of each pass, allow the engine to recover to full speed. Release the brake to push or pull the
cutter further into the stump, re-lock the brake and continue cutting.
2. Continue to cut across the stump until entire stump is at ground level. To cut below ground level, position
cutter head in the center of the stump and work towards the outer edges.
9