7 renewal clearances, 8 disassembly – Flowserve VCT User Manual
Page 14
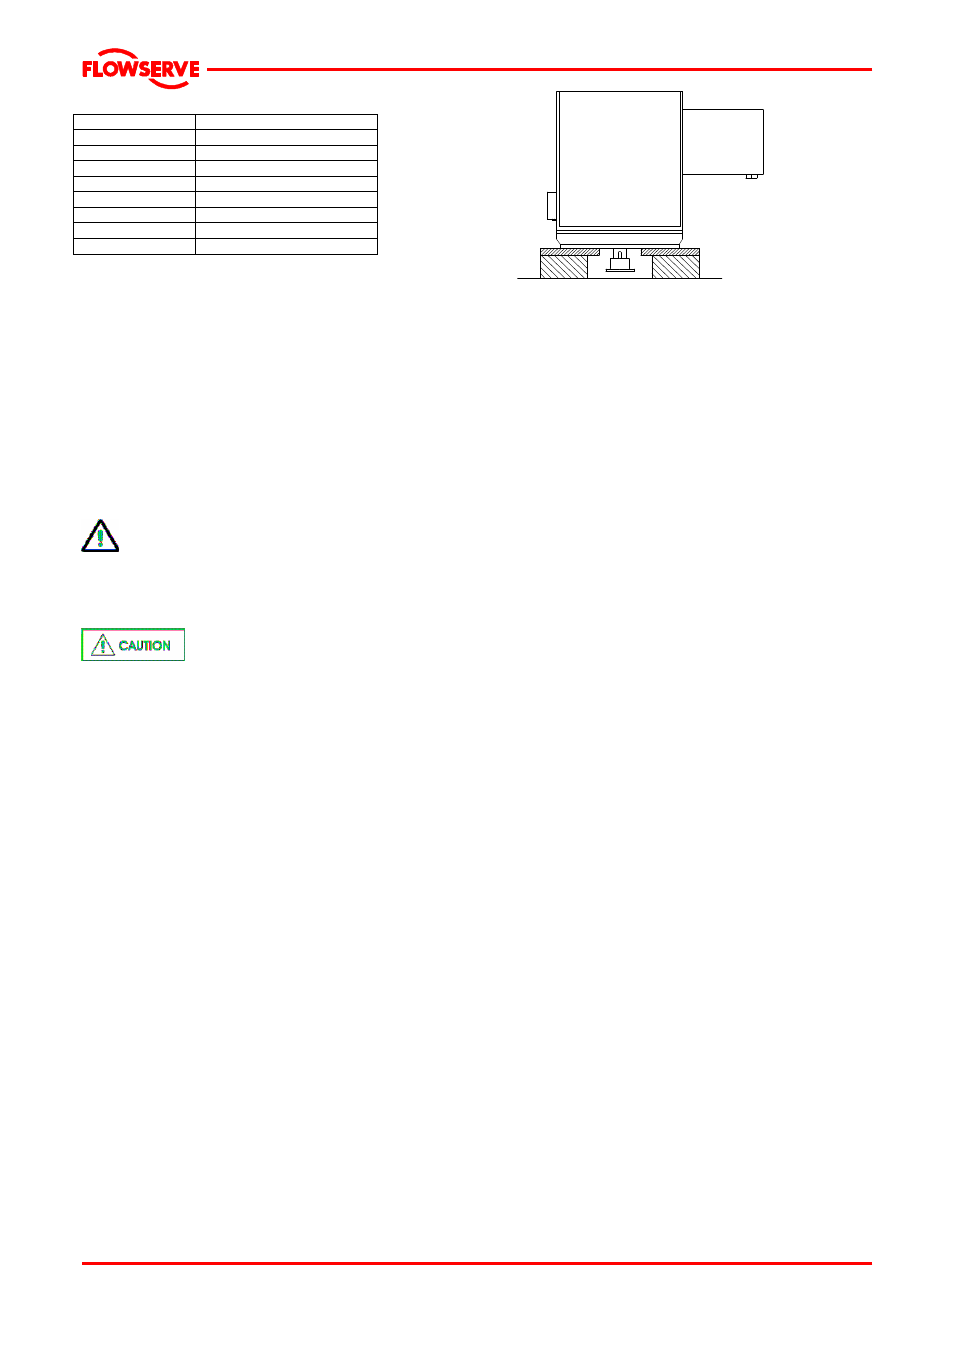
USER INSTRUCTIONS APM, APMA and APH MX0301 - 07/03
Page 14 of 32
®
Bolt size
Torque Nm (lb ft)
M 16 (
⅝
in.)
84 (62)
M 20 (¾ in.)
165 (120)
M 24 (
⅞
in.)
285 (210)
M 27 (1 in.)
375 (275)
M 30 (1
⅛
in.)
540 (400)
M 36 (1
⅜
in.)
900 (660)
M 42 (1
⅝
in.)
1 410 (1 040)
M 48 (1
⅞
in.)
2 060 (1 500)
6.7 Renewal clearances
As wear takes place between the impeller and
casing ring the overall efficiency of the pump set
will decrease. To maintain optimum efficiency it is
recommended that rings are replaced and the
impeller renovated when the radial clearance
detailed in attachment in this User Instructions is
1.5 bigger than new clearance.
6.8 Disassembly
Refer to section 1.6, Safety, before
dismantling the pump; All numbers in parenthesis( )
correspond to the part numbers on the Sectional
drawing.
Before dismantling the pump for
overhaul, ensure genuine Flowserve replacement
parts are available.
Refer to sectional drawing in attachment for part
numbers and identification.
6.8.1 Maintenance
6.8.1.1 Dismantling procedure
WARNING.- Do not attempt any maintenance,
inspection, repair or cleaning in the vicinity of
rotating equipment. Such action could result in
personal injury to operating personnel.
a) Break
and
tag
motor
circuit
breaker.
Disconnect the motor leads.
b) Remove coupling guards from “windows” in
discharge head (1371) and motor support.
c) If mechanical seal is supplied, loose set screws
from the drive collar ( in this way, the shaft and
seal sleeve will have free movement).
d) Disconnect coupling halves (7210-7220) taking
precautions not to allow the pump rotor to fall
as the coupling bolts are removed, turn
opposed bolts alternately.
e) Remove the motor bolting. Lift off the motor
from the discharge head (1371) and place it on
blocking on the floor.
f) Remove pump half coupling (7210) with key
from upper shaft (2130).
g) Remove bolting holding split gland (4120) to
stuffing box (4110) and remove split gland.
Remove stuffing box packing (4120).
6.8.1.2 Removing the pump
This pump is best removed from the system to
carry out complete strip down, next procedure is for
short pumps which can be removed completely
assembled. Longer pumps should be removed from
the pit removing sections at time.
a) Using the overhead hoist, lift the complete
pump from the pit until the suction head (1130)
is about two feet above the pit opening. With
the pumping element suspended in a vertical
position ring a sling (provided by customer)
around the casing (1170) as showed in figure
of point 2.3, Using both overhead hoist,
maneuver the pump into a horizontal position.
b) Using both overhead hoist, lower the pump
onto wood blocking on the floor
NOTE
At not time should the whole pump be lifted or
supported by the casing or column lugs. At not time
should the pump rotated or supported on the
suction head.
c) Install slings (provided by customer) around
discharge head at the upper/lower flanges and
ring to and overhead hoist. Remove bolting
holding discharge head to outer column (6579).
Remove discharge head off over coupling end
of upper shaft (2130) and place on blocking on
the floor. Remove “gasket eliminator” (See
point 10.3 ) material from mating surfaces or
discharge head and outer column.
d) Rig outer column (1350) to an overhead hoist.
Remove the bolting (6579) from between outer
column and casing (1170). Remove outer
column off over coupling end of upper shaft
(2130) and place on blocking on the floor.
Remove “gasket eliminator” material from
mating surfaces of outer column and casing.