Foxconn A76ML Series User Manual
Page 85
78
5
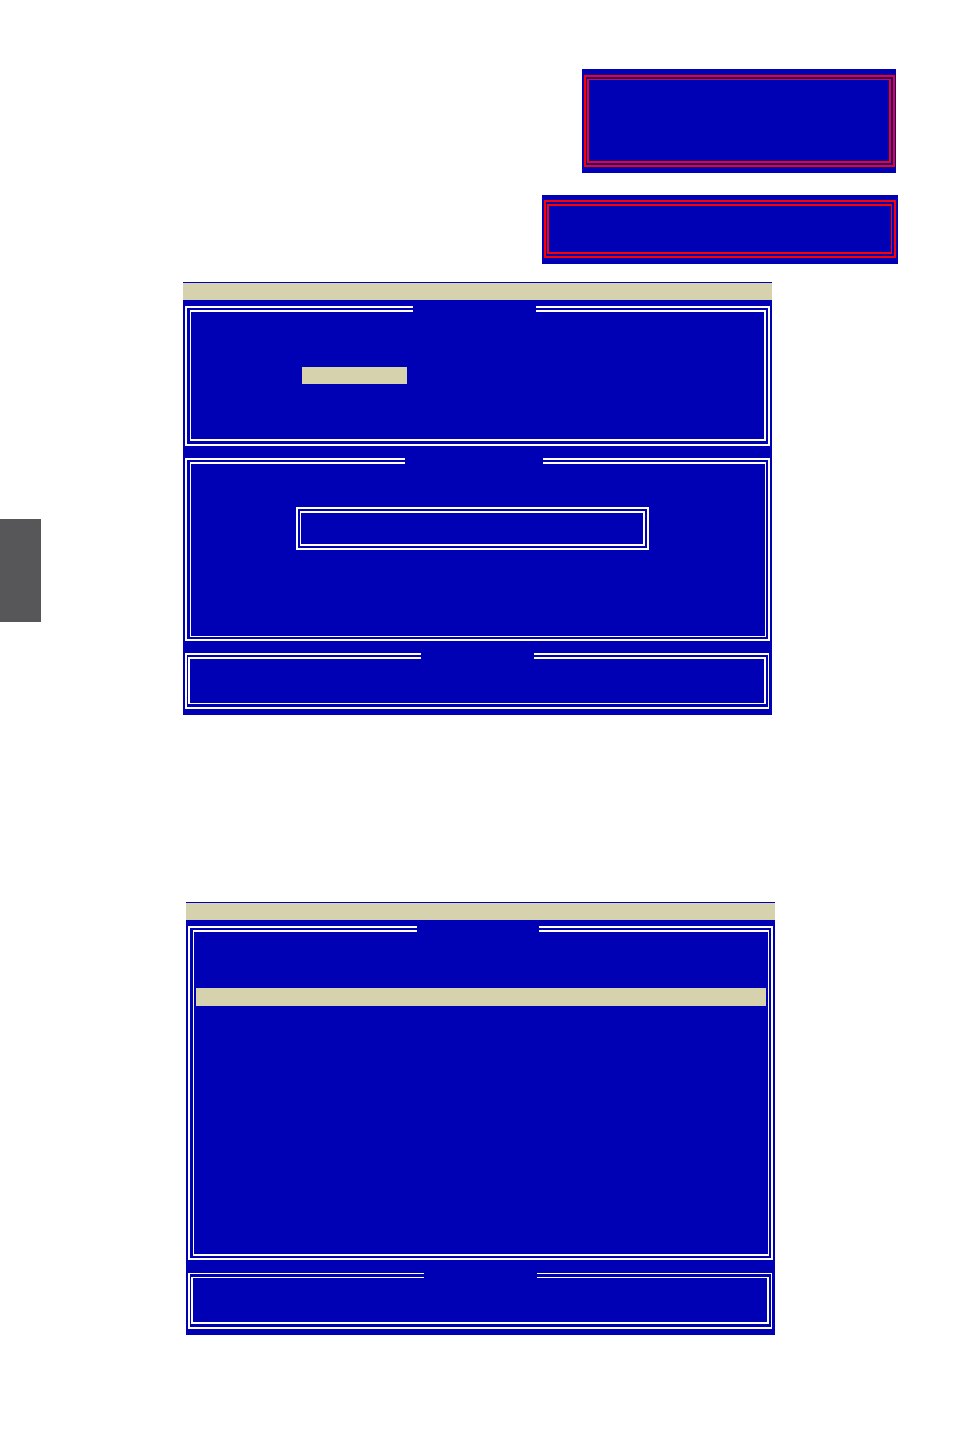
5. A message prompts.
Press [Ctrl-Y] to erase the RAID array.
6. Another screen prompts.
Press [Ctrl-Y]. Input 80GB to select the first
logical drive (LD1) and press [Enter].
7. The selection of LD1 array is completed.
As we want to introduce how to create two logical drives by using the same two hard
drives here, so we will press [↓] to select LD2.
[ Define LD Menu ]
LD No RAID Mode Total Drv Capacity(GB) Status
LD 1
RAID 0
2 163.99 Functional
LD 2
−−−−
−−−−
−−−−−−−−
−−−−
LD 3
−−−−
−−−−
−−−−−−−−
−−−−
LD 4
−−−−
−−−−
−−−−−−−−
−−−−
LD 5
−−−−
−−−−
−−−−−−−−
−−−−
LD 6
−−−−
−−−−
−−−−−−−−
−−−−
LD 7
−−−−
−−−−
−−−−−−−−
−−−−
LD 8
−−−−
−−−−
−−−−−−−−
−−−−
LD 9
−−−−
−−−−
−−−−−−−−
−−−−
LD10
−−−−
−−−−
−−−−−−−−
−−−−
[↑] Up [↓] Down [ESC] Exit [Enter] Select
Option ROM Utility (c) 2008 Advanced Micro Devices, Inc.
[ Keys Available ]
LD 1
RAID 0 2 79.99 Functional
[ Define LD Menu ]
Fast Initialization Option has been selected
It will erase the MBR data of the disks,
<Press Ctrl-Y Key if you are sure to erase it>
<Press any other key to ignore this option>
Press Ctrl-Y to Modify Array Capacity or press any
other key to use maximum capacity...
[ Define LD Menu ]
LD No RAID Mode Total Drv Capacity(GB)
LD 1
RAID 0
2
164.56
Stripe Block:
64 KB
Fast Init:
ON
Gigabyte Boundary:
OFF
Cache Mode:
WriteThru
Channel :ID Drive Model Compatibilities Capacity(GB) Assignment
1 :Mas HDS728090PLA380
SATA 3G
82.34
Y
2 :Mas WDC WD1200JD-98HBB0 SATA 1.5G
120.03
Y
3 :Mas Hitachi HDT725025VLA3 SATA 3G
250.05
N
4 :Mas ST3320620AS
SATA 1.5G
320.07
N
[0-9] Input Capacity [Enter] Save [Backspace] Delete [ESC] exit
Option ROM Utility (c) 2008 Advanced Micro Devices, Inc.
[ Keys Available ]
RAID 0
[ Define LD Menu ]
[ Drives Assignment ]
Enter array capacity (in GB) here: