Kemppi ProMXE User Manual
Page 6
6 – KEMPPI PRO EVOLUTION, MXE / 0547
© KEMPPI OY
9
42
45
a) Select MEMORY OFF (9).
b) Select FACTORY (14).
c) Select MIG 2T or MIG 4T (2).
d) Select 1-MIG (3).
e) Select material curve from selection block 10 by selecting filler wire material, shielding gas and
filler wire diameter.
f) If needed, select remote or gun control (7).
g) If needed, select creep start (11) .
h) You can, if needed, select hot start and/or crater filling function (11).
i) Adjust welding power (4), arc length (5) and welding dynamics as needed (8). In welding power
control see also display for guidelines of plate thickness (6).
Weld and adjust welding power and arc length when necessary from controls 4 and 5.
2.2.4. Synergic PulsedMIG welding
Quick pulsing of the power source in synergic PulsedMIG welding produces a welding process with
controlled and spatterfree filler material transfer into weld piece. Welding power is controlled from
a) Select MEMORY OFF (9).
b) Select FACTORY (14).
c) Select MIG 2T or MIG 4T (2).
d) Select Pulsed MIG (3).
e) Select material curve from selection block 10 by selecting filler wire material, shielding gas
and filler wire diameter.
f) If needed, select remote or gun control (7).
g) Select double pulse, if necessary (12).
h) If needed, select creep start (11).
i) You can if necessary select hot start or/and crater filling function (11).
j) Adjust welding power (4) and arc length (5) as needed. In welding power control see also
display for guidelines of plate thickness (6).
k) Weld and adjust welding power and arc length when necessary from controls 4 and 5.
l) ”Top Current”, control of pulse height in SETUP.
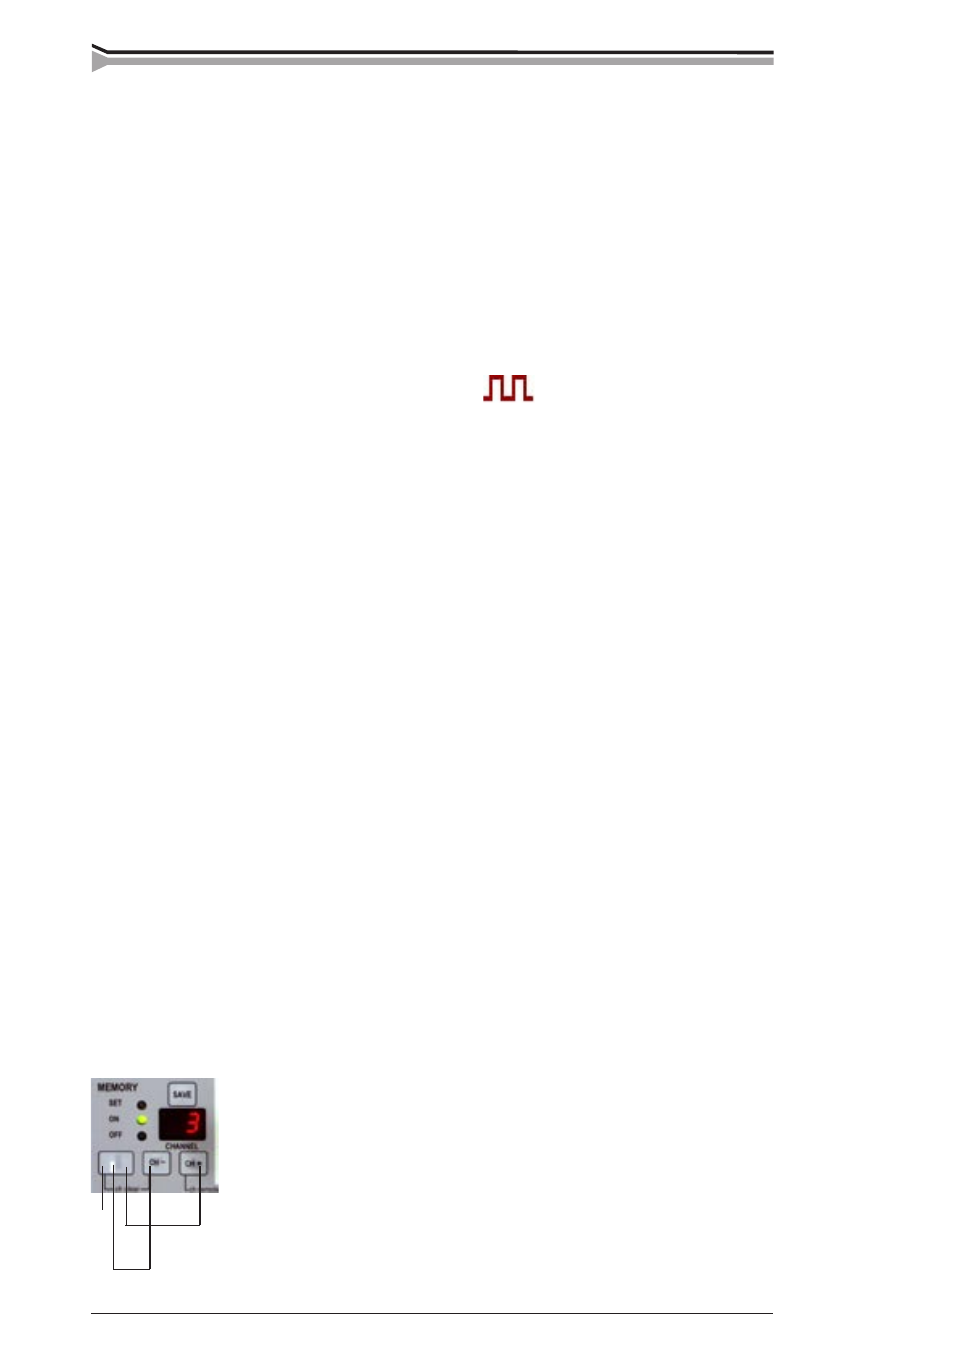
2.2.5. Use of memory channels
The MXE panel has 20 memory channels into which you can store MIG/MAG, 1-MIG and Pulsed-
MIG welding situations. Panel selections as well as adjustment potentiometer values are stored into
memory. It is not possible to store MMA welding values into memory channels.
one control (4) from minimum values to maximum values and the arc is kept stable. Synergic
PulsedMIG welding requires selection of a correct material curve before welding.
a) Select settings and control values with your MIG process; MIG, 1-MIG or pulsed MIG.
b) Select SET (9).
c) Select the memory channel with CH- and CH+ keys.
d) Weld and adjust values if needed.
e) Store the welding situation with SAVE key.
f) By pressing the keys simultaneously (45), it is possible to go directly
from OFF mode to ON mode and store the currently welded values
without repeating the above steps a - e.
g) By pressing the keys simultaneously (42), you go over from ON mode
directly to OFF mode.
Welding situation storing into memory, SET + SAVE