Clamping drilling – Kreg Jig R3 User Manual
Page 5
800-447-8638
www.kregjig.com
Clamping
Drilling
For the majority of applications
any simple bar clamp or c-clamp
you have lying around will work
just fi ne to keep the jig clamped
tightly to the workpiece while you
drill your Pocket-Holes.
With the Kreg Jig
®
Jr. properly set to match the thickness of
your workpiece, you’re ready to clamp the jig in place and
start drilling. Depending on the type of work you’re doing,
you’ve got several options:
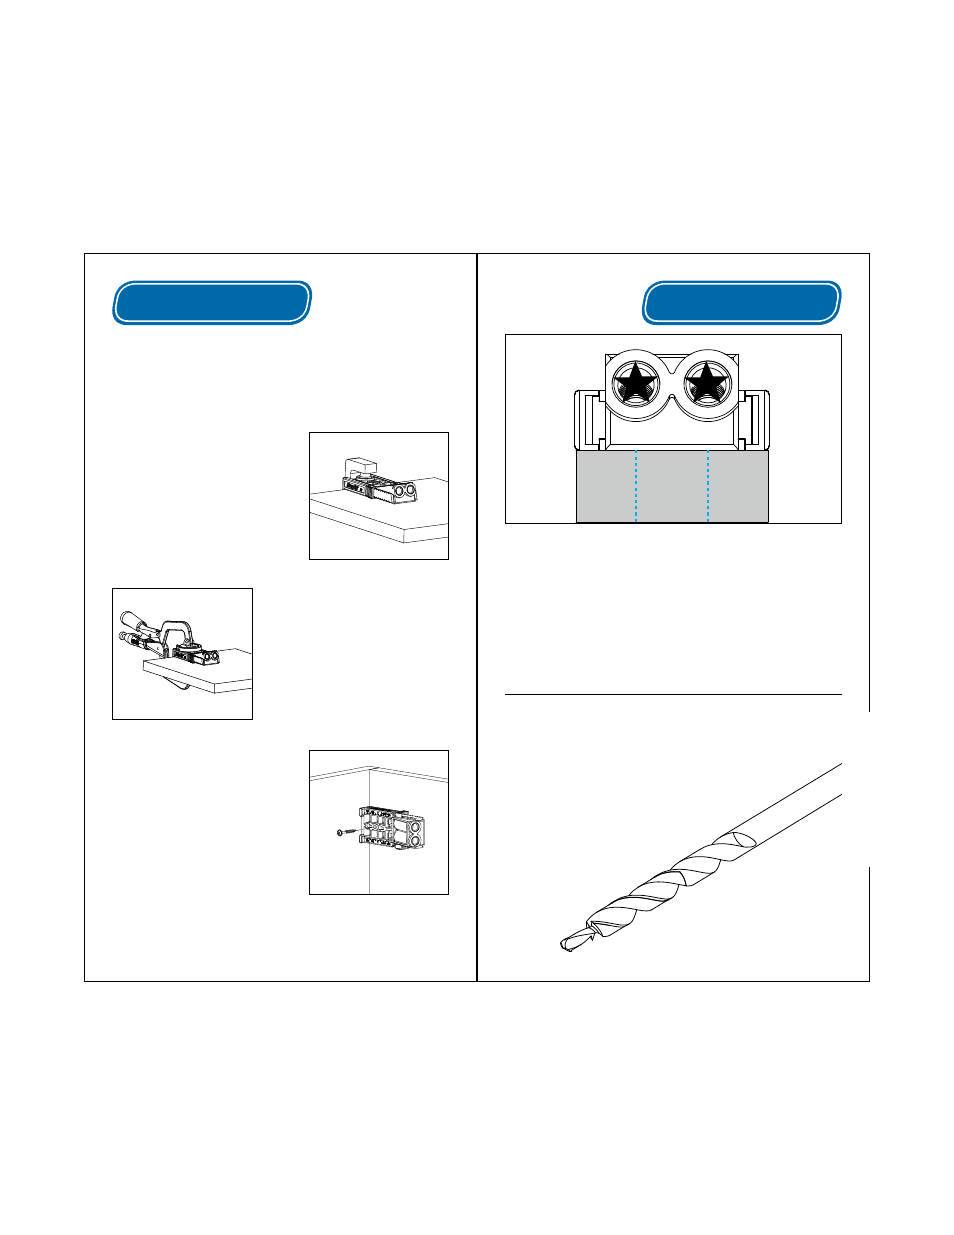
Along with the Jig settings, another important part of
getting the strongest possible Kreg Joint™ is to space your
Pocket-Holes evenly across the workpiece. Your Kreg Jig
®
Jr. features a 2-hole Drill Guide which lets you drill holes in
narrow stock without having to reposition the jig.
For panels we recommend placing the fi rst Pocket-Hole
roughly 2 inches away from the exposed edge of the panel,
and every 6” after that.
Included with your Kreg Jig
®
Jr. is a stepped drill bit
designed specifi cally for use with Kreg Joinery™. While
the large part of the drill actually creates the “pocket”, the
narrow tip drills the guide hole for the screw. When
you drill your fi rst hole, place the bit about an
inch inside of the Drill Guide, bring the drill
up to full speed, and plunge the bit
smoothly and consistently into the
workpiece.
With the included Clamp Pad
Adapter, the Kreg Jig
®
Jr. can
be connected directly to any one
of our Face Clamps when you
need to take your work on the
road or just get faster and more
repeatable Pocket-Holes.
In certain tight situations where
the use of a clamp is not
possible, the Kreg Jig
®
Jr. can
also be secured in place with
a common wood screw driven
through the Mounting Hole on
the top of the jig.