23 english, 1 input setup (assignable digital input), 2 speaker setup – Marantz SR7300N User Manual
Page 26
23
ENGLISH
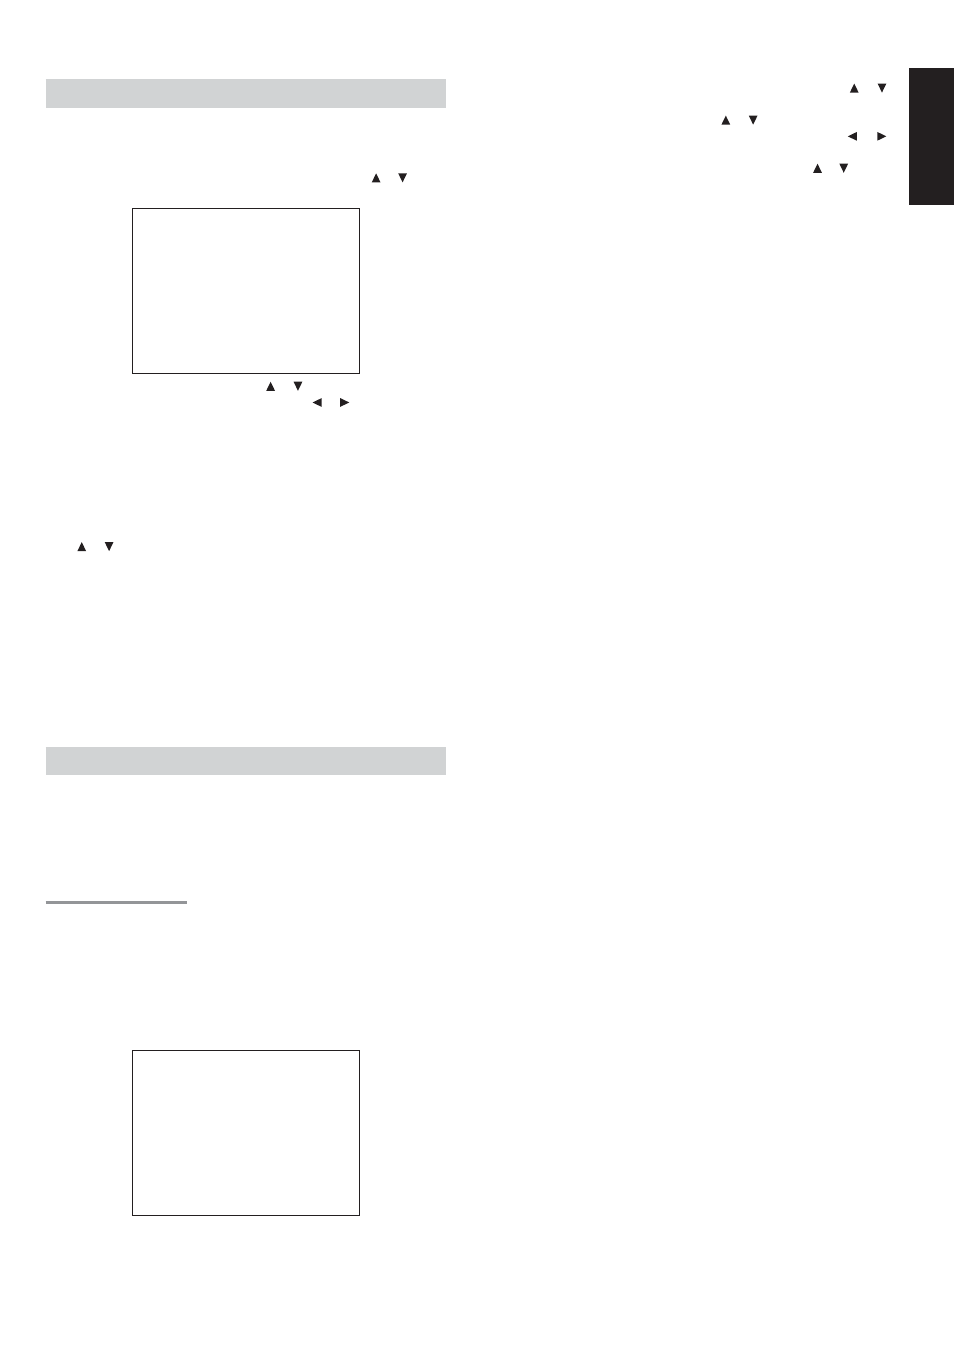
1 INPUT SETUP (ASSIGNABLE DIGITAL INPUT)
Six digital inputs can be assigned as the desired source.
Use this menu to select the digital input jack to be assigned to the
input source.
1.
Select “INPUT SETUP” in SETUP MAIN MENU with or cursor
button, and press the OK button.
2.
To select the input source, press or cursor button.
3.
To select the digital input jack , press the or cursor buttons.
Select “Dx-AT” for input sources, for automatic detection of the
digital input signal condition.
If no digital signal is input, the input signals to the analog input
jacks will be played.
Select “Dig x” for input sources, for fixed the digital input jack.
Select “ANA” for input sources for which no digital input jacks are
used.
4.
If you finish the setup in this sub-menu, move cursor to MAIN with
or cursor buttons and press OK button.
Notes:
• The TUNER is fixed to the analog input, and cannot be selected
for any digital input.
• When a DTS-LD or DTS-CD is playing, this setup is not
available. This is to avoid noise being generated from the
analog input.
• If “Dx-AT” is selected and a DVD, compact disc or LD is fast-
forwarded during playback, decoded signals may produce a
skipping sound. In such cases, change the setting to DIGITAL.
2 SPEAKER SETUP
After you have installed the SR7300, connected all the components,
and determined the speaker layout, it is now time to
perform the settings in the Speaker Setup menu for the optimum
sound acoustics for your environment and speaker layout.
Before you perform the following settings, it is important that you first
determine the following characteristics:
2-1 SPEAKER SIZE
When setting the speaker size in the SPEAKER SIZE sub-menu, use
the guidelines given below.
Large: The complete frequency range for the channel you are setting
will be output from the speaker.
Small: Frequencies of the channel you are setting lower than approx.
100 Hz will be output from the subwoofer.
If the Subwoofer is set to “NONE” and the front speakers are
set to “Large,” then the sound may be output from both the left
and right speakers.
1.
Select “SPEAKER SETUP” in SETUP MAIN MENU with or
cursor button, and press the OK button.
2.
To select the each speaker , press
or cursor button.
3.
To select the setting of size to each speaker, press the or
cursor buttons.
4.
If you finish these setup, move cursor to “NEXT” with or cursor
button and then press OK button to go to next page.
SUBWOOFER:
YES: Select when a subwoofer is connected.
NONE: Select when a subwoofer is not connected.
FRONT L/R
LARGE: Select if the front speakers are large sized.
SMALL: Select if the front speakers are small sized.
• If “NONE” is selected for the Subwoofer setting, then this
setting is fixed to “Large.”
CENTER
NONE: Select if no center speaker is connected.
LARGE: Select if the center speaker is large sized.
SMALL: Select if the center speaker is small sized.
SURROUND L/R
NONE: Select if no surround left and right speakers are connected.
LARGE: Select if the surround left and right speakers are large sized.
SMALL: Select if the surround left and right speakers are small sized.
SURR. BACK
NONE: Select if no surround back left and right speakers are
connected.
2CH: (Preout only) Select if surround back left and right speakers
are connected.
1CH: Select if the one surround back speaker connected.
• If “None” is selected for the Surround L/R setting, then this
setting is fixed to “None.”
• If you are able to position two Surround Back speakers in your
listening environment, two Surround Back speakers can be
used.
In this case, connect a 2 channel power amplifier to the PRE
OUT SBL and SBR terminals on the SR7300, and connect the
surround back left & right speakers to this power amplifier. (see
page 16) You will also need to make the appropriate setting
SURR BACK=2CH
SURR. BACK SIZE
LARGE: Select if the surround back speakers are large sized.
SMALL: Select if the surround back speakers are small sized.
• If “None” is selected for the Surround L/R setting, then this
setting is not available.
LPF/HPF
When you use a subwoofer, you can select the cutoff frequency for the
small speakers used. Select one of the crossover frequency levels
according to the size of the small speaker connected.
80Hz : Select this when the cone speaker unit built in the speaker
system is about 12 cm (4 3/4 inches).
100Hz : Select this when the cone speaker unit built in the speaker
system is about 10 cm (3 15/16 inches).
120Hz : Select this when the cone speaker unit built in the speaker
system is about 8 cm (3 3/16 inches).
Notes:
• Use the above comments as reference when adjusting.
• If S- Direct mode , 7.1CH Input is in use, this function does not
take effect.
1
I N P U T
S E T U P
C D
: D 6 - A T
T V
: D 4 - A T
T A P E
: AN A
D V D
: D 5 - A T
C D - R
: D 1 - A T
V CR 1
: ANA
D S S
: D 2 - A T
AU X 1
: D - A T
MA I N
E X I T
2 - 1
S P E AK E R S
S I Z E
S UBWOOF E R
:
Y E S
F RON T
L / R
:
L ARG E
C E N T E R
:
SMA L L
S URROU ND
L / R
:
SMA L L
S URR . B AC K
:
1 CH
S URR . B AC K S I Z E
:
SMA L L
L P F / H P F
:
1 0 0
H Z
B A S S M I X
:
BO T H
MA I N
N E X T
E X I T