NavCom SF-3040 Quick Start User Manual
Connect equipment, Save folder/files to pc, Establish communications
SF-3040 Quick Start Guide
96-310035-3001, Rev. C
1 of 4
Follow this Quick Start Guide to enable the robust
functionality of the SF-3040.
By opening, assembling, and using this product, you
agree to the terms of the License Agreement contained
in the SF-3040 GNSS Product User Guide.
Important: This device will not track satellites until after
the option file is loaded in the receiver. See instructions
contained in this guide.
Consult your dealer to determine if the SF-3040 is fully
configured. If it is, the SF-3040 is ready to use. Refer
only to these sections: Connect Equipment and
Factory Default User Profile.
If the SF-3040 is not dealer-configured, the receiver is
not operational until the steps in this guide are
performed.
The supplied SF-3040 Product Configuration USB Flash
Drive (PN 82-043000-0001) includes all the files needed to
set up the ordered configuration of the SF-3040. It also
includes guides with complete product information:
SF-3040 GNSS Product User Guide
StarUtil 3000 User Guide
Sapphire Technical Reference Manual
NavCom Customer Support:
Telephone: +1 (310) 381-2000
W
Connect Equipment
StarUtil 3000 is designed to be operated on a Windows XP
operating system.
1. Use one of the two supplied data cables for
communications:
USB Device cable (PN 96-212238-01): Connect the 7-pin
LEMO connector end to the USB-COM1 port on the bottom of
the SF-3040. Plug the USB end into the PC.
Or
COM 2 serial cable (optional) (PN 96-212169-01): Connect the
6-pin LEMO connector end to COM2 port at the bottom of the
SF-3040. Connect the DB9S end to the PC.
An optional COM1 serial cable
(PN 96-212170-01) is also supported.
Bluetooth
connectivity is also available. Refer to
the StarUtil 3000 User Guide for detailed
instructions on connecting a Bluetooth
device.
Loading firmware via Bluetooth is not supported.
An optional UHF radio modem is also available.
Refer to the SF-3040 GNSS Receiver Product
User Guide for complete instructions.
2. Locate the antenna in an area with a 360
clear view of
the sky.
3. Fully charge the battery packs in the supplied battery
charger for at least 12 hours, regardless of the LED
indicator on the charger, prior to first use.
4. Install the battery packs in the side battery slots.
Refer to the SF-3040 GNSS Receiver Product
User Guide for complete instructions on charging
and installing the battery packs.
Three optional power cables are also available.
5. Press the On/Off switch
on the front Indicator Panel
to turn on the SF-3040. All front panel LEDs illuminate
for 3 to 5 seconds during power-up. The Indicator Panel
status LEDs change from
red
to
green
.
Save Folder/Files to PC
The SF-3040 Product Configuration USB Flash Drive
(PN 82-043000-0001) includes the following:
Root Directory: Software Options File and StarFire License
(if purchased)
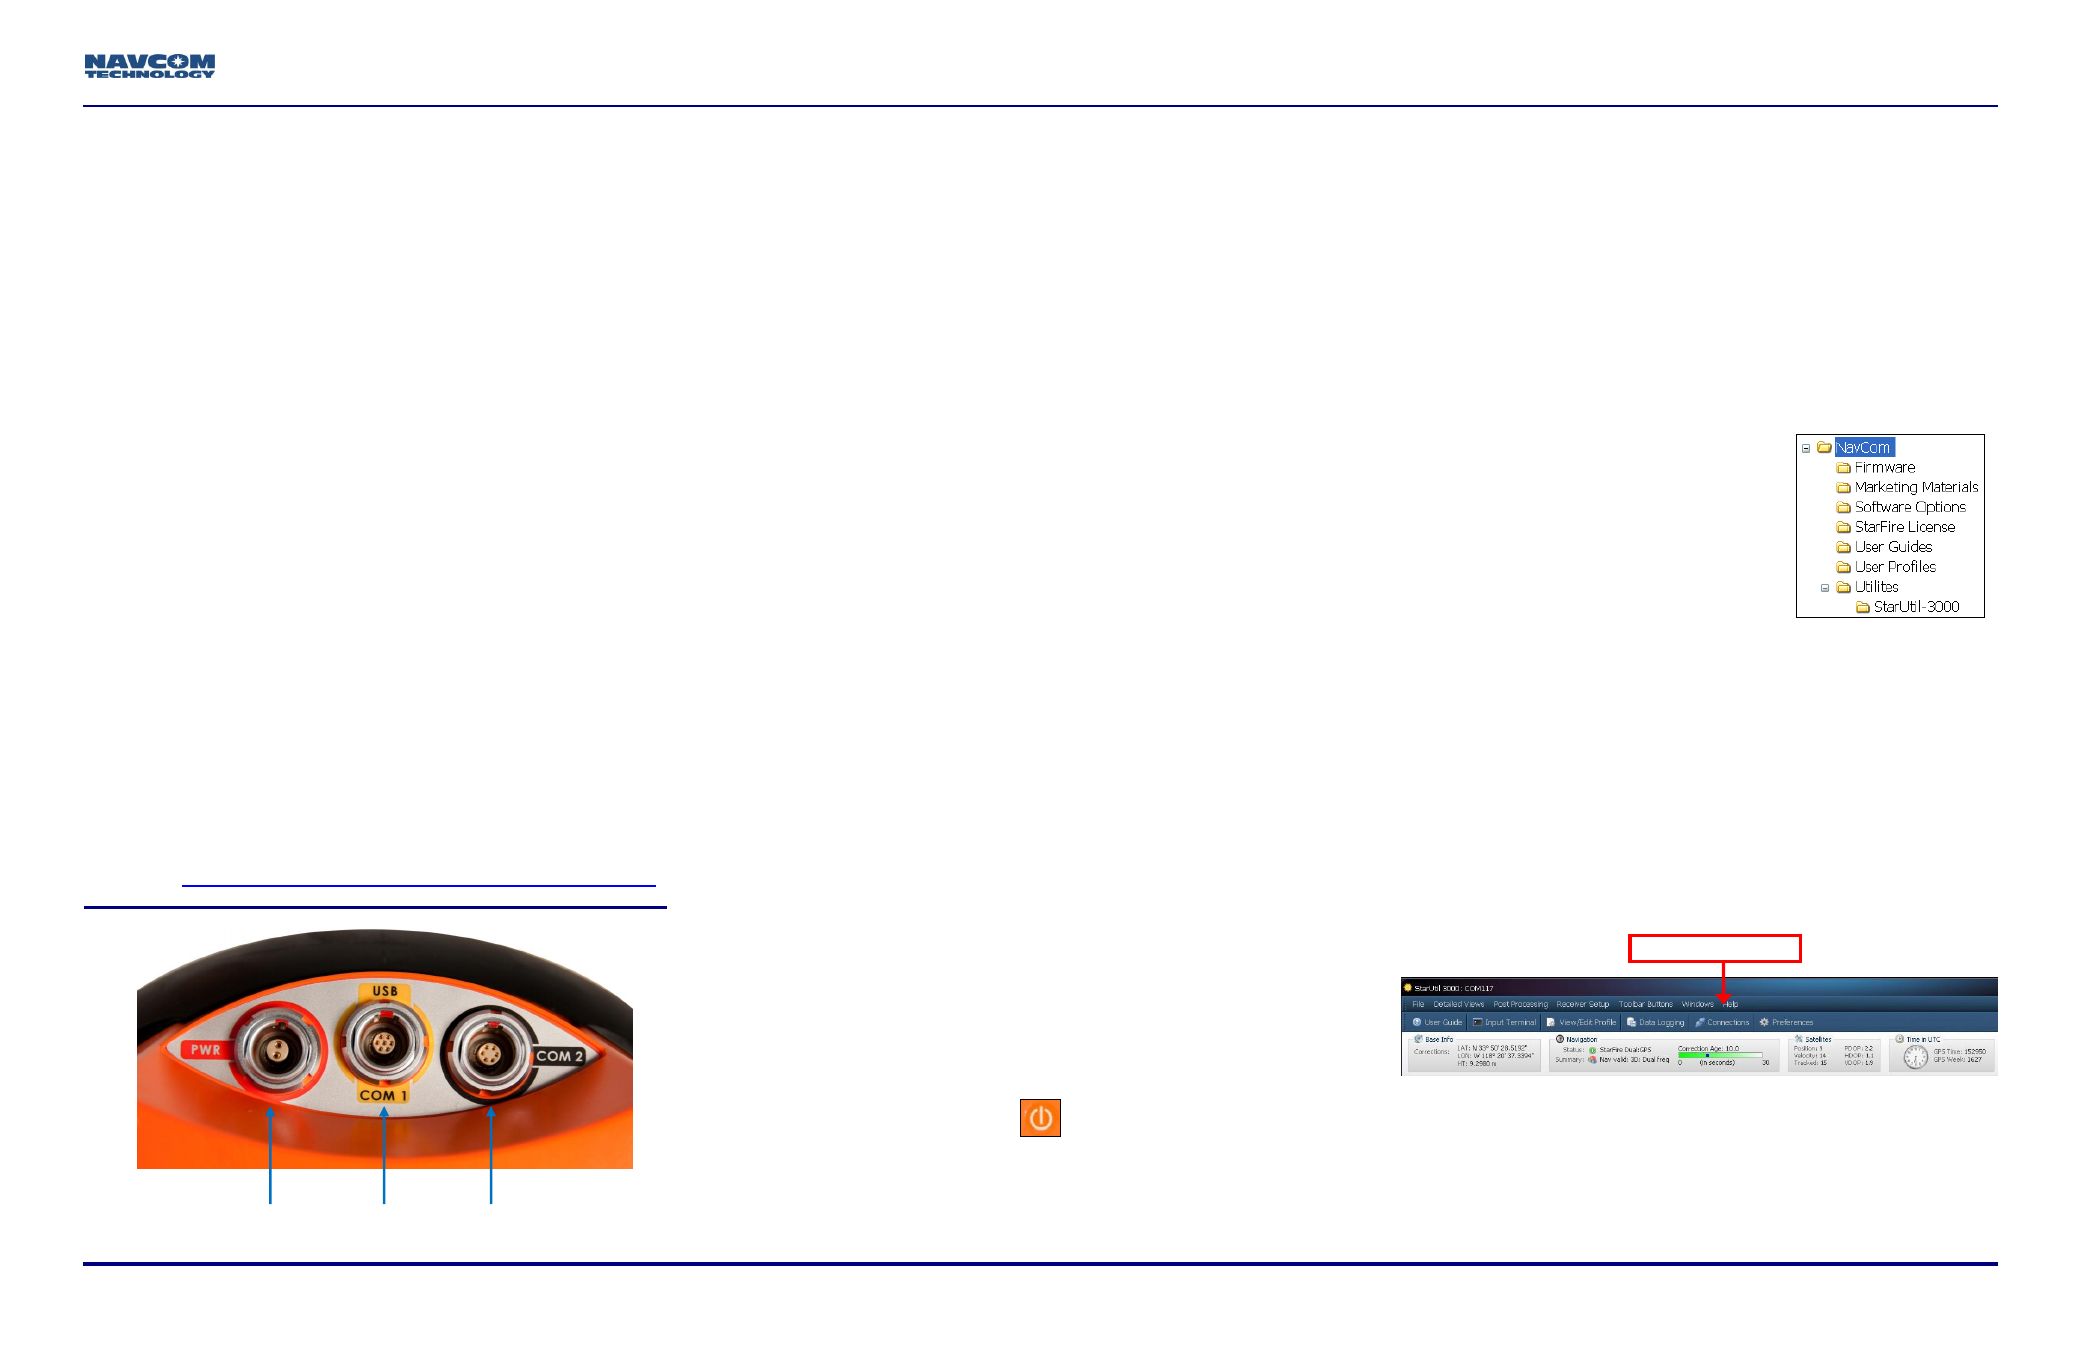
NavCom Folder: Includes these sub-folders: Firmware,
Marketing Materials, User Guides, User Profiles, Utilities
(The contents of the NavCom folder are subject to change.)
6. Plug the SF-3040 Product Configuration USB Flash
Drive into the PC.
7. Browse to the USB Flash Drive.
8. Save the Software Options File,
StarFire License (if purchased),
and NavCom folder to the PC.
Create two folders in the NavCom
folder for the Options File and
StarFire License.
Establish Communications
9. Browse to Navcom\Utilities\StarUtil-3000 on the PC.
10. Ensure that these files are in the StarUtil-3000 folder:
“Starutil-3k_v1_0_x.exe”, “navcomx1c45x3040.inf” (USB
driver), and 96-312007-3001.pdf.
The USB driver must be in the same folder as StarUtil-
3000 for the USB port to auto-recognize the SF-3040.
11. Double-click
“Starutil-3k_v1_0_x.exe” to open the
program.
12. Click the Connections button to establish communications
between the PC and the SF-3040. The Port Configuration
window opens.
13. Depending on the current Connection Type, do not
change the default option, COM Port, or select USB after
Connections button
POWER
COM2
USB
– COM1