Setting the stop position – QuickLabel 200 Kiaro! User Manual
Page 74
Kiaro! 200 Maintenance Utility
60
Kiaro! 200 User Guide
4
Enter a horizontal baseline value.
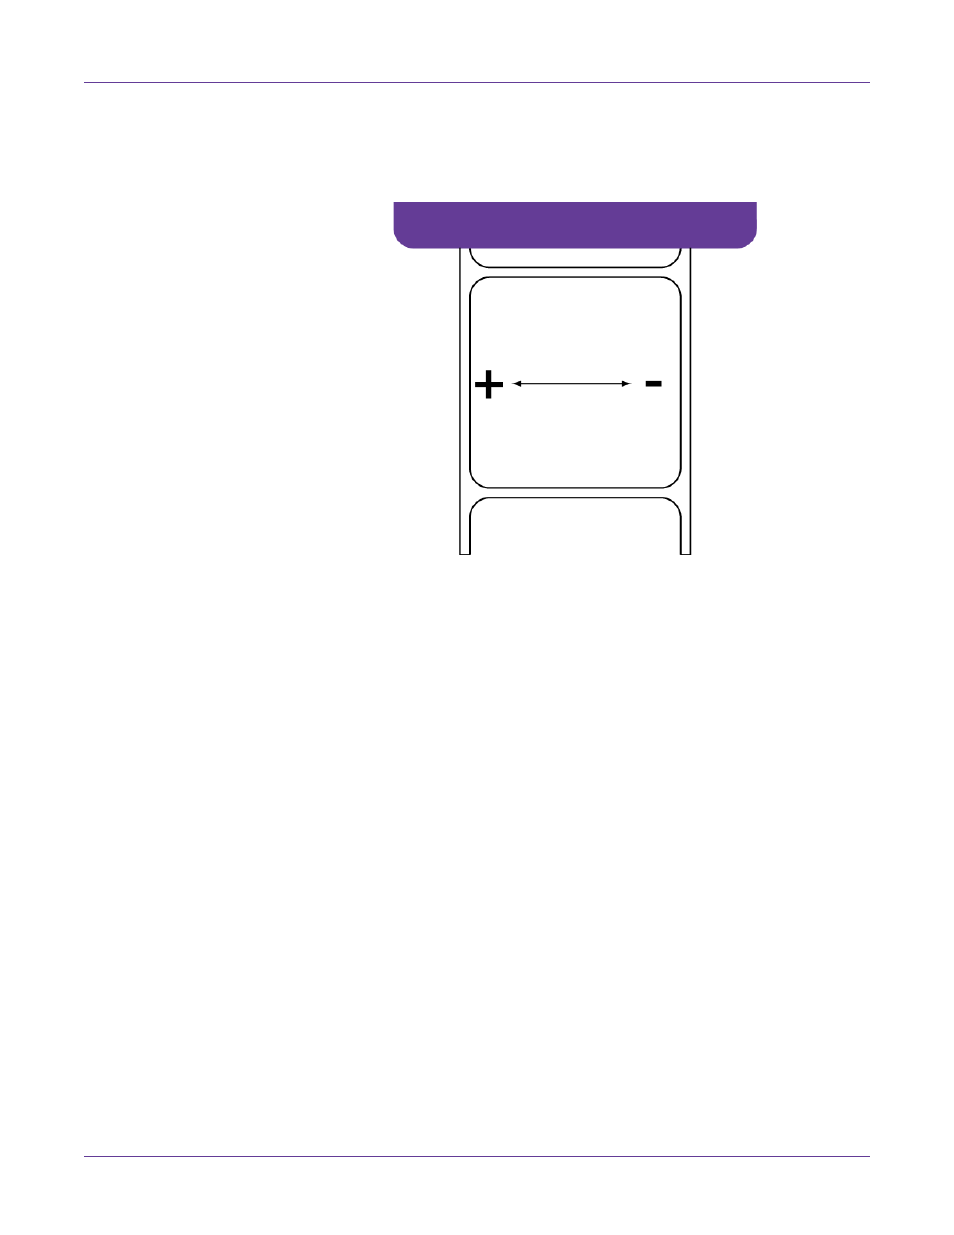
In the following illustration, a label is exiting the printer. Note the positive and
negative adjustment directions.
5
To save the horizontal baseline value, choose
Save to Printer
.
Setting the Stop Position
The Stop Position setting adjusts the position at which the media is fed after printing.
You can adjust the position -10 to +10 mm.
1
Launch the Kiaro! 200 Maintenance Utility.
From the Windows Start Menu, choose
Start > All Programs > QuickLabel
Kiaro! 200 > Kiaro! 200 Maintenance Utility
. A language and printer prompt will
open.
Select a display language and the Kiaro! 200 printer you want to connect to.
Choose
OK
.
2
Choose the
Position
tab.
3
To read the stop position value from the printer and set the
Stop Position
control
accordingly, choose
Read From Printer
.
4
Enter a stop position value.
•
Positive values result in more media being fed after printing before the media
stops.
•
Negative values result in less media being fed after printing before the media
stops.
5
To save the stop position value, choose
Save to Printer
.