Uninstalling the driver, 3 − installation – Teac US-600 User Manual
Page 17
TASCAM US-600
17
Uninstalling the driver
Windows
ª
There are two ways to uninstall the driver as
shown below.
Using the Installation CD-ROM:
1 Follow steps 1 to 4 under “Installing the
driver and control panel for Windows”
(See page 14.)
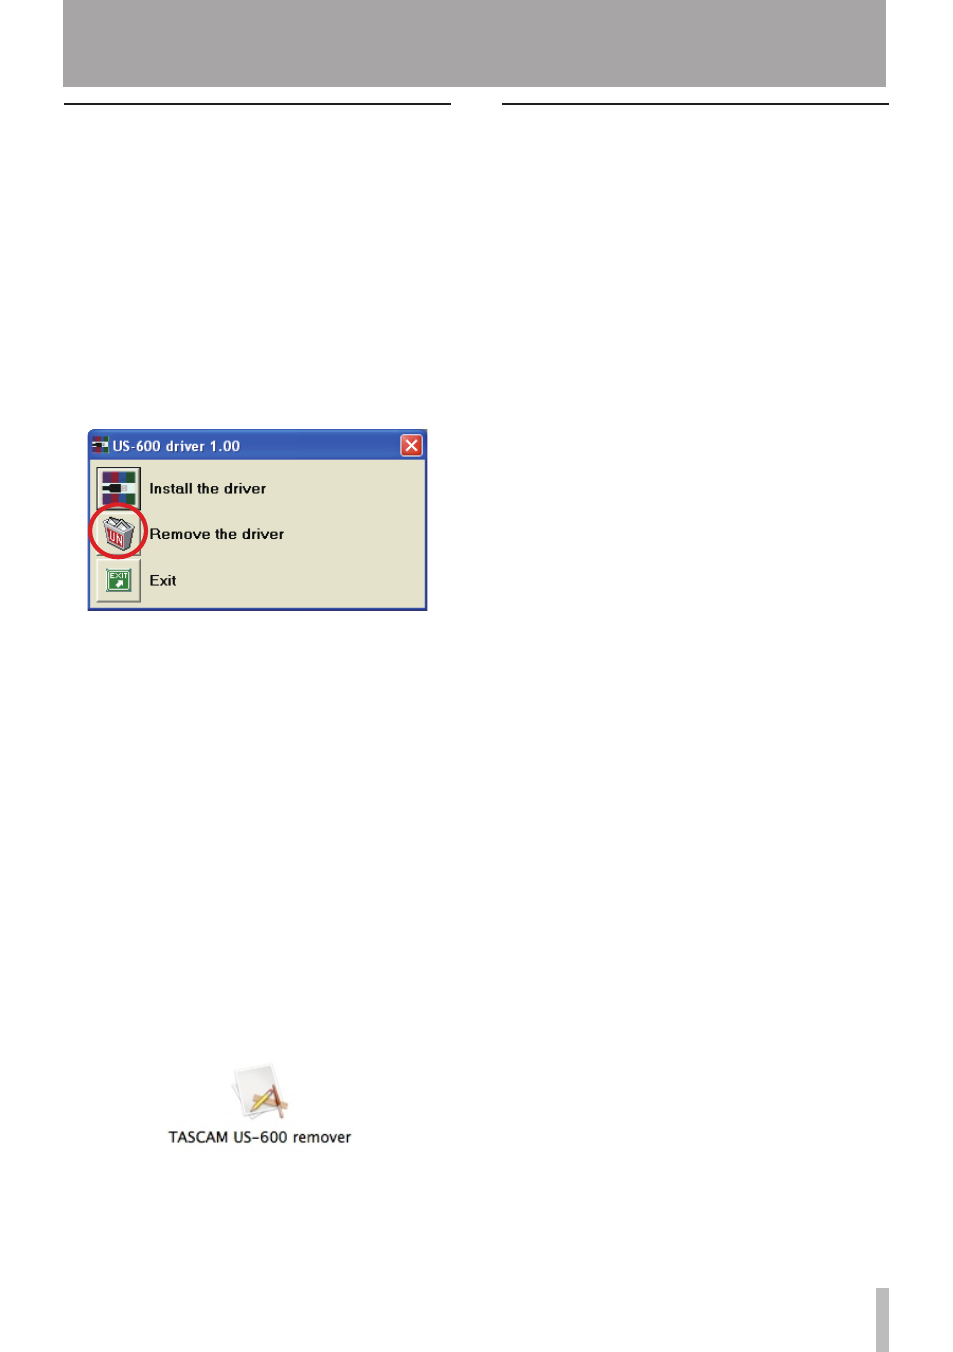
2 At step 5 of the procedure, click Remove
the driver.
3 Follow the instructions on the screen
for the remaining procedure.
Using Windows “Add or Remove Programs”
1 Open the Control Panel from the Start
menu.
2 Double click on Add or Remove programs.
3 Select US-600 driver from the list and
click Change or Remove Programs.
4 Follow the instructions on the screen
for the remaining procedure.
Mac OS X
ª
1 Insert the CD-ROM into the computer
and double click TASCAM US-600 remover
icon.
2 Follow the instructions on the screen
for the remaining procedure.
Frequently asked installation
questions and answers (FAQ)
Windows driver installation
Q: When I connect the unit to a computer,
the Windows Hardware Wizard appears
and I cannot install the driver. Am I
making a mistake during the installation
procedures?
A: Close the Windows “Hardware Wizard” and
disconnect the unit. You must install the
driver before connecting this unit. Insert
the CD-ROM included with the product.
The menu for installing the driver appears
automatically.
Select Install Driver, and follow the
instructions shown on the screen. If you
have downloaded the driver from the
TASCAM website (htt://tascam.com/),
expand the ZIP archive, launch the setup.
exe file, and follow the instructions on the
screen.
Q: I loaded the installation CD-ROM into
a Windows computer, but the driver
installation menu does not appear. How
can I access this menu?
A: The automatic playback settings for the
disc drive might be disabled.
Open the supplied driver CD-ROM using
Windows Explorer, and double-click the
Autorun2.exe file to manually open the
installation menu.
Follow the procedures in “Installing the
driver and control panel for Windows” on
page 14 to install the driver.
3 − Installation