Vuzix Wrap 1200 Video Eyewear User Guide User Manual
Page 10
Step 5: Play some audio/video content.
The Warp eyewear is designed to automatically turn off after a few seconds if no
incoming video signal is available. To avoid it unexpectedly turning off, we suggest
starting your video playback before turning your Wrap video eyewear on.
Turn on the eyewear by pressing the Power Button on the Control Box.
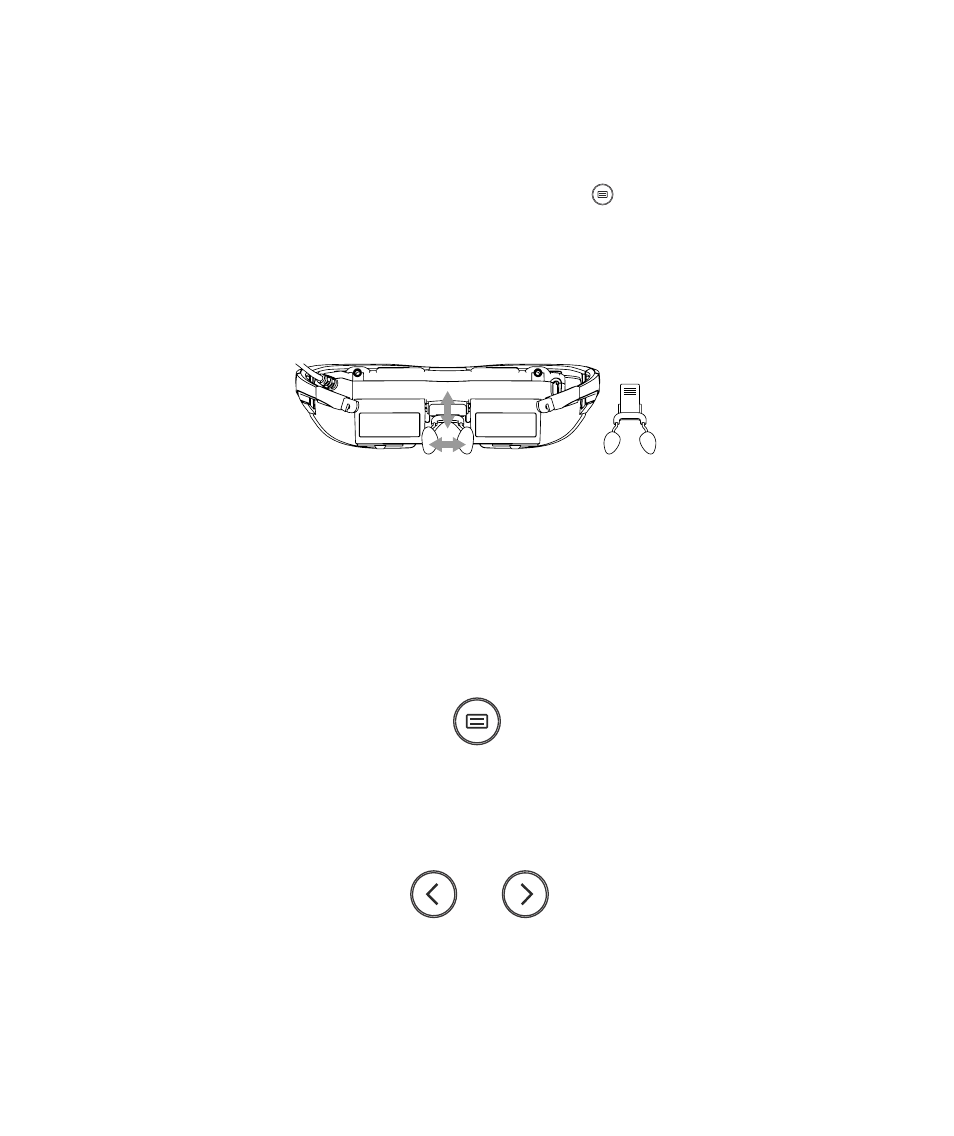
Step 6: Put on your Wrap video eyewear and adjust its fit.
Your Wrap eyewear is designed to provide a customized fit. Its nose bridge assembly
can be extended or retracted and the wire nose pads arms bent for the best possible fit,
in the same manner as conventional eyeglasses.
Note:
As with standard eyeglasses, the wire arms are not intended for frequent or sharp bends.
Excessive bending and sharp angles can weaken these arms and cause them to break.
Replacement nose bridge assemblies are available through the Vuzix website
(www.vuzix.com).
Adjusted the reach of the nose bridge and nose pad position to place your eyewear
comfortably on your face with the displays directly in front of your eyes.
Step 7: Turn on the Wrap eyewear.
Power On & OSD Menu Button
Turn on your Wrap eyewear by pressing the Power-on button.
Step 8: Adjust the earphone volume.
Adjustment Buttons
Carefully insert the Wrap earphones into your ears, adjusting the volume as required
using the Control Box Adjustment Buttons.
Note:
High volume can damage your hearing. Turn on your A/V device and check the volume level
before inserting earphones into your ears.