Casio XJ-H2600 User Guide User Manual
Page 66
66
2.
Look up the projector’s IP address.
z Perform the following steps to look up the projector’s current IP address.
3.
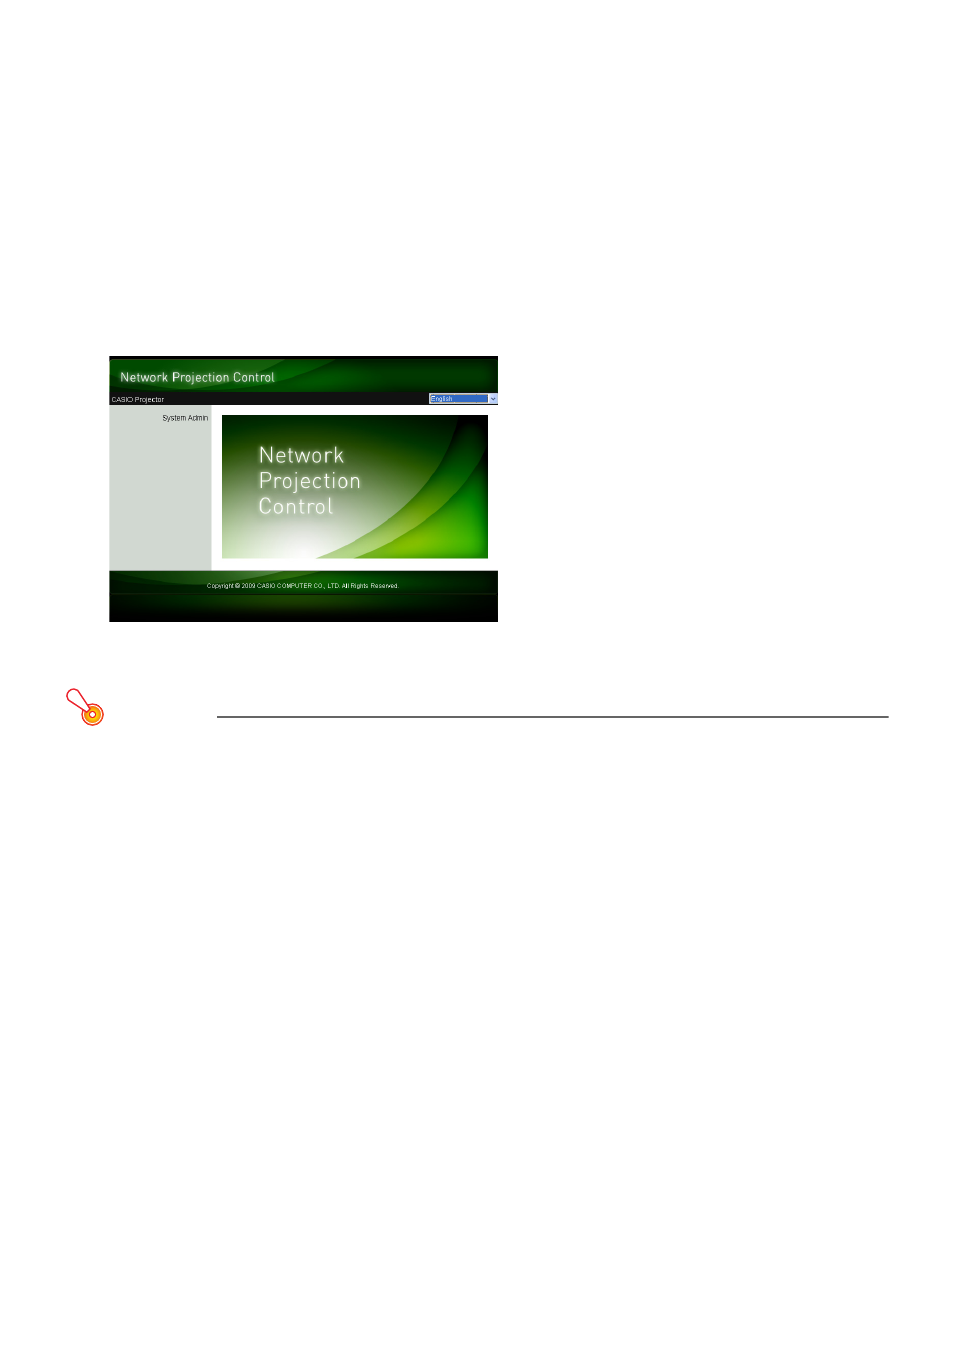
On the computer, start up a Web browser.
4.
In the Web browser address bar, input the projector’s IP address and then press
the [Enter] key.
z If the projectors current IP address is 192.168.100.10, for example, you would input:
“http://192.168.100.10”.
z This displays the top page of the projector’s System Admin page.
z For information about what you should do next, see “To control the projector using Network
Projection Control” (page 67).
Important!
Under initial default settings, the projector is configured to obtain its IP address automatically
from the DHCP server. This means that an IP address will be assigned automatically whenever
the projector is connected to a DHCP environment network.
Depending on the network environment being connected to, there may be cases where you will
need to assign a projector’s IP address manually. In such cases, you will need to configure
projector’s network settings.
If you are unable to display the projector’s System Admin page with your browser using the
above procedure, it may mean that there is some problem with your network settings. Refer to
the “Wireless Function Guide” and establish a wireless LAN connection between the projector
and your computer. After configuring the projector’s network settings, try performing the above
procedure again. For details about the projector’s network settings, see “To configure
projector’s network settings and wireless LAN connection settings” in the “Wireless Function
Guide”.
1. Press the [MENU] key to display the setup menu.
2. Use the [T] and [S] keys to select “Wired LAN settings” and then press the [ENTER] key.
3. Use the [T] and [S] keys to select “Wired LAN info” and then press the [ENTER] key.
- XJ-H2650 User Guide XJ-M140 (B9***B) XJ-M145 (B9***B) XJ-M150 (B9***B) XJ-M155 (B9***B) XJ-M240 (B9***B) XJ-M245 (B9***B) XJ-M250 (B9***B) XJ-M255 (B9***B) XJ-M250 XJ-M155 XJ-A141 (D****B) User Guide XJ-A146 (D****B) User Guide XJ-A241 (D****B) User Guide XJ-A246 (D****B) User Guide XJ-A251 (D****B) User Guide XJ-A256 (D****B) User Guide XJ-A241/XJ-A246* XJ-A251/XJ-A256* XJ-M250/XJ-M255* XJ-M240/XJ-M245*