Connecting via usb, Connecting via network, Via usb – Oki MC363dn User Manual
Page 69: Via n
Scanning > 69
C
ONNECTING
VIA USB
1.
Press the SCAN key on the operator panel.
2.
Place your document with text face up in the ADF or face down on the document
glass.
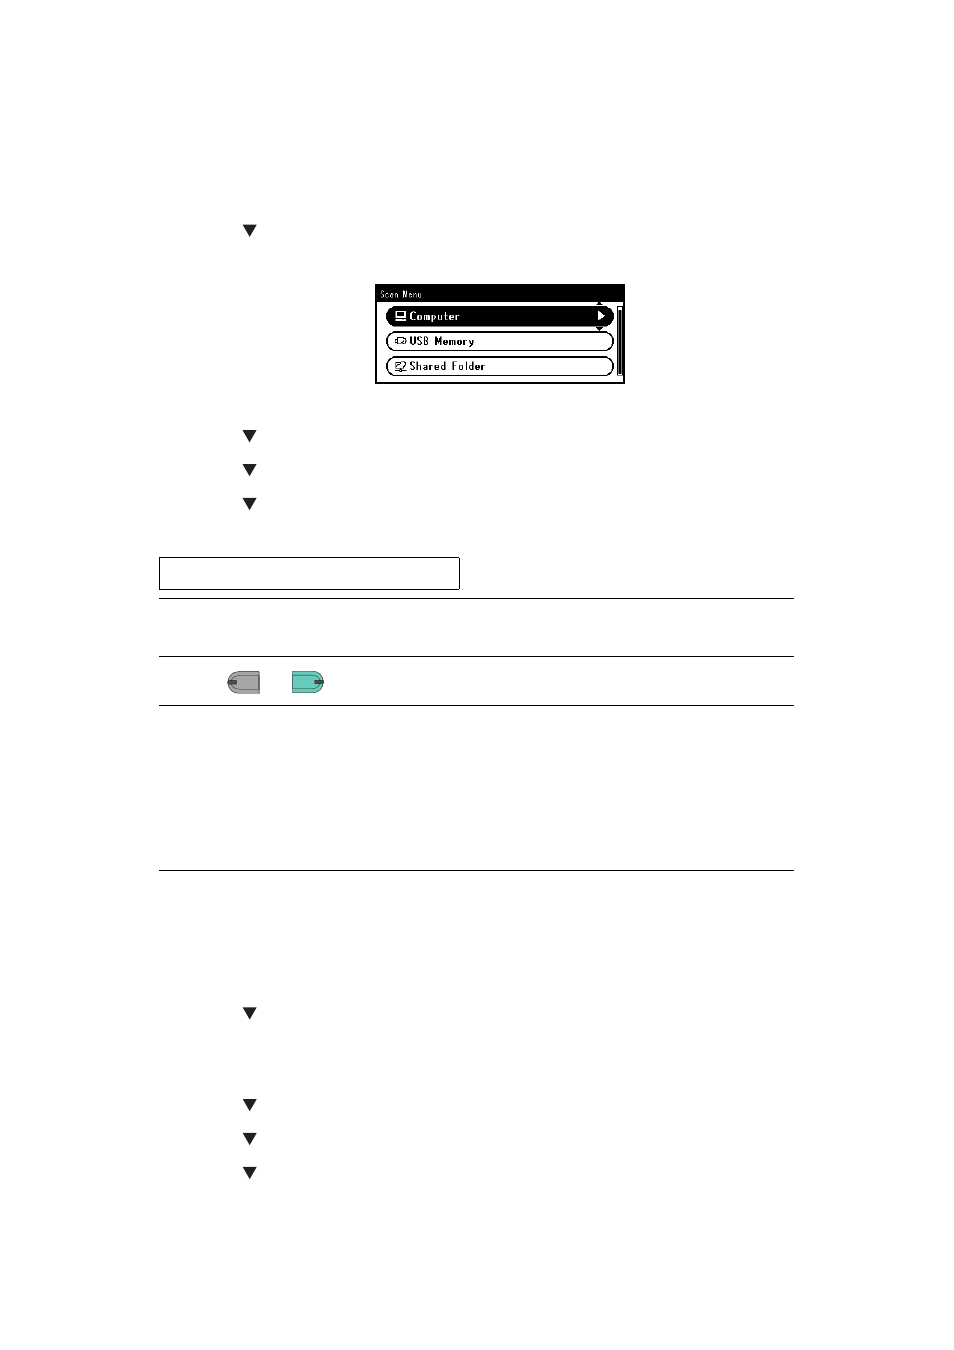
3.
Press the to select Computer and then press OK.
If the Network TWAIN setting is set to Disable, proceed to the step 6.
4.
Check that Select A Connecting PC is selected and then press OK.
5.
Press the to select From USB Interface and then press OK.
6.
Press the to select Select An Application and then press OK.
7.
Press the to select where to send the scanned document and then press OK.
Selectable location Values to send:
8.
Press
or
.
C
ONNECTING
VIA N
ETWORK
1.
Press the SCAN key on the operator panel.
2.
Place your document with text face up in the ADF or face down on the document
glass.
3.
Press the to select Computer and then press OK.
4.
Check that select Select A Connecting PC is selected and then press OK.
5.
Check that From Network is selected and then press OK.
6.
Press the to select the computer you want and then press OK.
7.
Press the to select Select An Application and then press OK.
8.
Press the to select where to send the scanned document and then press OK.
Application Folder PC-FAX
NOTE
If the Mac OS X is running, you can select Folder only.
MEMO
If you select Application, the specified application starts and the scanned
image is displayed on the application.
If you select Folder, the scanned image is saved in the specified folder.
If you select PC-FAX, the application for fax transmission starts. After sending
the scanned image, send a fax with the fax transmission software on your
computer.
M
ONO
M
ONO
C
OLOR
C
OLOR