Measurement of polarization index – Amprobe MEGATEST-5000 Megohmmeter User Manual
Page 19
Ш
Ч
Set the V1 voltage value you want (testing start voltage). The top secondary
display (item 10 par. 4.2) will show the value you are setting.
NOTE:
The value of V1 CANNOT be greater than that of V2.
SeT
The T1 parameter indicator is flashing.
Ш
Ч
Set the T1 time value (duration of the rising voltage ramp from value V1 to
value V2). The bottom secondary display (item 11 par. 4.2) will show the
value you are setting. The shortest time that can be set is 15” (seconds).
SeT
Exit the programming phase. The flashing measuring mode advises you that
you can save the settings.
SavE
Saving the parameters in the location first selected (if requested).
StarT “Go
?”
prompt displayed, PRESS START again to start measuring.
4.5.6 Measurement of polarization index
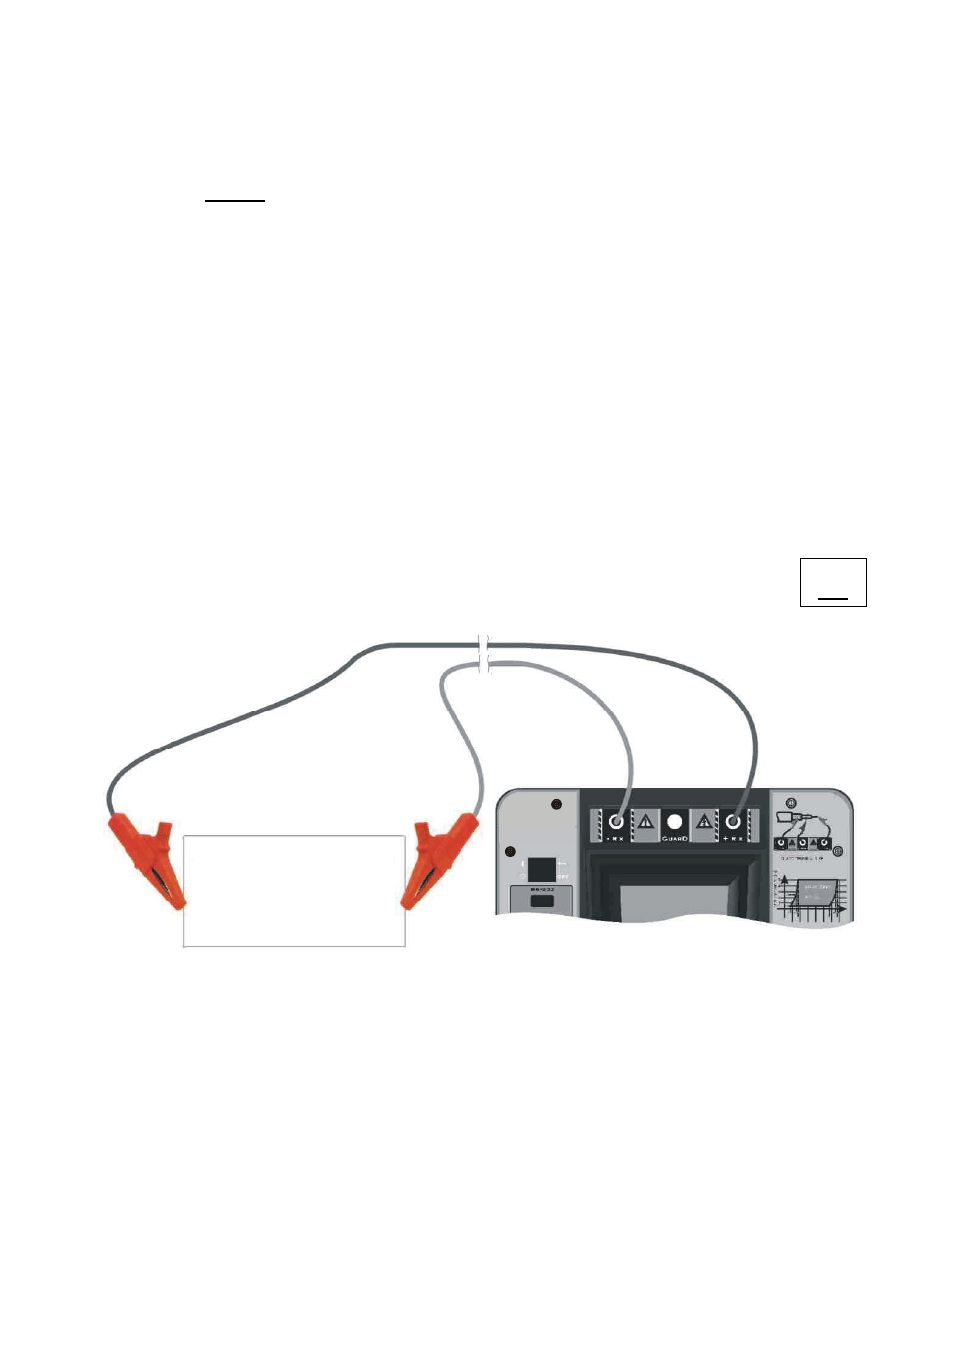
PI
Insulator
MEGA EST
T
5000
It’s common knowledge that a good insulator, if subject to voltage, shows a gradual
resistance increase over a period of time. Vice versa, a resistance decrease indicates bad
quality of the insulator (or presence of dirt affecting the measurement).
The polarization index is defined as the ratio between the resistance value measured after
10 minutes and the resistance value measured after 1 minute from application of the test
voltage. Therefore it’s an important indicator of the insulator quality. Indicative information
about the insulator features, but not so accurate as the polarization index, are provided by
the ratio between the resistance value measured after 60 seconds and the resistance
value measured after 30 seconds. Already after one minute it’s possible to verify if the
resistance value has considerably increased (as hoped) or, on the contrary, it’s unchanged
or, still worse, it has decreased.
-17-