2 hardware installation – PLANET ICA-4130S User Manual
Page 10
Ultra-mini SIP PoE IP Camera
ICA-4130S/ICA-4230S
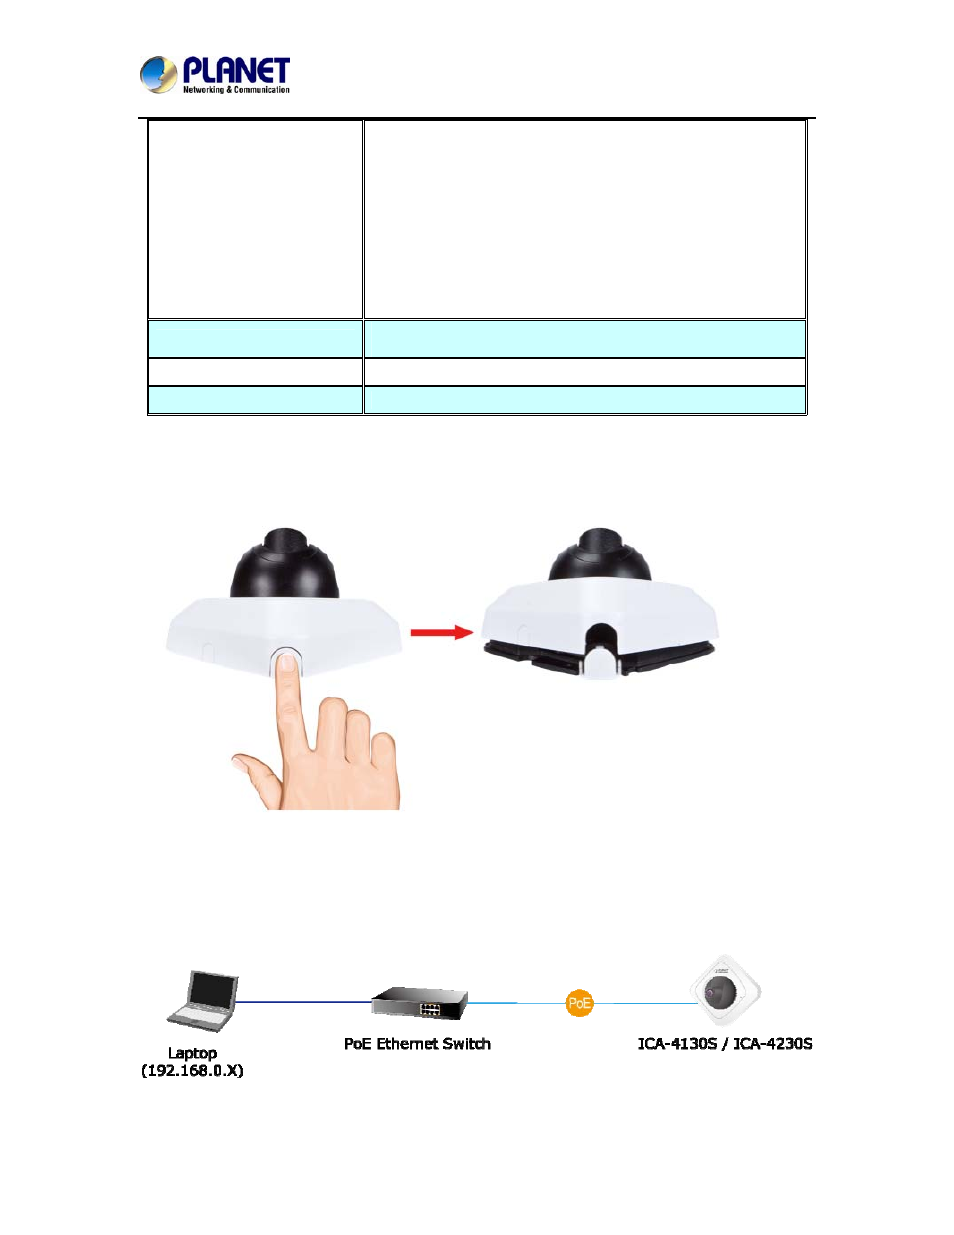
problems after restart, user can restore the factory default
settings and install it again.
2. Press and hold it for at least 5 seconds. Don’t release the
button until the light of error LED is flashing continually.
Then the device has been restored to default settings and
reboot again.
Note: Restoring the factory default setting will lose all the
previous settings including IP address forever. User needs to
run the PLANET Smart Discovery Lite program to search the
device and configure it to let the device work properly again.
MicroSD/SDHC Card Slot
Supports MicroSD card up to 64GB. Please don’t insert or
take out the card when the IP camera is operating.
IR LED
IR distance up to 10m (ICA-4230S only)
Image Sensor
1/2.5” CMOS sensor
2.2 Hardware Installation
1. Open white cover of camera
2. Adjust the lens angle and focus
Secure the screws and adjust the lens angle and focus.
3. Plug an Ethernet cable into the Camera
Connect an Ethernet cable to the LAN socket located on the Network Camera and attach it to the
network.
4. Place the Camera on the table or fix it onto the ceiling or wall
Use two screws to fix the Network Camera onto the ceiling or wall. You could also put the Network
Camera on the table directly.
10