2 chassis installation and rack mounting – PLANET IVS-H120 User Manual
Page 11
3. Check the LAN LED
The LED is defined to identify LAN connection type. When LAN port is connected, the LED
will be green.
4. Connect RS-485 D+ and D- (option)
When users would like to apply a camera with P/T/Z function, they usually need to connect
their communication port (for camera control) through RS-485. After RS-485 was correctly
connected to D+ and D-, the remote users could control the camera movement through
internet.
5. Attach Audio source to IVS-H120 (option)
If user needs not only video stream but also audio stream, then the audio source should be
attached to IVS-H120. Connect the audio device’s line output to the IVS-H120’s MIC-in and
make sure to power on your camera or audio device first.
6. Attach the power supply
Plug in power adapter and connect to power source. After power on, the camera will start to
operate.
NOTE:
Only use the power adapter supplied with Video Server. Otherwise, the product
may be damaged.
2.3.2 Chassis Installation and Rack Mounting
To install the Video Server in a 10-inch or 19-inch with standard rack, follow the instructions
described below.
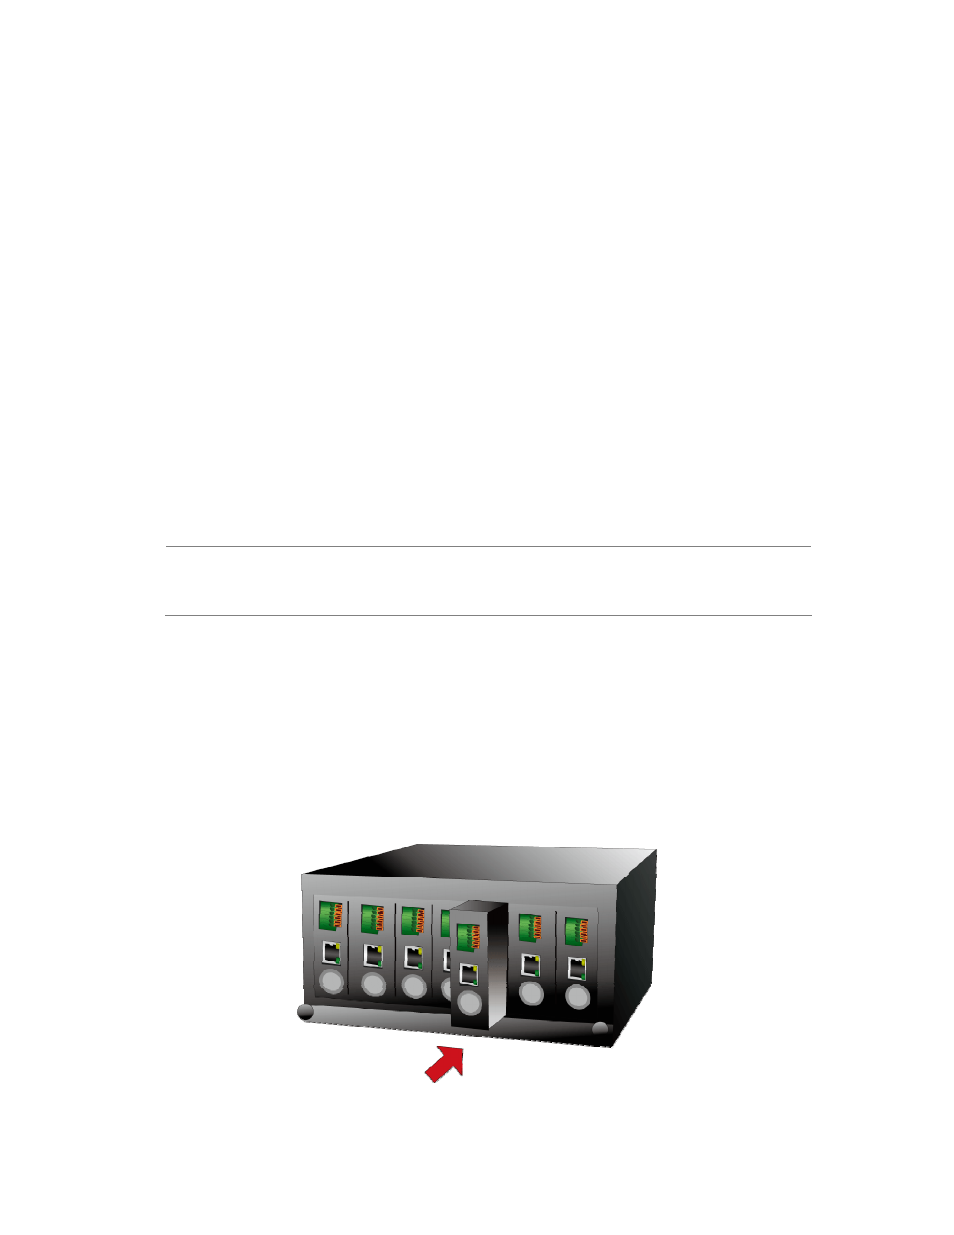
1. Place your IVS-H120 on a hard flat surface, with the front panel positioned towards your front
side.
2. Carefully slide in the module until it is fully and firmly fitted into the slot of the chassis.
Figure 2-1: Insert a media converter into an available slot
11