Connecting peripheral equipment – Sharp PN-H801 User Manual
Page 13
13
E
Connecting Peripheral Equipment
• Connect with a commercially available HDMI certified
cable (a high-speed type is recommended). For the
following, use a high-speed HDMI cable:
- When connecting a device that is compatible with 4K2K
output.
- When inputting a 1080p video signal
• When using the supplied DisplayPort-HDMI conversion
cable, use the HDMI1 - 3 input terminal.
• When using the audio input terminal with HDMI input,
use the HDMI3 input terminal and set AUDIO SELECT of
INPUT SELECT in the SETUP menu to HDMI + ANALOG.
• Compatible audio signals
- Type: Linear PCM (2 ch), AAC, Dolby Digital
- Sampling frequency: 48kHz / 44.1kHz / 32kHz
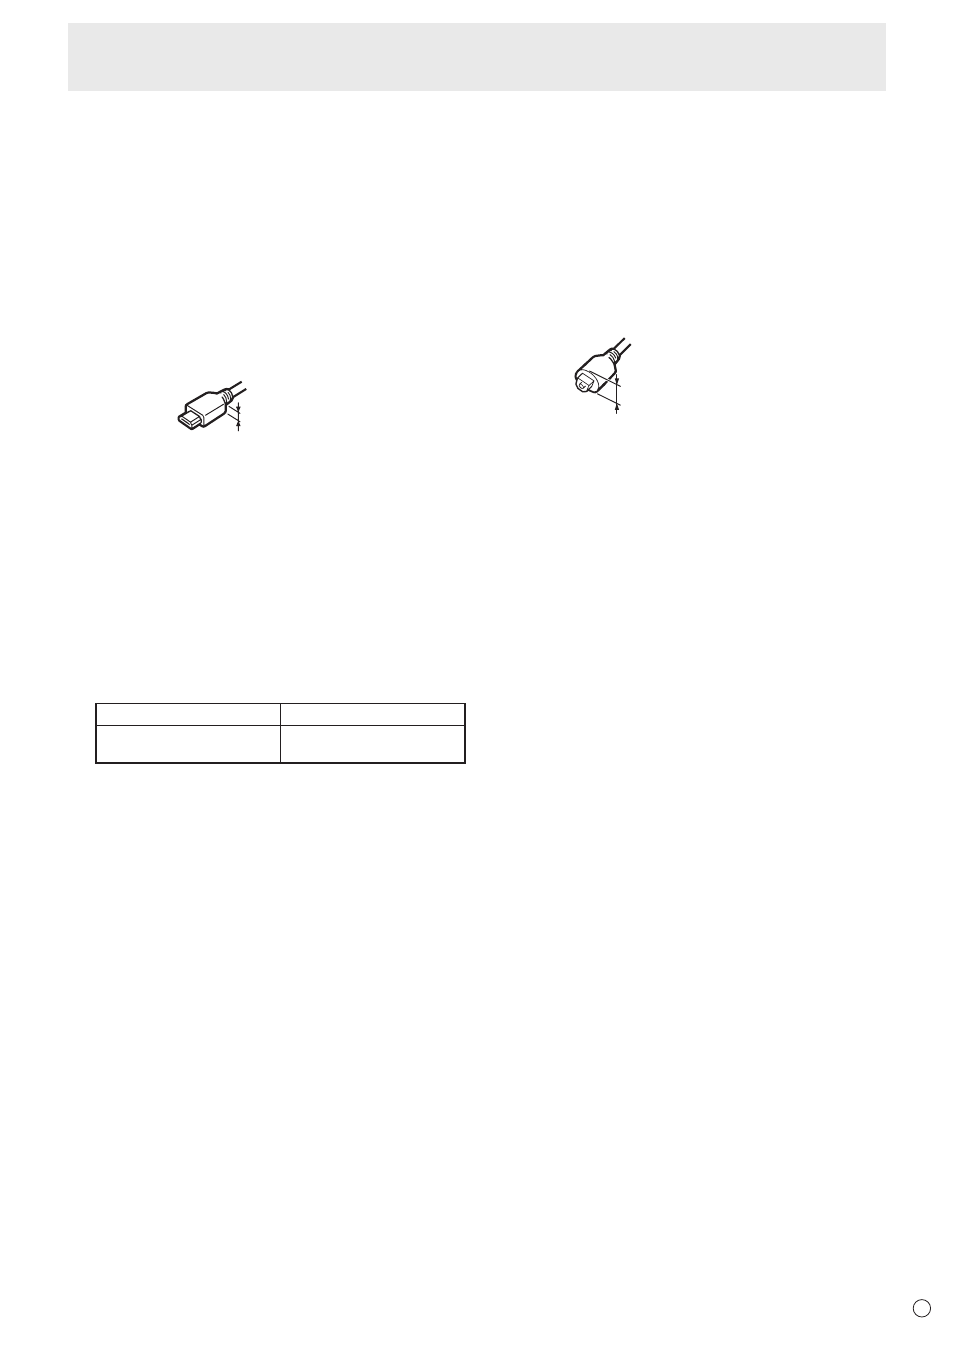
• Use an HDMI cable connector with the following dimensions:
Thickness: 1/2 inch (12 mm)
or less
5. PC D-sub input terminal
• When using the audio input terminal with the PC D-sub
input terminal, set AUDIO SELECT of INPUT SELECT in
the SETUP menu to VIDEO + AUDIO.
• When using the PC D-sub input terminal, space is
required behind the monitor.
6. USB port
• Connect a USB flash drive to the USB port.
• Do not connect a USB device other than a USB flash
drive.
• Turn off the power of the monitor when removing a USB
flash drive.
Supported USB flash drives
File System
FAT32
Capacity
Up to 32 GB
(maximum file size 2 GB)
• Do not use a USB flash drive with a security function or
a write protection function.
• Use a USB flash drive with a shape that can be inserted
in the USB port. Some USB flash drives with special
shapes cannot be inserted. Do not forcibly insert a USB
flash drive. This may damage the connector and cause
failure.
7. Audio input terminal
• This is used to input analog audio when video is shown
using the HDMI3 input terminal or the PC D-sub input
terminal. Check the setting in AUDIO SELECT of INPUT
SELECT in the SETUP menu.
• Use an audio cable without resistance.
8. Headphone terminal
• Use commercially available headphones (mini stereo
jack).
• The output sound varies depending on the input mode.
• The volume can be adjusted using the volume adjustment.
• When headphones are connected to the headphone
terminal, sound is not output from the monitor speakers.
9. Digital audio output (optical) terminal
• You can output MPEG2 AAC / Dolby Digital audio format
from the monitor.
• Use the following for the digital audio output (optical)
terminal.
Thickness: 1/2 inch (12 mm)
or less
10. CONTROL terminal (RS-232C input terminal)
• The monitor can be connected to a PC using the RS-
232C conversion cable (supplied) and a commercially
available RS-232 straight cable to control the monitor
from the PC.
11. LAN terminal
• You can control the monitor from a PC on a network by
connecting a commercially available LAN cable between
this terminal and a network.