Controlling the monitor with a pc (lan), Settings to connect to a lan, Nlan setup – Sharp PN-H801 User Manual
Page 36
36
E
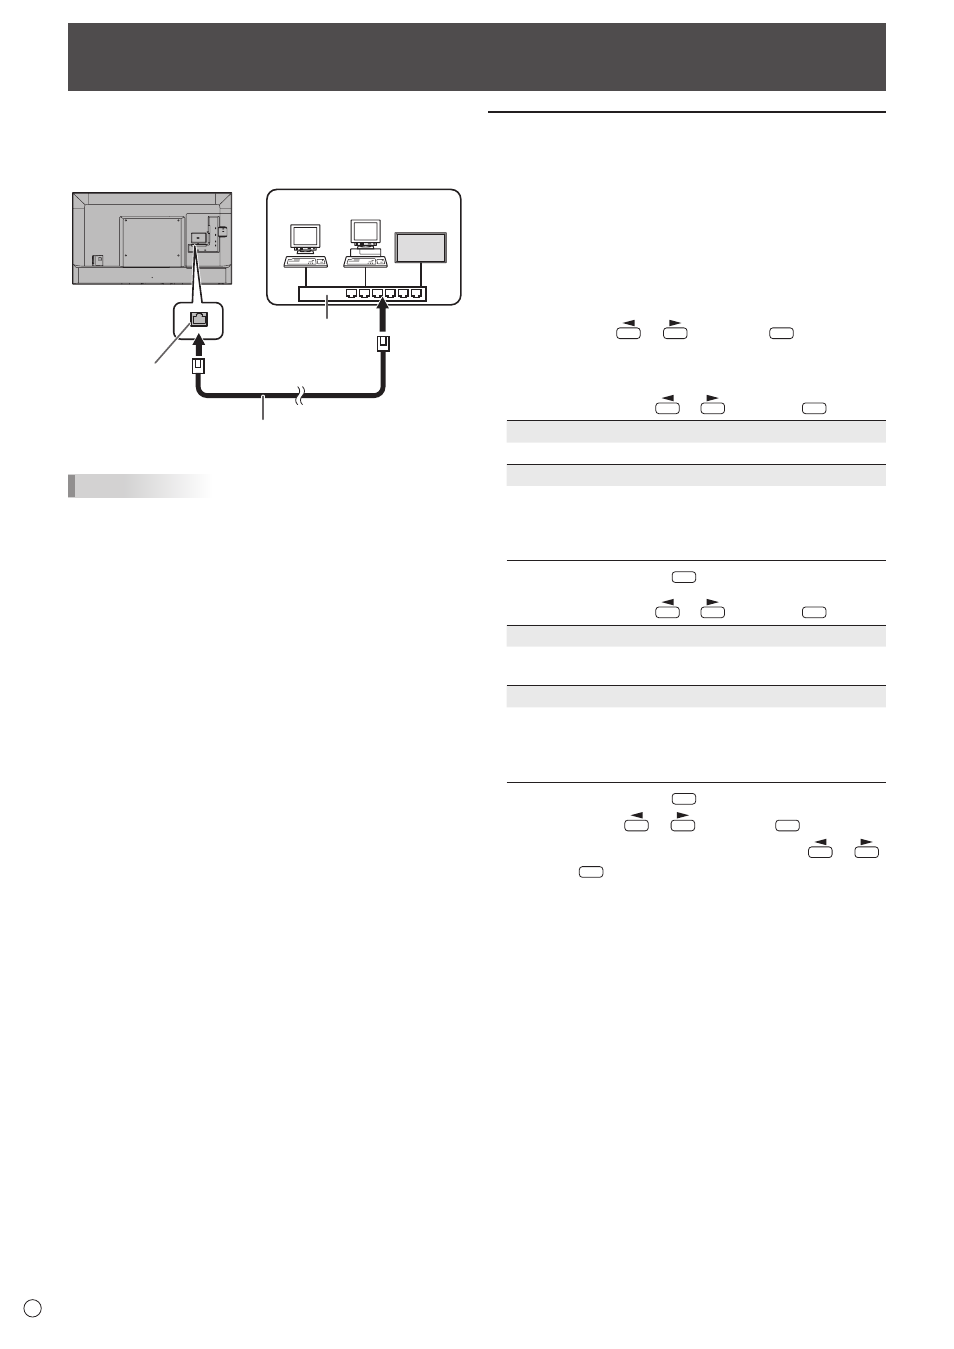
Your monitor can be connected to a LAN allowing you to
control it from a PC on the LAN.
The connection requires a commercially available LAN cable
(UTP cable, Category 5, straight through).
Hub
LAN terminal
LAN cable (commercially available, straight)
Network (LAN)
TIPS
• You must assign an IP address to the monitor by following
the procedures in “Settings to connect to a LAN”. (See the
description on the right.)
• To control the monitor via LAN, set IP CONTROL SETUP to
ENABLE. (See page 37.)
• You cannot use RS-232C and LAN control simultaneously.
• When POWER SAVE MODE is ON, control is not possible
in standby mode.
Controlling the Monitor with a PC (LAN)
Settings to connect to a LAN
Set LAN SETUP and IP CONTROL SETUP in
COMMUNICATION SETTING in the SETUP menu. (See page
28.)
The settings depend on the configuration of your LAN. Ask
your LAN administrator for details.
n
LAN SETUP
1. Display the current LAN information.
2. If you need to change the setup, select CHANGE or
INITIALIZE with
or
, and press
ENTER
.
CHANGE: Change the LAN setup. See the step 3.
INITIALIZE: Reset the current settings.
3. Set the IP address.
Select YES or NO with
or
, and press
ENTER
.
YES
Acquire the IP address automatically.
NO
Enter the IP ADDRESS, NETMASK, and GATEWAY with
the software keyboard. (See page 29.)
When NO is selected, YES (auto acquisition of DNS IP
address) cannot be selected in step 5.
4. Select NEXT, and press
ENTER
.
5. Set the IP address of the DNS server.
Select YES or NO with
or
, and press
ENTER
.
YES
Acquire the IP address of the DNS automatically. (Use the
DHCP server function of your network environment.)
NO
Enter the PRIMARY and SECONDARY IP addresses with
the software keyboard. (See page 29.) For the values to
be entered in each field, check the specifications of your
network environment.
6. Select NEXT, and press
ENTER
.
7. Select TEST with
or
, and press
ENTER
.
8. Check your settings, select COMPLETE with
or
,
and press
ENTER
.