Uploading clips manually (manual ftp) – JVC GY-HC900STU 2/3" HD Connected Cam Studio Camcorder (Body Only) User Manual
Page 192
Uploading Clips Manually (Manual FTP)
The following are steps to upload clips recorded in
a recording media to a preset FTP server.
All playable clips on the thumbnail screen can be
uploaded.
1
Configure the FTP server for manual
uploading
Set [Network]
B
[Upload Settings]
B
[Upload]
to “Manual”.
2
Register the [Clip Server].
0
Open the [Network]
B
[Upload Settings]
B
[Clip Server] screen.
0
Register the server to upload recorded clips
in the recording media to.
Up to 4 servers can be registered.
Memo :
0
For details on the registered information, please
consult the network administrator for the server.
0
When [Network]
B
[Upload Settings]
B
[Upload]
is configured to “Auto”, manual uploading is also
disabled for slots other than the selected “Slot”.
To perform manual uploading, select “Manual”.
0
FTP transfer is disabled when [System]
B
[Record Set]
B
[Record Format]
B
[System] is
configured to “High-Speed”
2
. To perform
FTP transfer, select a setting other than “High-
Speed”.
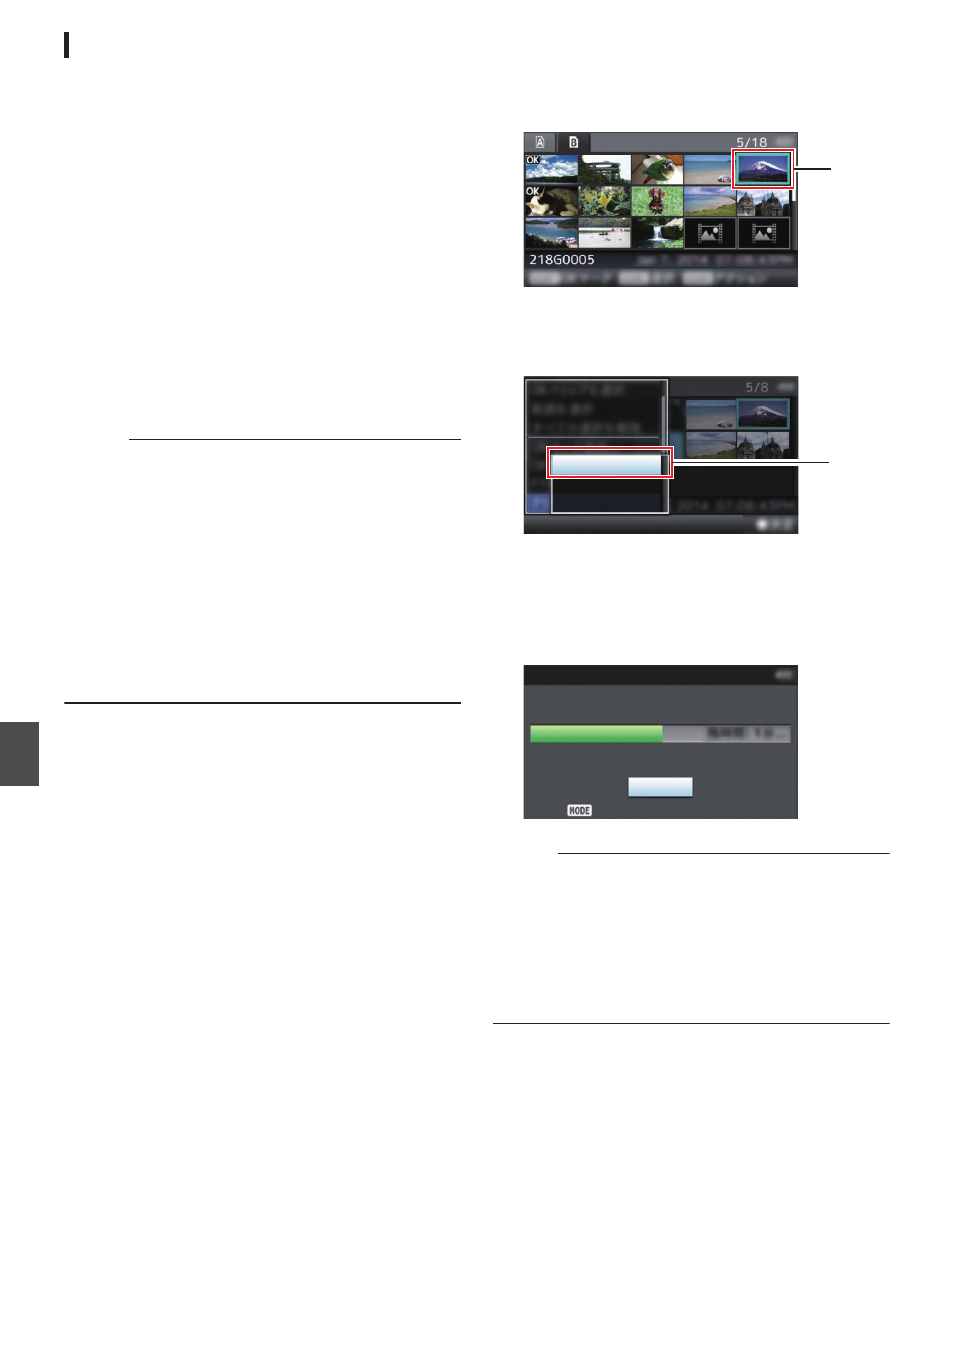
Uploading a Video Clip
1
Set the camera recorder to the Media mode.
0
Press and hold the [CAM/MEDIA] selection
button in the Camera mode to enter the
Media mode. A thumbnail screen of the clips
recorded on the SD card is displayed.
0
You can upload the selected clips on the
thumbnail screen to the FTP server.
2
Move the cursor to the clip to be uploaded.
Move the cursor to the clip to be uploaded using
the cross-shaped button (
JKH
I
).
.
2
3
Press the [USER4] button.
The action selection screen is displayed.
.
All Clips
Selected Clips
This Clip
3
4
Select [FTP Upload]
B
[This Clip]
B
server
to upload to, and press the Set button (
R
).
The status of the transfer process is indicated
by a progress bar.
.
Upload in Background
Stop
FTP Upload
Memo :
0
The name for the server to upload files to are
indicated using the preset names in [Clip
Server]
B
[Alias].
0
To stop uploading, press the Set button (
R
).
Select [Yes] on the confirmation screen, and
press the Set button (
R
) to stop uploading and
return to the thumbnail screen.
192
Uploading a Recorded Video Clip
Con
nectin
g to the Network