Insert rows and columns, Insert a row, Insert a column – Adobe InDesign CS5 User Manual
Page 301: Insert multiple rows and columns
295
USING INDESIGN
Tables
Last updated 11/16/2011
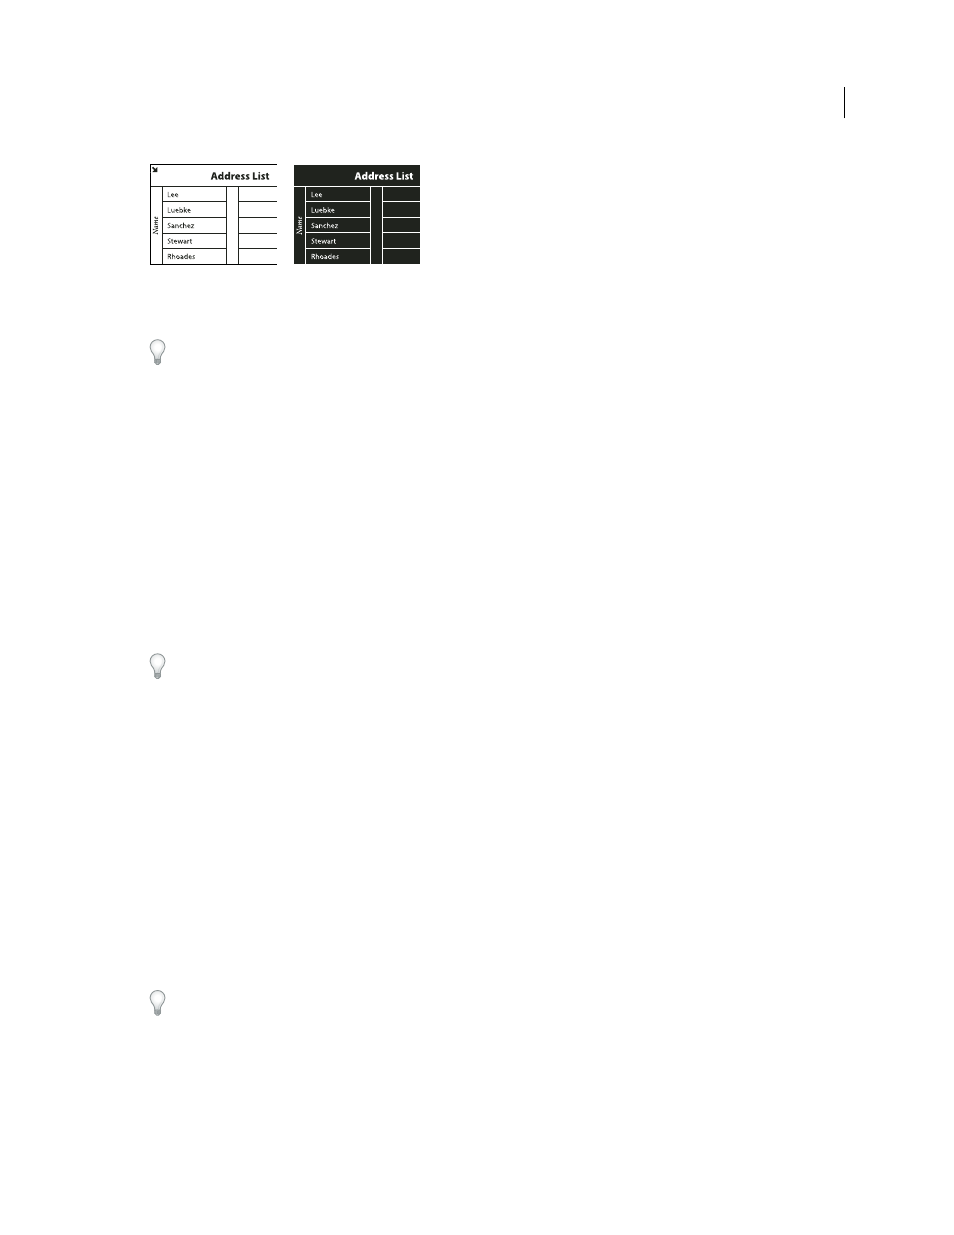
Before and after selecting table
•
Drag the Type tool across the entire table.
You can also select a table in the same way you select an anchored graphic—place the insertion point immediately
before or after a table, and then hold down Shift while pressing the Right Arrow key or Left Arrow key, respectively,
to select the table.
Insert rows and columns
You can insert rows and columns using a number of different methods.
Insert a row
1 Place the insertion point in a row below or above where you want the new row to appear.
2 Choose Table
> Insert > Row.
3 Specify the number of rows you want.
4 Specify whether the new row or rows should appear before or after the current row, and then click OK.
The new cells have the same formatting as the text in the row in which the insertion point was placed.
You can also create a new row by pressing Tab when the insertion point is in the last cell.
Insert a column
1 Place the insertion point in a column next to where you want the new column to appear.
2 Choose Table
> Insert > Column.
3 Specify the number of columns you want.
4 Specify whether the new column or columns should appear before or after the current column, and then click OK.
The new cells have the same formatting as the text in the column in which the insertion point was placed.
Insert multiple rows and columns
1 With the insertion point in a cell, choose Table
> Table Options > Table Setup.
2 Specify a different number of rows and columns, and then click OK.
New rows are added to the bottom of the table; new columns are added to the right side of the table.
You can also change the number of rows and columns using the Table panel. To display the Table panel, choose
Window
> Type & Tables > Table.