Adjusting the handlebars, Handling instructions – HP Velotechnik trikes User Manual
Page 35
Adjusting the handlebars
31
Handling instructions
If the clamping screws are tightened too hard,
the handlebar may be deformed, and no
proper clamping can be achieved.
Danger! If the handlebar grips
are adjusted pointing too far forward or
too wide, your hands or the brake levers
can touch the front wheels or mudguards
when cornering sharp, leading to injury.
Make sure you have at least 5 cm (2“)
clearance between brake levers and front
wheels / mudguards at all steering angles.
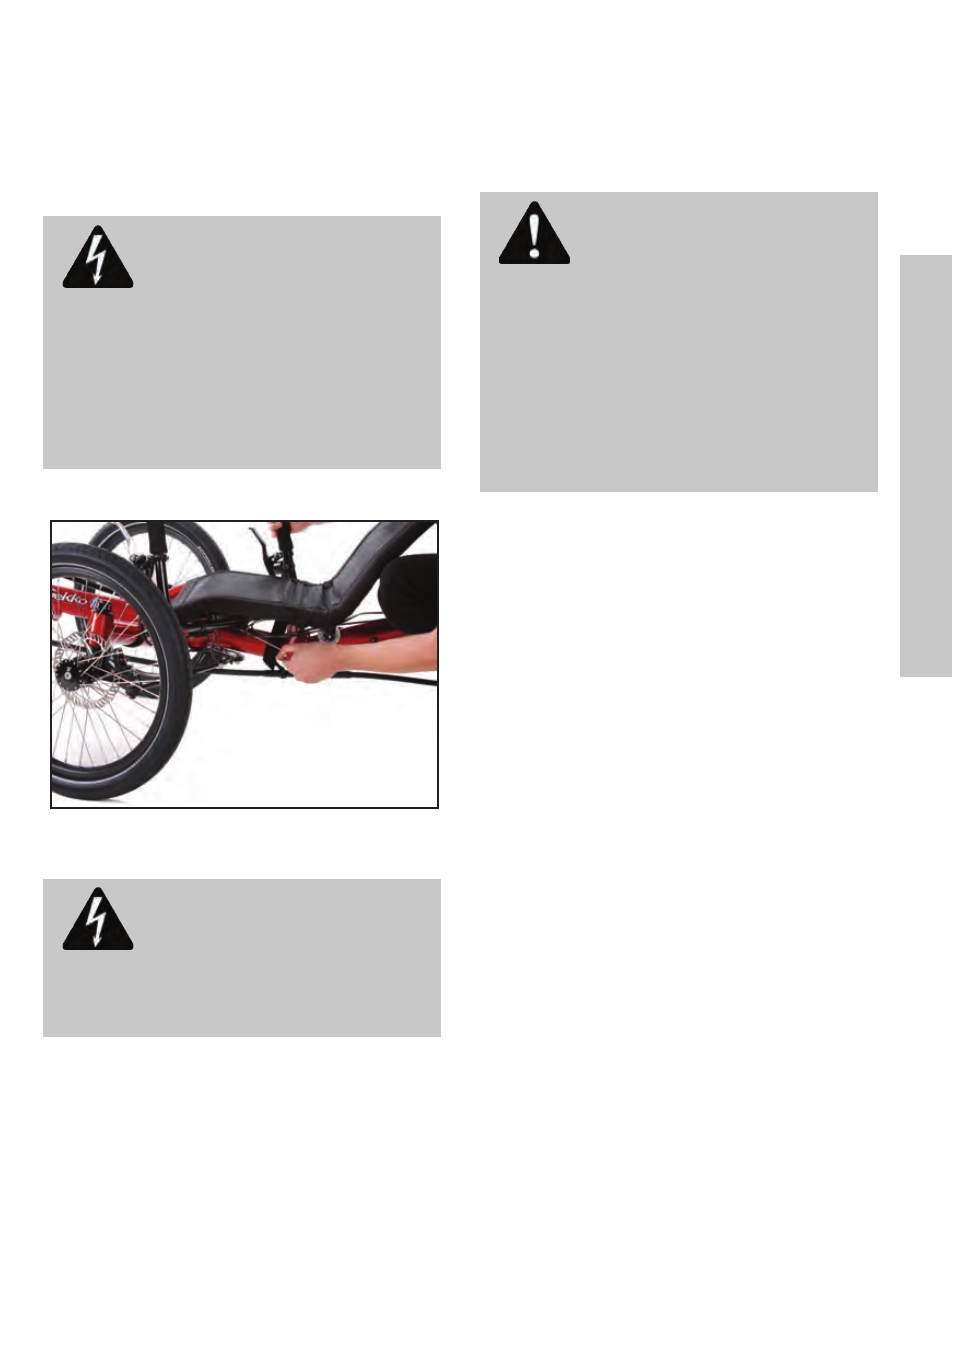
Handlebar width is adjusted at the stem clamp under
the seat.
Danger! Please take care that
the clamping area of the stem is thoroughly
trimmed and there are no sharp edges
which may cause handlebar failure.
Adjusting the cable length
You can make smaller adjustments by moving
the cables in their guides at the frame and the
stem, so there is enough clearance for all
movements. If this is not the case you will
have to have your specialist dealer shorten
the cables or replace them by longer ones.
Caution! After having adjusted
the handlebar position you have to read-
just the length of the brake cables and
shifter cables. The cables have to run
smoothly without any sharp turns and they
should not be bent sharply or stretched
when the handlebar is at maximum angle.
Also avoid large bows that could be caught
up by the front wheels or other parts or
touch objects under your tricycle.
Cover all contact areas where cables move
and touch the frame with sturdy transparent
tape. This protects the paint against scratching
and wear.
Handlebar grips
The grips on the handlebar are susceptible to
wear and tear. Have your grips replaced by
your bike shop once they don't feel comfort-
able any more. The grips always need to be
attached firmly to the handlebar.