MacroSystem ElasticDreams User Manual
Page 11
10
11
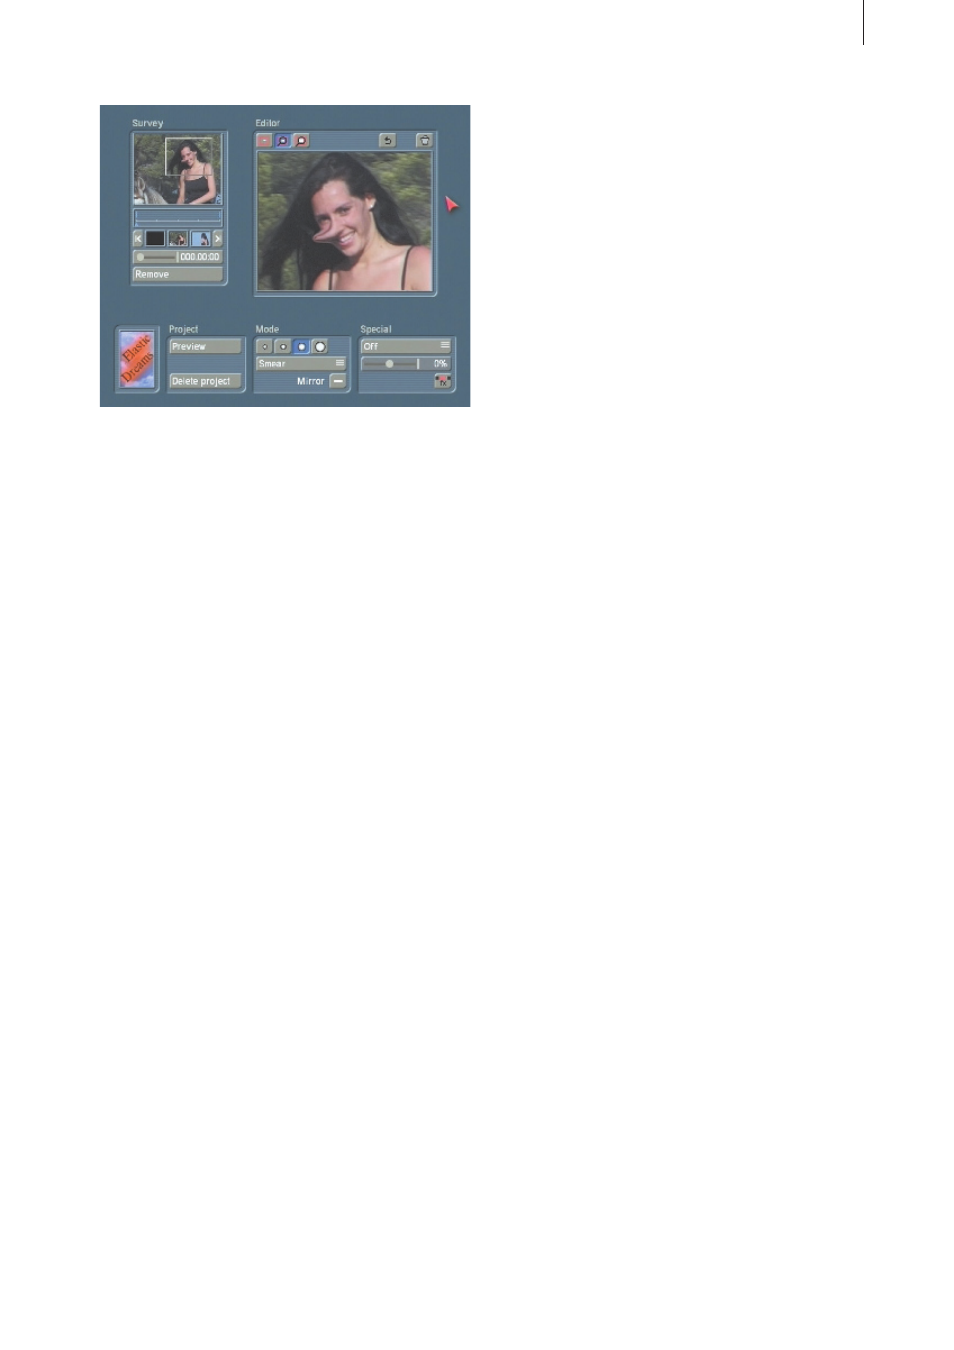
Release the key. In case the direction, length or
the effect itself are not as desired, then simply
click on the “Undo” button to the above right in
the edit window so that the alienation effect is
cancelled.
If you are satisfied with the new nose, then you
can move on to the ears. Now try the procedure
described above on the ears of your target
object.
You may wish to use another tool point for this.
You have created the effect but the person may
move during the scene in such a way as to
cause a cheek to be lengthened instead of the
nose. In order to keep the effect in its proper
place you use the “timeline”. The timeline is a
panel below the overview window above left
on the screen. Below the timeline you see a
blue arrow that indicates the currently active
image in the timeline. Since you have not yet
used the timeline, the arrow is positioned at
the beginning and shows the first image of the
scene.
The alienation effect previously carried out was
inserted automatically.
Now activate the slider control below the
timeline and slide it toward the right. Go
through the scene in short steps and display the
individual positions in the overview window by
confirming the selection. Stop at the required
positions in the scene, i.e. where the head of
your target person moves. Here it is necessary
to create new “reference points” because the
alienating effects already inserted into the scene
remain at the same position on the image. It is
possible that in the course of the scene an eye
appears where the nose was. After releasing the
slider control the selected image appears in the
edit window.
In full size you now see that the nose or the
ears are at another position on the image. The
alienating effects are now set for other image
content. Undo the changes you have already
made at this image position by holding down
the right trackball key and moving the screen
cursor over the modified position.
Now repeat the alienation with the “Smear”
mode in order to make corresponding
corrections to the image. Lengthen nose and
ears again to the desired length. This alienation
is automatically inserted as a reference point
into the storyboard below the timeline.
Now correct every such video image in your
scene. For a scene lasting about 4 seconds and
with relatively fixed positions during recording,
this will be at most 2 to 3 additional reference
points that you must correct.
Note: Even if the scene is a still image, you must
still set an additional reference point. This point
should be at the end of the scene. If you don’t
set the reference point, then the alienation is
reversed during the course of the scene and the
person regains his or her original appearance.
Finally, you can observe the total result by using
the preview. Press the “Preview” button in
the project window (below left on the screen).
Casablanca now plays the entire scene with the
inserted reference points.
In case you are not yet satisfied with a certain
movement or a phase in the scene, you can of
course continue to make further corrections.
Stop the preview and select the undesired
reference point in the small storyboard below
the timeline. This miniature storyboard works
like the large storyboard in the Casablanca
Edit menu. The only difference is that here you
see only the beginning, end, and all inserted
“reference points” for the scene or effect.
As before, you are able to insert and remove
reference points. Now create a new reference
point or modify an existing one according to the
explanation given above.
When you are satisfied with the result, exit the
ElasticDreams interface by clicking on the button
at the far lower right of the screen. With this FX
key you return to the Image Processing Effects
menu. Your settings were stored beforehand