MacroSystem ElasticDreams User Manual
Page 15
14
15
following word into the camera: “Ca-sa-blan-
ca”.
Lip movement should be as clear as possible
and not too fast. Simply imagine that your
lip movements are to be drawn on paper by
someone. This recording should also be 4
seconds long.
Of course, you can also use a recording of a
TV program (e.g. news reporter). Important is
the clear (and visible) pronunciation of a short
phrase or sentence.
Now insert both scenes into the storyboard, first
the dog, then the “lip scene”.
Select an effect duration of 4 seconds so that
the duration agrees with the effect length and
synchronization is guaranteed.
Then call up the transition effects menu, select
“ElasticDreams Draw”, insert the effect and click
on “Start Program”.
After a short pause for initialization you see the
ElasticDreams interface.
You see that the arrow in the timeline now
points to the first video image of the first scene.
In order to see the video image of the second
scene in the background (in the edit window),
you should position the transparency slider
in the edit window to the middle to see both
scenes with the same transparency.
Now closely observe the actual lip movement.
At this point in time in the video you may not
have actually said anything. Use the duration
slider to move the arrow in the timeline to the
image in which the first sound, the “Ca-” in
“Casablanca”, can be heard.
You will notice that you open your mouth
first, which then appears in an open position,
and then you close your mouth. This course
of movement occurs 4 times for the word
“Casablanca”. You use the tool points to open
and close the dog’s mouth in synchronization
with your lip movements.
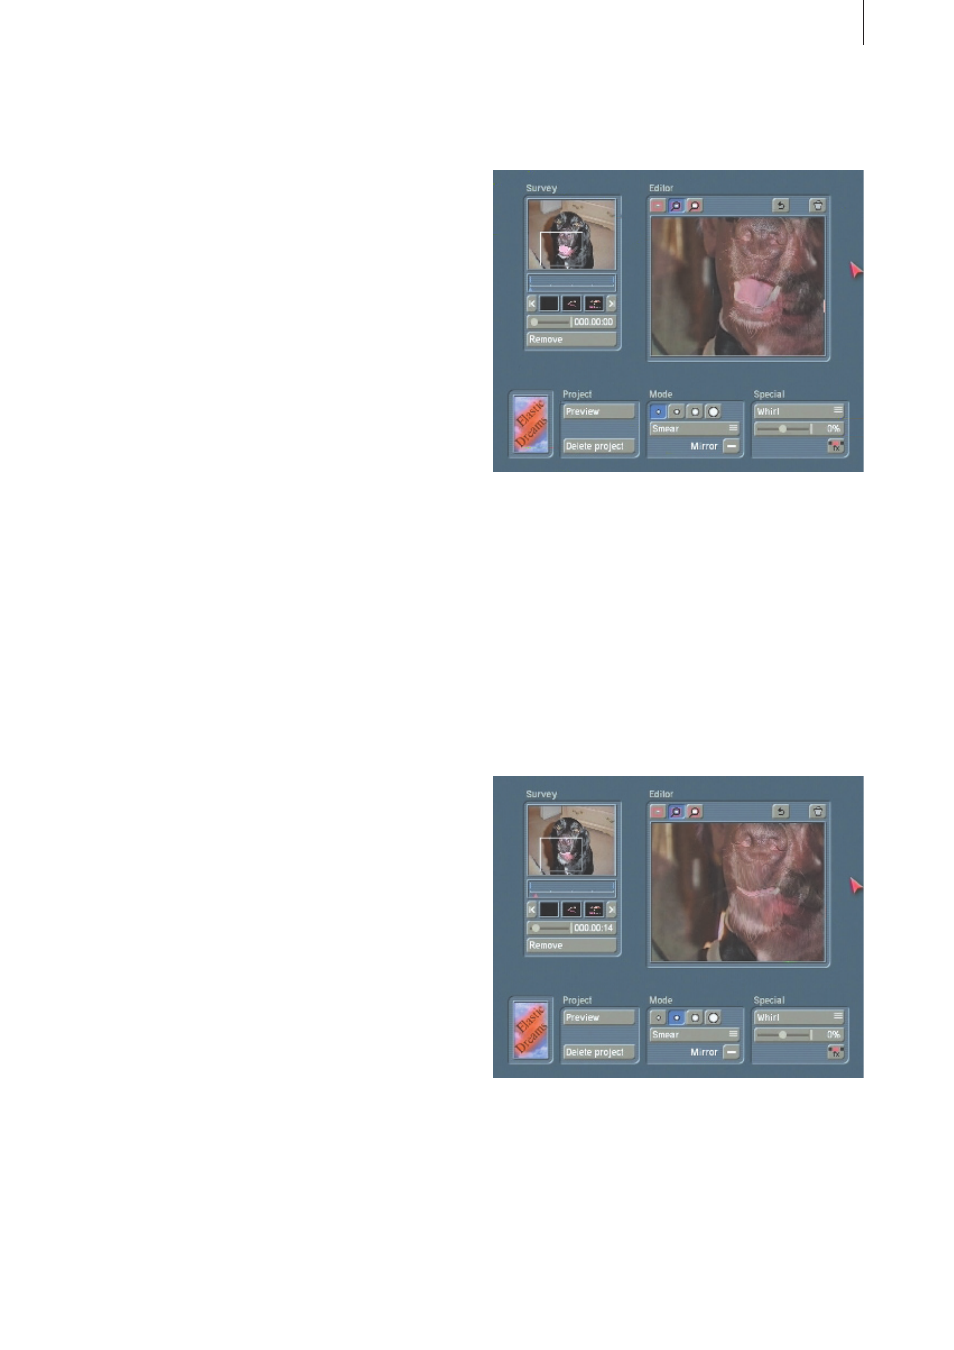
Use the magnify function with the highest
magnification (lens symbol to the right at the
upper left in the edit window) and move the
enlargement box in the overview window in
order to enclose the dog’s mouth.
Now select a tool point with which you can best
put the dog’s mouth into a position showing
the mouth opening. The “Smear” mode is
appropriate because it is then easier to enlarge
the mouth. For orientation use the transparent
video image of the lip movements shown
in the edit window. The desired position is
automatically inserted into the timeline.
By changing the transparency value in the edit
window you can vary the transparency of the
scenes so that fast toggling between the views
is possible. This gives you better control of the
lip movements.
Move the duration slider slowly toward the right
until you reach the point at which the mouth is
open. Now use the corresponding tool points
(for detailed changes the small ones, for larger
changes the larger tool points) to bring the
mouth to the fully opened position.
Follow the same procedure for all the following
mouth positions.