MacroSystem ElasticDreams User Manual
Page 17
16
17
6.6 Practice example 6
Deleting reference points
The following example explains the three
possibilities to delete reference points.
Create a still image with a duration of eight
seconds. The image content should consist of
clear forms or text and not be just one color.
Insert the still image into the storyboard, call
up the Image Processing Effects menu, insert
the effect “ElasticDreams Warp” and start the
program.
In the overview you see a time panel divided
into four parts. Because you have chosen an
effect duration of eight seconds, one segment of
the panel corresponds to two seconds.
The time panel currently contains neither a
reference point nor an effect.
Now move the time panel’s arrow to the first
part in order to insert an effect there. Select the
mode “Smear Soft” and activate the largest
tool point. The option “Mirror” should not be
activated.
Now position the pointer in the left corner of
the upper third of the edit window and drag the
pointer to the right screen edge, holding down
the left trackball key the entire time.
After having released the trackball key, move the
time panel arrow to the middle section and drag
a line in the lower third of the image from right
to left.
Then insert an additional reference point in
the third section of the time panel and drag a
diagonal line through the image.
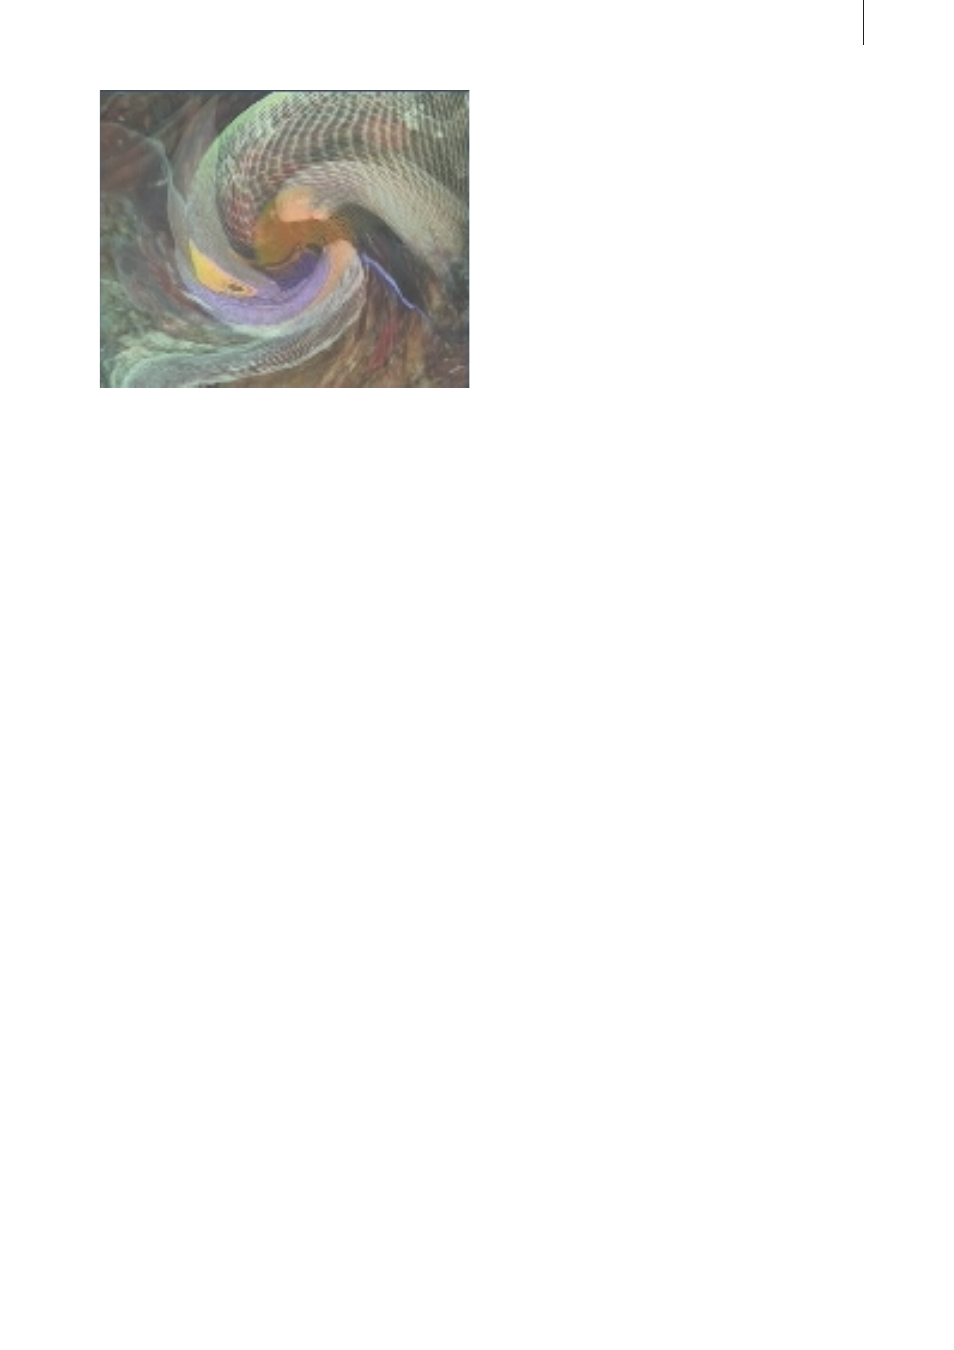
In the “Preview” you can see your reference
points take effect.
Now move the time panel arrow back to the
middle reference point so that it becomes blue
again. At this position you had carried out a
smear operation in the lower third from right to
left.
If you now click on the “Undo” function, nothing
happens. “Undo” deletes only the image
changes made immediately after selection of
the reference point. If, for example, you now
make a change in the edit window and then
click “Undo”, your last change will be cancelled
independently of any actions you may have
carried out.
However, the trash can deletes all changes made
at this reference point. If you click the trash can,
the still image is displayed without any effect.
But clicking the trash can changes the effects of
the other reference points, as you can see in the
“Preview”. You now observe the first “Smear”
(in the upper third of the image) until the
middle of the effect duration, then the diagonal
“Smear” is shown. You thus see the first and
third effect operate independently of each other,
because you have modified the middle reference
point so that the scene is seen there without an
effect.
The third possibility, namely the button
“Remove” belonging to the overview window,
deletes the selected reference point.
Now delete the middle reference point so that its
selection in the time panel is removed and the
arrow turns red again. The preview shows the
remaining two effects that are now joined with
each other.
“Undo” deletes only the changes in the image
that were made after the reference point was
selected.
The trash can deletes all changes that affect the
image at this position.
“Remove” deletes the currently selected
reference point. If no reference point is selected,
then the function has no effect.
6.7 Practice example 7
Animation of a title with the help of the Scene
function (not possible for AVIO without Pro
Package)
Create a black scene lasting eight seconds and
insert it into the storyboard. Call up the title
menu, select the effect “Pages”, insert it into the
storyboard and click on “Enter/edit text”.