MacroSystem ElasticDreams User Manual
Page 18
18
19
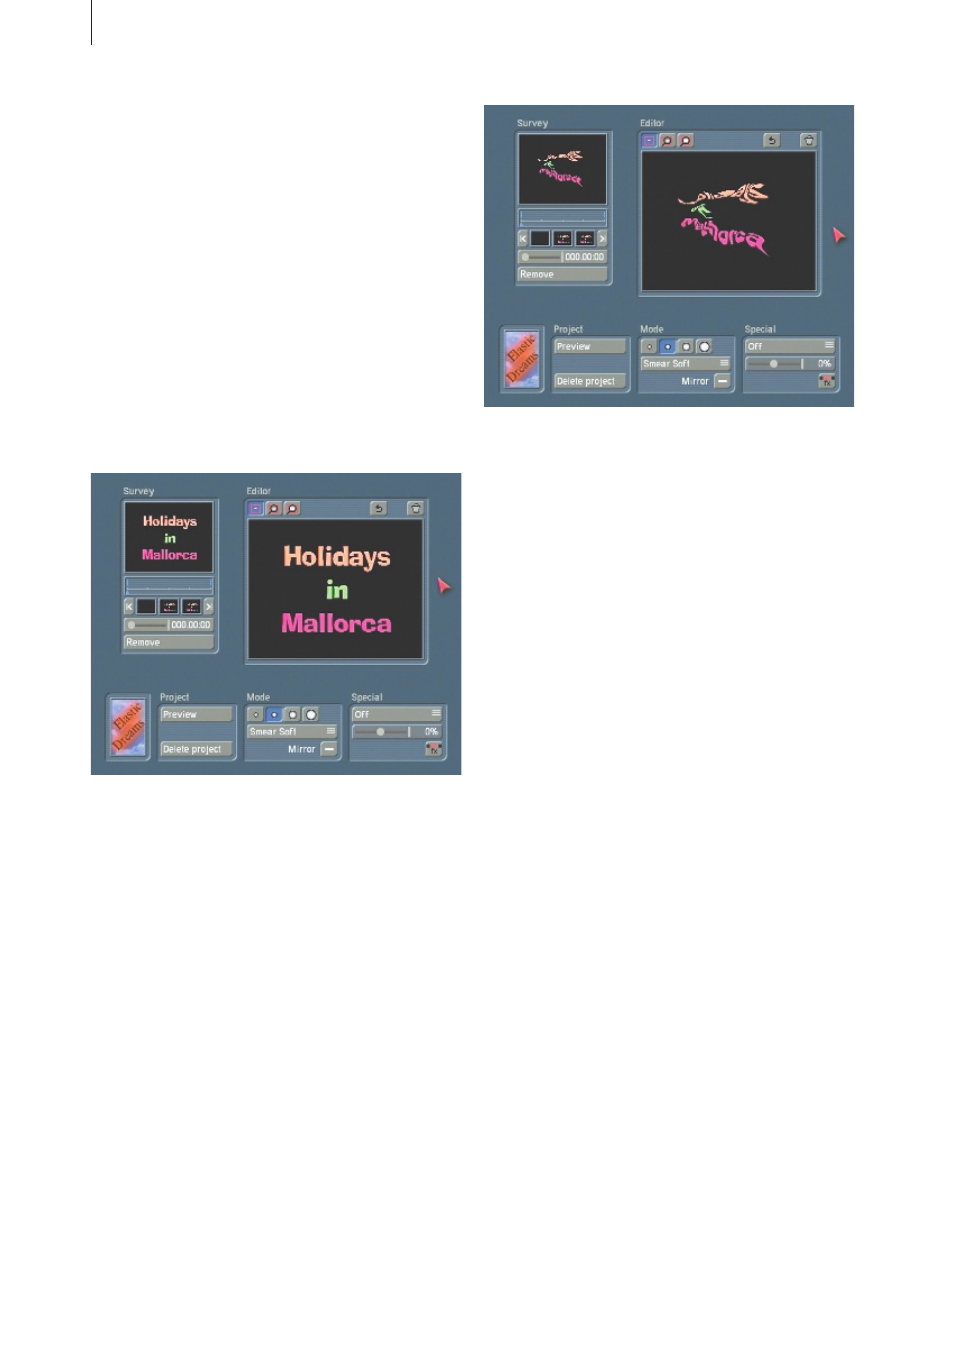
Now you can enter your text, e.g. “Holidays
in Mallorca”, whereby the style (color, size,
shadow, etc.) is unimportant. Then you
calculate the text and create a “Scene” which is
accessible in the edit menu.
This new scene contains the text that you will
now animate.
Put the scene into the storyboard, call up the
Image Processing Effects menu and insert the
effect “ElasticDreams Warp”. The duration of
the effect should correspond to the scene length.
Activate the function “Complete Scene” after
you have clicked on the effect length.
After you have started the program, delete the
already existing effect settings. In the overview
you now see the start and end scenes and no
further reference points.
In this example you will let the text pour out of a
spot in the image. Select a spot for this.
The scene begins with the full text, so you must
now change the first image so that no text can
be seen in it.
Now select the beginning of the effect (the
scene with the effect start). Set the mode to
“Smear soft” and select a tool point. You must
now move the text to the position from which
it should appear. Wipe over the text with the
pointer so that the text is distorted and begins to
move to the desired position. (This procedure is
comparable to sweeping up sand. Imagine that
you have written the text with sand. Now sweep
the sand together so that it is at one point.)
The text becomes steadily more unreadable and
smaller. Wipe over the text several times until
it becomes a small point. The movements you
have made in “smearing” the text will be carried
out later in reverse.
The first image of the effect is now almost black.
Click on “Preview” and observe the effect. The
preview will probably be too jumpy in showing
the effect, but if the trend is correct, exit the
program and calculate the effect.
You have now created your own title effect from
which you can make a “Scene” that is put into
the scene bin of the edit menu.
Tip: If you now calculate the scene in reverse,
you attain a fade-out of the text.
Let the scene be calculated in reverse (special
menu) and insert both scenes into the
storyboard, first the forward running scene, then
the backward running scene.
When playing back you see a text that is poured
out from a point and then collapses back into the
point.
If you want the text to be readable for a certain
time as a page, then simply insert the already
existing scene with the text page between the
two effect scenes.
As a variation you can put your animated
title onto moving video material or onto still
images. First, insert the desired scene, which
is at least as long as the animated title, into
the storyboard, and then the title scene. Then
insert the transition effect “Bluebox” between
these two scenes, set the effect duration to
eight seconds and activate the effect options.
The “Color choice” should have black as
background, the active area should be as big as