MacroSystem ElasticDreams User Manual
Page 10
10
11
that the button “Start Program” appears in the
effect options. After having inserted this effect,
click on this button.
A progress bar is initially displayed with the
message “Initialization, please wait...”. After
the screen is free, you can see the ElasticDreams
user interface.
Your scene is displayed in the edit window and
will be altered in the following way. With the
help of the tool points (mode window) you will
lengthen nose and ears of the person in the edit
window. Then you will use the “timeline” and
reference points to specify that these changes
are visible during the entire time of the scene
(even for small head movements). Don’t worry
if terms such as “tool points” or “timeline” are
foreign to you now. The terms mentioned in this
example will of course be explained in context.
If you should desire afterward a more detailed
explanation of a control element or a function,
then you can read the appropriate section in
chapter 5 of the manual.
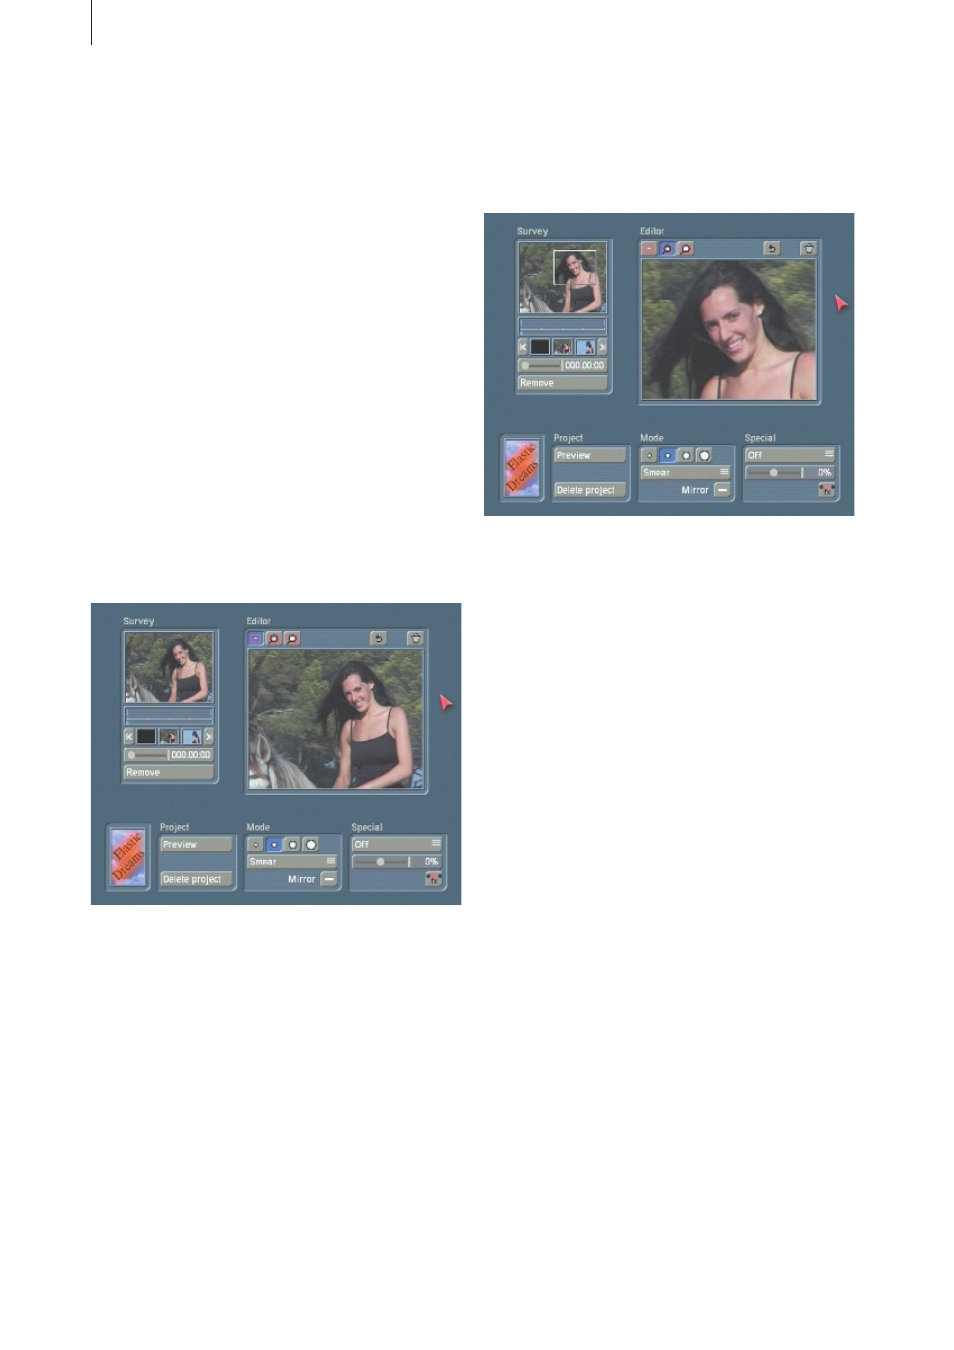
First, enlarge the image area to be worked on.
In the upper right quarter of the screen you see
the edit window, in which the first image of the
scene you have selected appears.
In the upper left corner of this window you
see three lens symbols. If you have started the
program for the first time, the left symbol is
active. Now click with the cursor on the middle
symbol so that the image in the edit window
shows an enlarged section.
Now watch the overview window above left. You
will see that a box has appeared that encloses
the area in the edit window.
To center the enlarged area of the image in
the edit window, or to display another portion
(in case the head was not filmed exactly in the
middle and you want to see it now), simply click
on the desired area in the overview window
(above left).
You can repeat this procedure as often as you
want until you see the correct area in the edit
window. You see that the crossmark in the
overview window has moved.
Now select a tool point in the mode window
(centered at the lower screen edge).
In the uppermost margin of this window you
see a selection of four different tool points. Here
you can select a tool point that approximately
corresponds to the size of the test person’s nose
in the video image, for example the second from
the right.
Now you can use the button below to specify the
mode for carrying out the alienating effect. To
lengthen the test person’s nose, select the mode
“Smear”.
Move the cursor in the edit window to the nose,
press and hold down the left trackball key and
move the cursor down or to the side. The nose
is lengthened in the direction taken!