MacroSystem ElasticDreams User Manual
Page 6
6
7
You can define any number of intermediate
steps, ElasticDreams always creates fluid
movement.
Distortions are displayed in real time,
corrections can be made at any time.
4.2 ElasticDreams Draw
(Transition effect)
(Imaging and effects on the left scene, the scene
on the right can be overlaid as half-transparent
reference)
For example, let animals or objects speak!
Record yourself (or another person) while you
speak a text. Your lip movements can serve as
template. For example, you can let your dog
speak.
Use ElasticDreams tools to open and close your
dog’s mouth in time to your lip movements. The
result: the animal speaks with your voice!
4.3 ElasticDreams FX
(Transition effect)
(Imaging and effects simultaneously on both
scenes, the scenes can be overlaid as half-
transparencies)
In this mode you can create your own effects.
The varied possibilities (manual drawing,
prepared effects, gradual fade) can be combined
to attain new and exceptional effects.
By setting special effects you specify how the
effect is applied from the first scene to the
second. For example, if you select “Whirl” in the
“Special” menu with an appropriate intensity,
then the first scene is faded into the second as a
kind of whirl.
4.4 ElasticDreams Morph
(Transition effect)
(Imaging and effects in the left scene, the scene
on the right is calculated automatically. The
scenes can be overlaid as half-transparencies)
Transform one person into another or fluidly
morph one object into another!
You can overlay two scenes with variable
transparency and use the powerful tools of
ElasticDreams to directly overlay prominent
points (eyes, ears, etc.).
The result is a gradual and fluid transformation
that is stunning and can make the high point of
a perfect video.
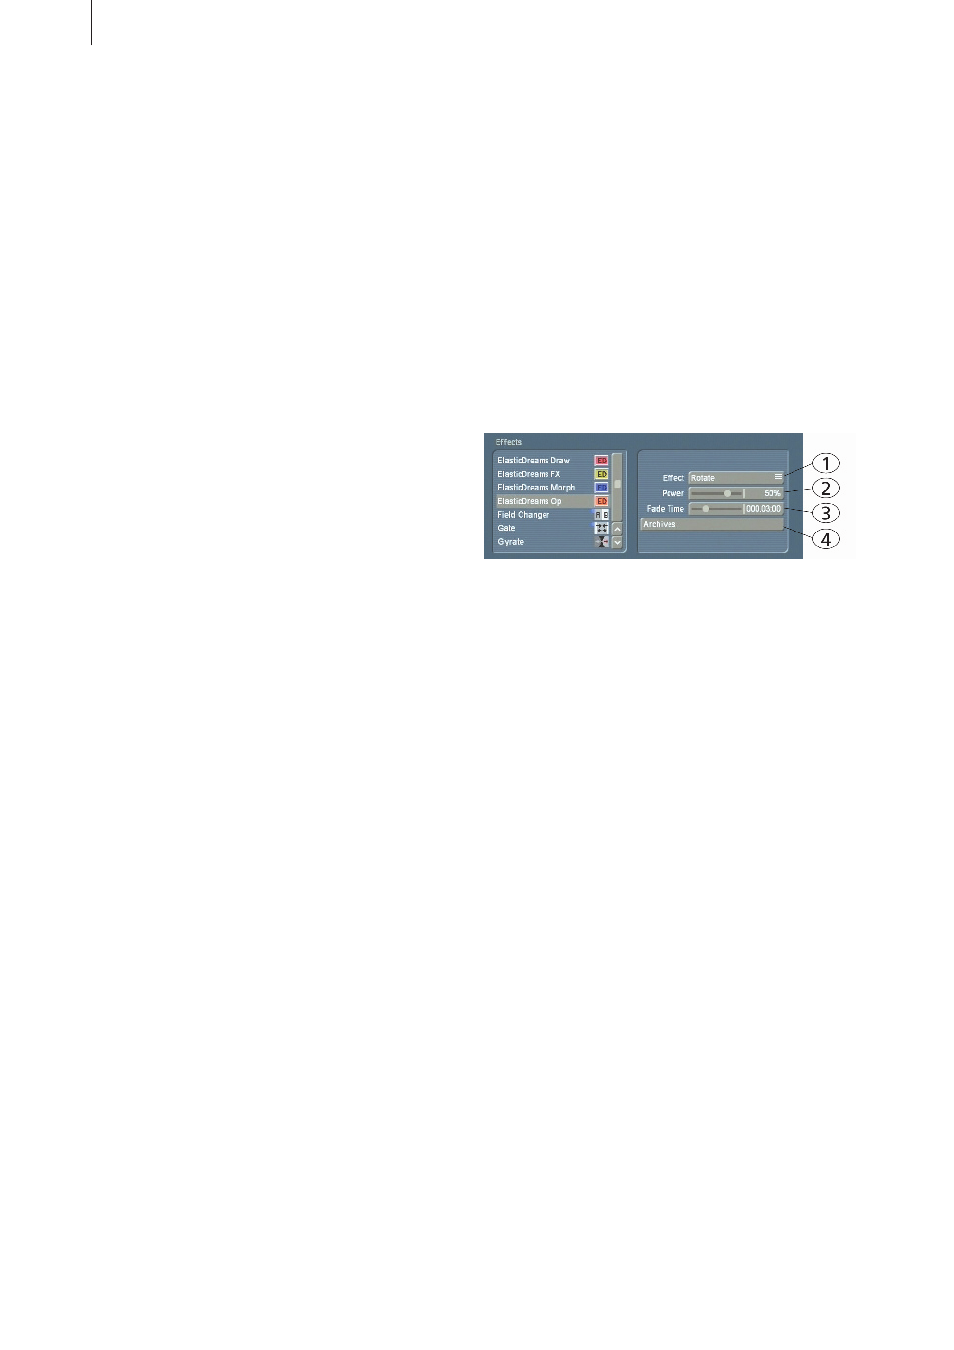
4.5 ElasticDreams Op
(Transition effect)
The special can be used here in a simple
manner. In contrast to the other ElasticDreams
effects, this one can be used in the storyboard
as often as desired. The individual effect options
are explained in the following:
(1) Effect
You can select any combination of effects from
a list.
(2) Power
Here you specify how strong the selected
effect is applied to the video. Negative values
are applied in contrast to the positive range
(clockwise). For every effect the most recently
set value is stored. However, this control is valid
only for the currently selected effect. Combining
several effects within a reference point is
possible.
(3) Fade Time
The effect is applied over the entire duration
selected in the storyboard. A gradual fade can
be inserted into the middle to hide the actual
scene change in the middle of the time span.
(4) Archives
Some predefined effect combinations can be
found here. You can also store here your own
creations for reuse at a later time.