MacroSystem MagicLights User Manual
Page 11

10
11
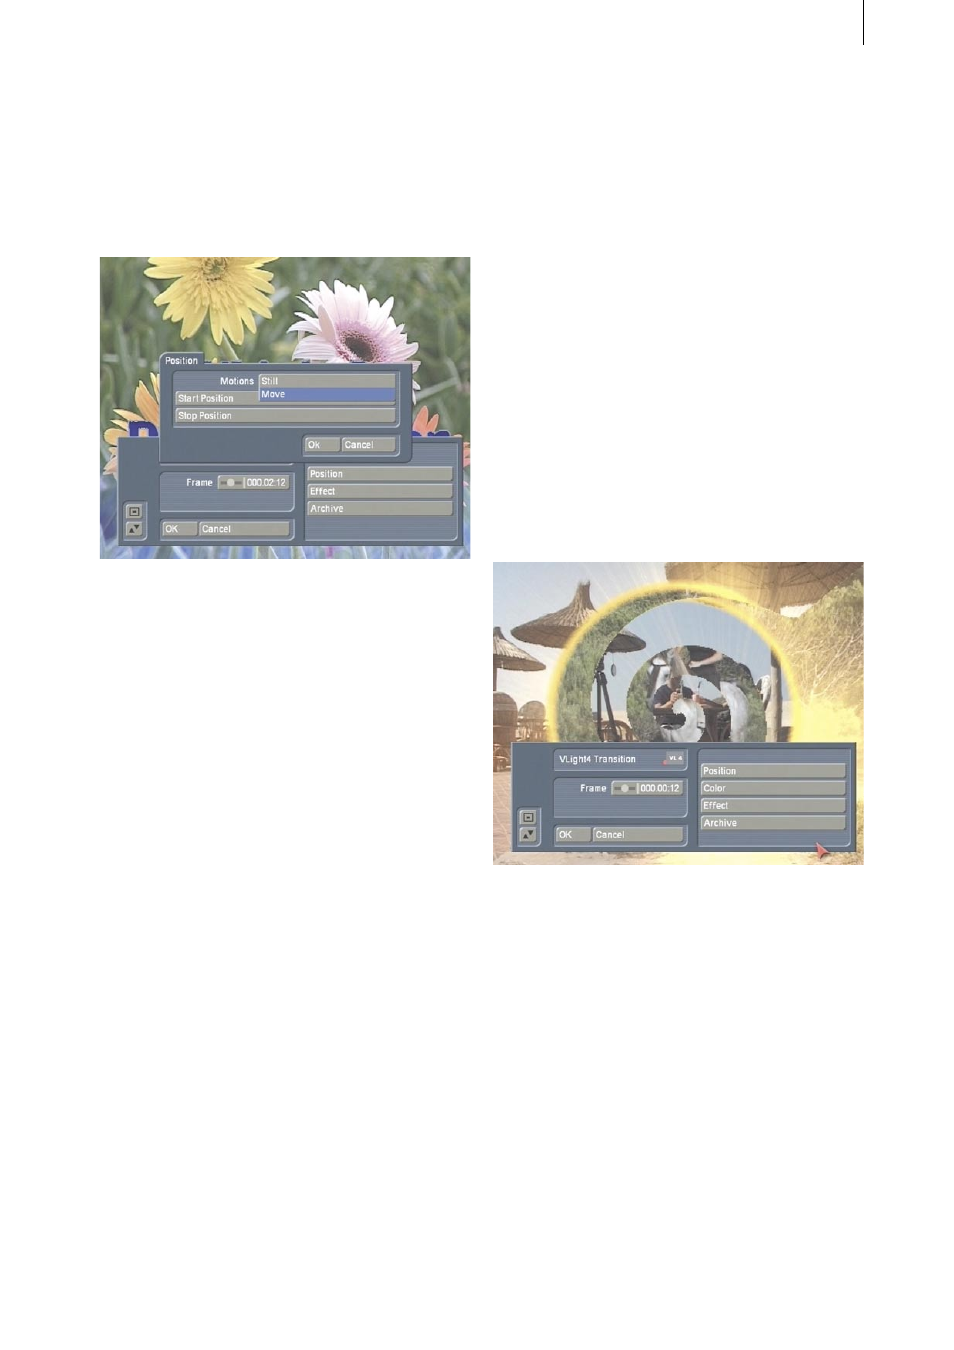
First, under “Position”, decide whether you
want the light source to move (“Move”) or re-
main stationary (“Still”). If the text is animated,
the picture will already have a moving compo-
nent. If you opted for stationary text, however,
you could now use a moving light source to
enhance the scene.
The options listed under “Effect” allow you to
change the settings as you wish. Experiment
with the various settings and see which ones
have the best effect on your video footage.
Tip: You can use the “Object Fade” option
(100%) to make your object or text disappear
completely. Since you can adjust the intensity
of the light rays separately using the “Fade”
control, you can therefore generate light rays
without the object or text actually being visible.
This is not possible using the “VLight3 Beam
around” effect despite the fact that you can
configure the same parameters. In this case, the
light rays change the more faded the object is
displayed.
6.2 VLight3 Beam around
To practice using this effect, please work with
the example that you used in the “VLight2 Beam
through” exercise.
The effect’s results differ in that the light in
“VLight 3 Beam around” does not radiate
through the letters but instead refracts at the
edges of the letters.
6.3 VLight4 Transition
Insert any two scenes that you want in the sto-
ryboard, open the Transition Effects menu and
insert the “VLight4 Transition” effect. It should
be three seconds long.
Take a look at the effect using the “Full Size”
function (not available on the AVIO without the
Pro-Package) or using “Preview”.
First of all, select the effect’s mask. To do so,
click on the “Effect” option, activate the “Se-
lect Mask” button and then, under “Product”,
choose “MagicLights” from the image pool, and
select “Mask” under the “Type” option. Next,
highlight the “Twirl” mask (third row, second
mask from the left).
Afterwards, click on the “Position” effect option
and then set the “Motions” function to “Still”.
Set the middle of the video picture as the “Start
Position”.
Now you can already take a look at the preview.
You will see a circular transition from whose
edges you see light rays emanating out of the
picture.
You can set the color of the light rays using the
“Color” option. The “Center Color” function al-
lows you to set the color at the origin of the light
ray (e.g. yellow) and the “Edge Color” lets you
set the color value appearing at the end of the
light ray (e.g. red).
You can then define your color gradient by using
“Threshold” under the “Effect” option to set the
width of the origin of the rays, e.g. a value of 8.
The wider the origin the more rays are created
during the effect.
Next, set the following values for this example’s
remaining settings: “Ambient Light” 0%, “Beam