Chapter 24, Common adjustments – Smithy Midas 1220 XL User Manual
Page 101

Chapter 24
Common Adjustments
Bevel Gear Adjustment
Occasionally you will have to adjust the bevel gears that drive the millhead. The
adjustment is on top of the millhead support column (Figure 5.1). Using the sight hole on
the back of the lathe head (Figure 5.5) will make the job easier. Remove the 20-mm plug
on the back of the lathe head to access the sight hole.
There are two ways to reach the adjustment screws on top of the support column. Either
unlock the millhead and lift it up off the machine or remove the four bolts under the drive
pulley (Figure 5.7). Then lift the pulley and bearing seat from the millhead (Figure 6.2).
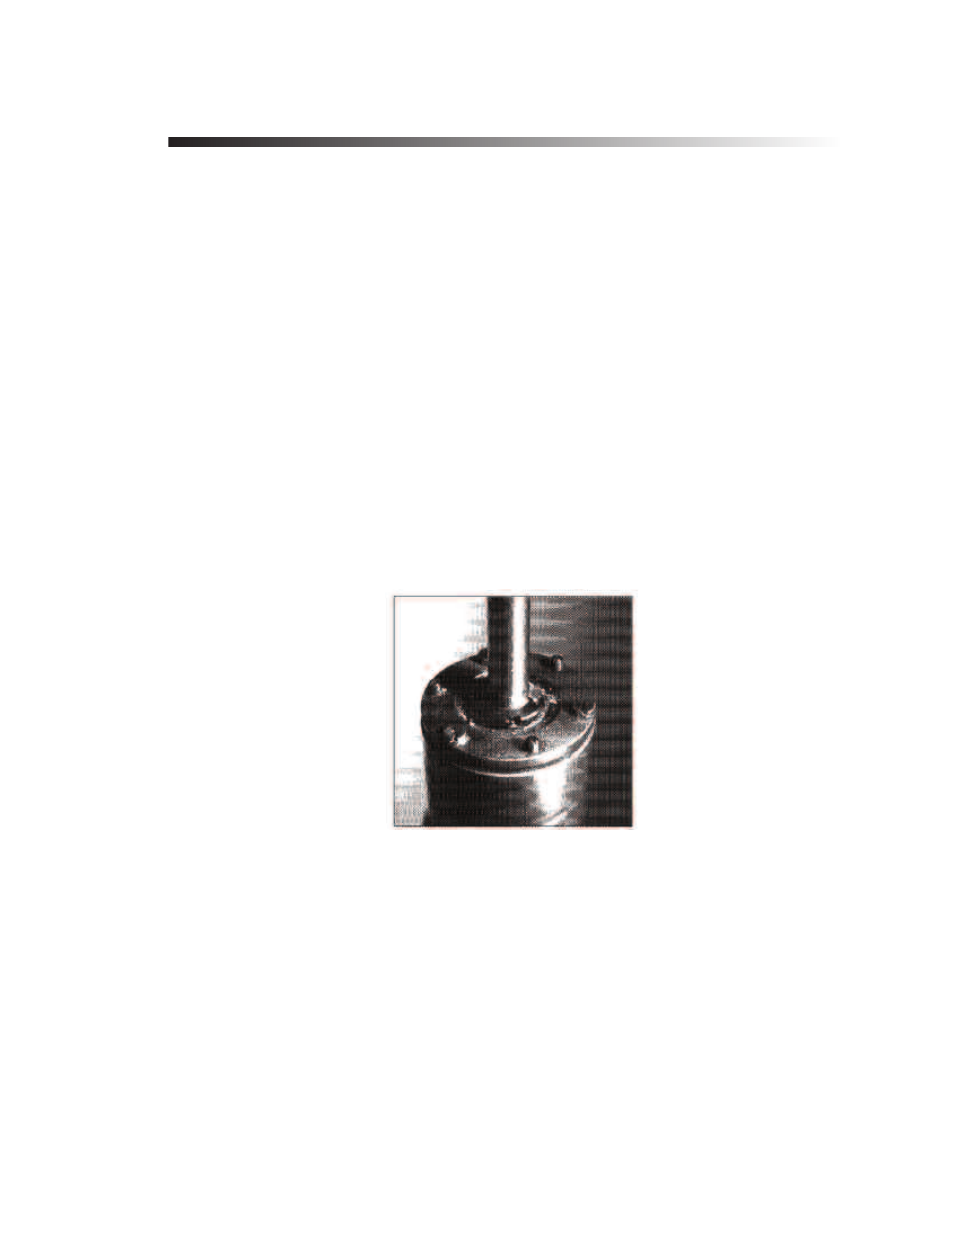
There are six screws on top of the support column (Figure 24.1). To raise the bevel gear,
loosen the three screws with heads and tighten the three without heads. To lower the
bevel gear, loosen the three screws without heads and tighten the three with heads.
When you are done, make sure all six screws are tight.
Figure 24.1 Use the six screws on top of the millhead support column to adjust the bevel gear.
To replace the bevel gear, remove the four socket-head capscrews below the black
adjusting collar (Figure 6.2) and remove the millhead and support column from the lathe
head. Remove the screw at the bottom of the bevel gear (Figure 24.2) and pull the gear
from the shaft. Then reassemble it with the new gear. Before placing the millhead, adjust
the bevel gear so it won’t break as tighten the millhead onto the lathe head. Then adjust
the bevel gear.
24-1
Or Visit www.smithy.com