Finish turning, Turning to shapes – Smithy Midas 1220 LTD User Manual
Page 56
For a screw to move, there must be some play in the thread. When backing the cutting
tool away from the cut, move the feedscrew enough to take up the backlash before
setting the collar or when drawing the tool from the cut.
Engage the longitudinal feed by moving the powerfeed engagement lever done. Always
cut deeply enough to reach below the scale on oxidized bars or iron castings. Hard,
oxidized surfaces dull tools rapidly.
Finish Turning
After you've rough-turned the workpiece to approximate finished size (within 1/32"),
replace your cutter bit with a freshly ground, keen-edged cutter. Make one or more light
finishing cuts across the machined surface.
Check the diameters carefully with a caliper or micrometer to be sure you are working to
proper dimensions.
Note:
The diameter will reduce twice the thickness of the cut.
For rough turning, most machinists prefer a deep cut and a comparatively fine feed, but
the reverse is true for finishing cuts. They usually use a very light crossfeed and a coarse
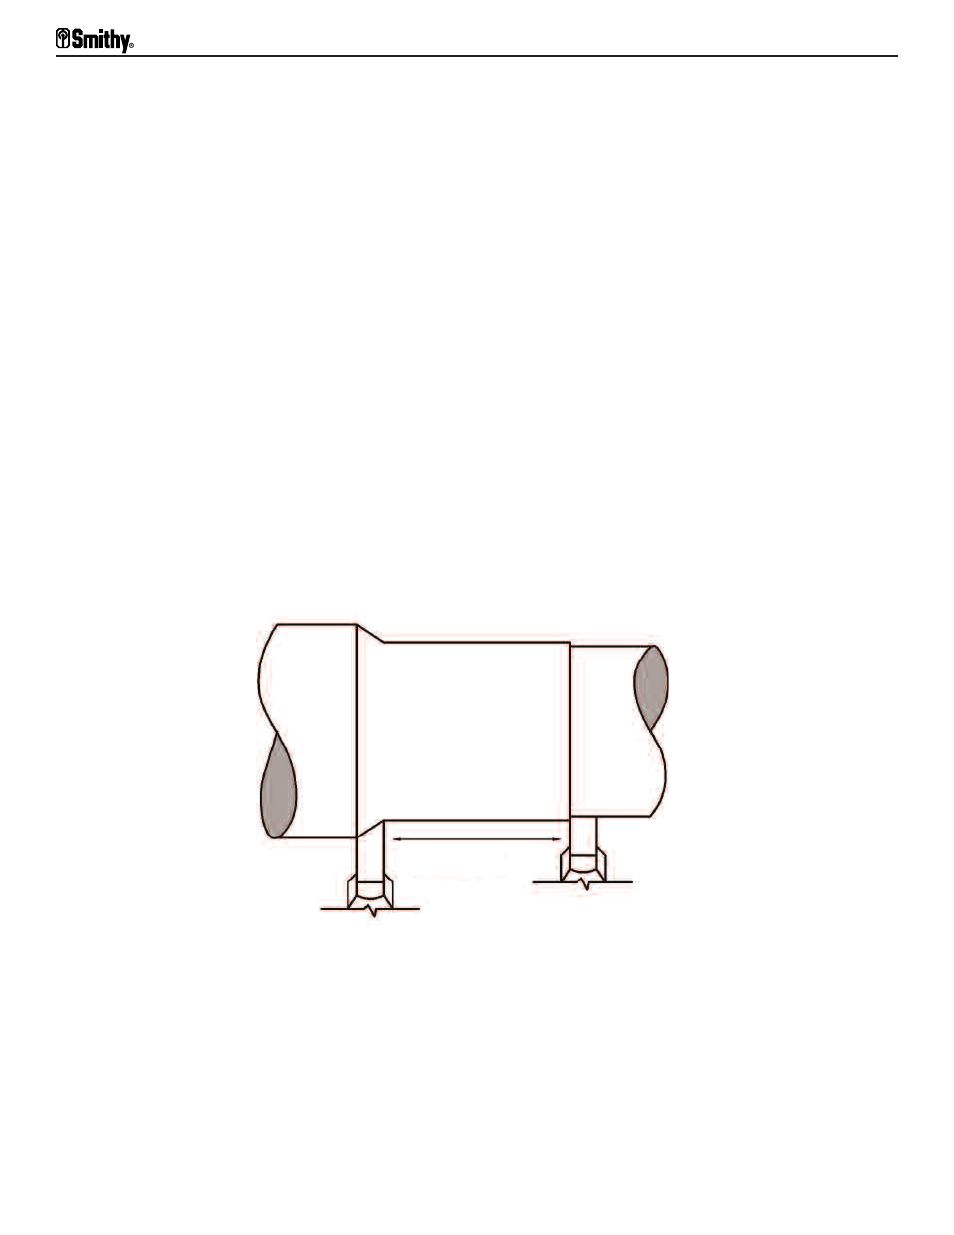
transverse feed with a cutting edge wider than the feed per revolution. In Figure 11.2,
the left-hand tool illustrates the first roughing cut and the right hand tool shows the
following finishing cut.
Figure 11.1 Roughing (left) and finishing (right) cuts.
Turning to Shapes
Other turning cuts, machining shapes, corners, fillets, etc., are done the same way. The
main difference is in selecting cutter bits and maneuvering the cutting point by means of
various cutting tools.
Midas 1220 LTD Operator’s Manual
11-2
For Assistance: Call Toll Free 1-800-476-4849
Cutting Tool