Removal – Sumix SMX-M7xx User Manual
Page 17
Installation and Update: Removal
17
SMX-M7xx Series USB2.0 Camera User Guide
6
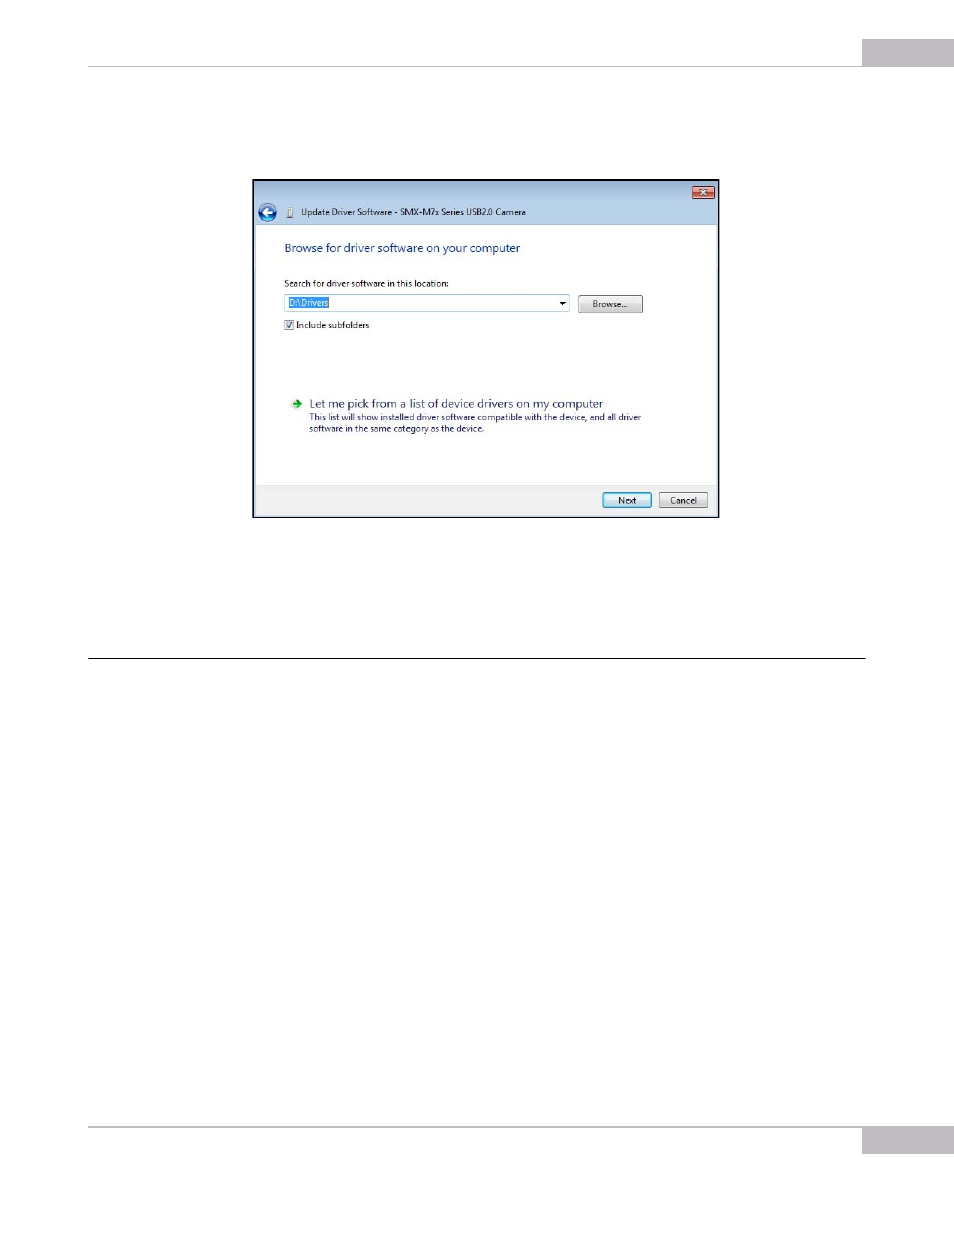
On the next step, browse for the location on your computer where the driver is saved
and click Next.
Figure 2-14 Updating the camera driver: step 2
7
The system will start installing the driver. In the end, a message that the installation is
successful will appear. Press Close to finish.
Removal
To remove the camera application software, use the Add/Remove Programs section in
the Windows Control Panel. Remove the application according to the general
Windows application uninstallation rules.
Alternatively, you can click the uninstallation shortcut in the application folder (Start >
All Programs > Sumix > SMX-M7x USB2.0 Camera> Uninstall SMX-M7X USB2.0
Camera Software) and follow the uninstallation wizard.
After removing the software, you need also to remove the camera driver.
To remove the camera driver:
1
Connect the camera to the computer.
2
Open the Device Manager window in the Control panel window.
3
Double-click Imaging devices.
4
Right-click SMX-M7x Series USB2.0 Camera and select Uninstall.
5
Confirm removing the driver: check the Delete the driver software for this device
and click OK.