Recording video, Saving video to memory – Sumix SMX-M7xx User Manual
Page 46
Capturing: Recording Video
46
SMX-M7xx Series USB2.0 Camera User Guide
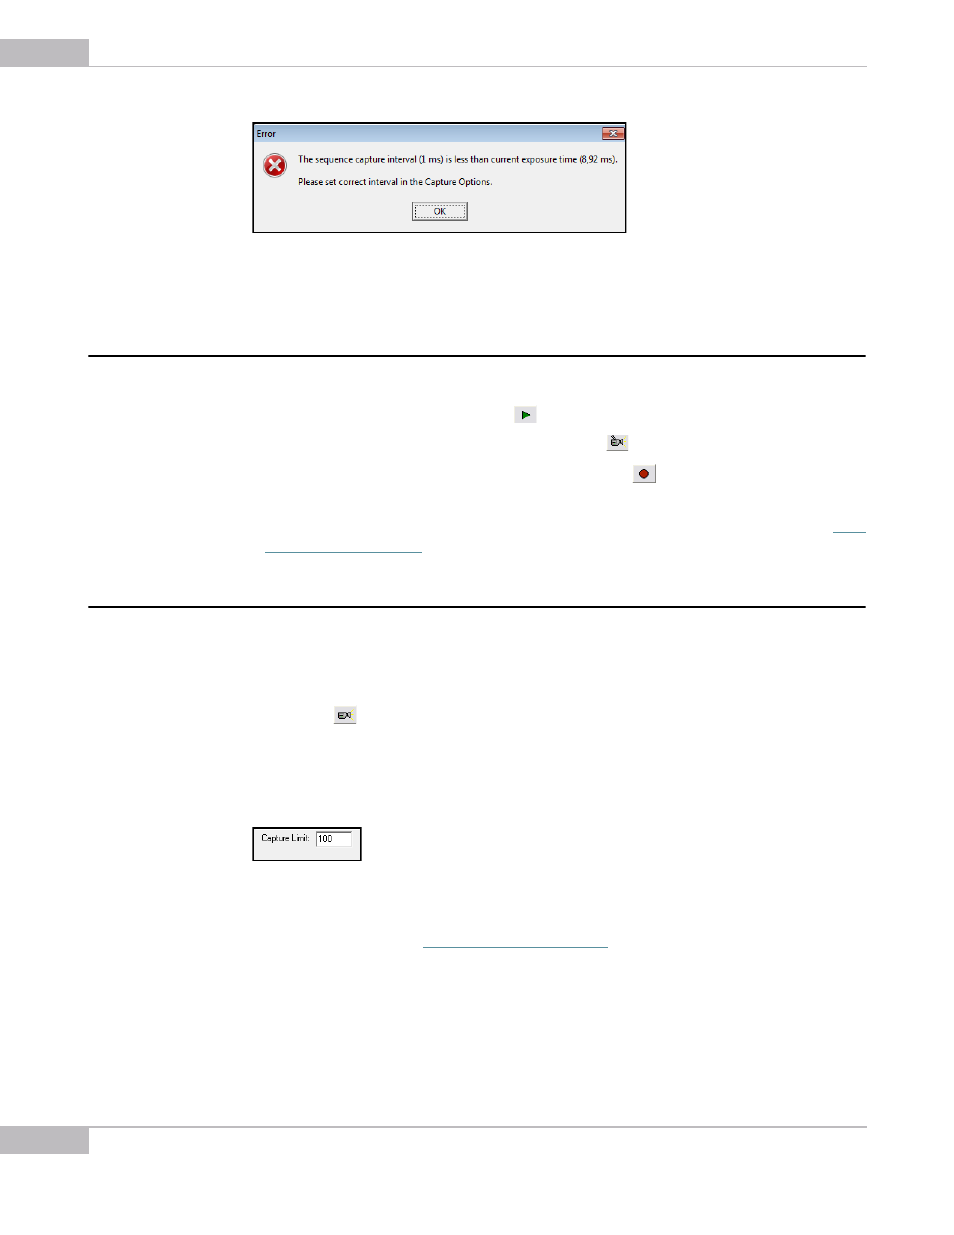
Figure 5-2 Message about incorrect sequence capture interval
4
Press OK.
Recording Video
To record a video:
1
Start video (press F5 or the button
Start Video in the toolbar).
2
To start video recording, press F4 or the button
in the toolbar.
3
Press Shitf+F5 to stop the video stream or click the
Stop Video button in the
toolbar.
4
The video is recorded and saved in the folder specified in Capture Options (see
) as an .avi file.
Saving Video to Memory
You can save video or frames to the core memory. This is done without a delay between
frames. Do the following:
1
Start video.
2
Press the
Save Video to Memory button in the toolbar or press Shift+F4 on the
keyboard.
Number of frames in the video is set via the Capture Options box. Type in the required
number in the Capture Limit field:
Figure 5-3 Save Video to Memory section
When you use the Save to Memory option, frames will be saved as image files similarly
to the simple saving (see
). Video will be saved as a .smx file
which can be replayed and converted to the .avi file with the SMXView utility that goes
with the standard SMX-M7x software package.
Saving video directly to memory can slow down the camera’s output visualization, but
this method insures that no frames are missing in the saved file.