Visara CNA-8000 Installation User Manual
Page 12
Chapter 1. Installation
1-4
707158-003
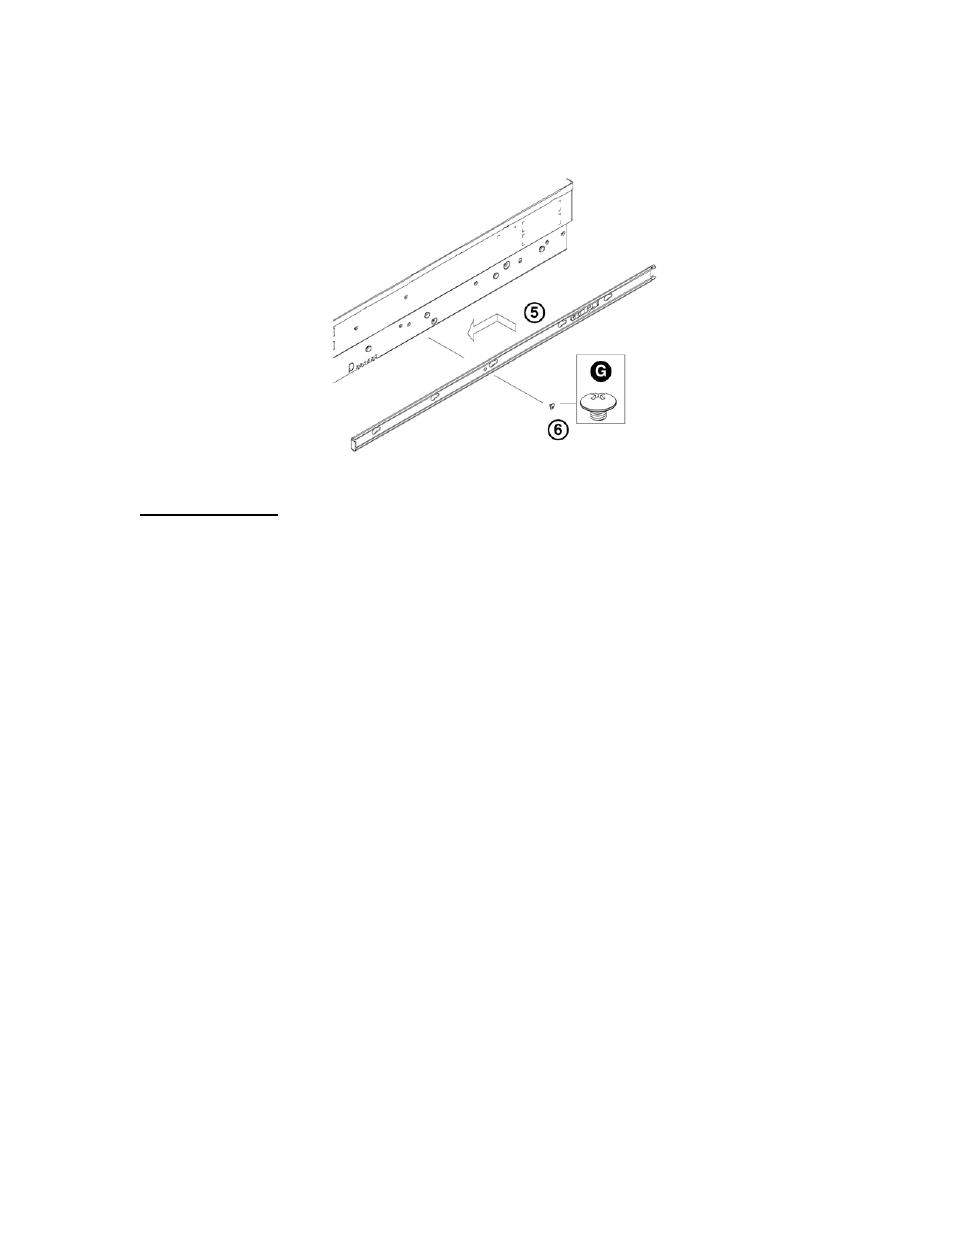
6. Secure the rail to the chassis with a Type G screw. Repeat the above steps to
install the other rail on the chassis.
Rack Installation
After you have installed the inner rails on the chassis, you are ready to install the outer
rails of the rail assemblies to the rack.
(The rails are designed to fit in the racks with the depth of 28-33”.)
Procedure:
1. In the package, locate a pair of front (short) and rear (long) brackets. Please note
that the brackets are marked with Up/Front Arrows (front) and Up/Rear arrows
(rear).
2. Secure the front (short) bracket (marked with the Up/Front arrows) to the outer
rail with two Type G screws.
3. Locate the two buttons on the outer rail and attach the rear (long) bracket to it by
sliding the opening of the rear rail through the button.
4. Measure the depth of your rack and adjust the length of the rails accordingly.
5. Repeat the same steps to install the other outer rail on the chassis.
6. Secure both outer rail assemblies to the rack with Type H screws and Type I
washers.