Controller settings, Record train length allocation settings – Grass Valley K2 Dyno v.1.6 User Manual
Page 164
164
K2 Dyno Controller User Manual
15 April 2010
Chapter 10 Settings
Controller settings
You can change various settings for the K2 Dyno Controller to suit your preferences
in the CONFIG screen. The settings can be exported to a USB storage device to
import them to another K2 Dyno Controller. For information about importing and
exporting settings in the CONFIG screen, see
"Importing the CONFIG information"
.
1. Touch the
CONFIG
tab.
• The CONFIG screen appears. For information about the indication meanings
and individual panel functions in each setting screen, refer to the description for
each setting.
• In order to reflect the settings, touch
APPLY
. If you want to cancel and undo the
change(s), touch
CANCEL
.
Notes for displaying the CONFIG screens simultaneously on two K2 Dyno
Controllers
When two K2 Dyno Controllers are joining in the same session, any settings that are
changed by touching
APPLY
in the CONFIG screen on either of the controllers will
be applied to the other one automatically.
However, while the CONFIG screen is being displayed on two controllers at the same
time, the setting(s) will not be applied to the other controller even if you change any
setting and touch
APPLY
. Note that if
APPLY
is touched on the other controller at this
time, the system will store settings without applying the setting(s) changed on the first
controller.
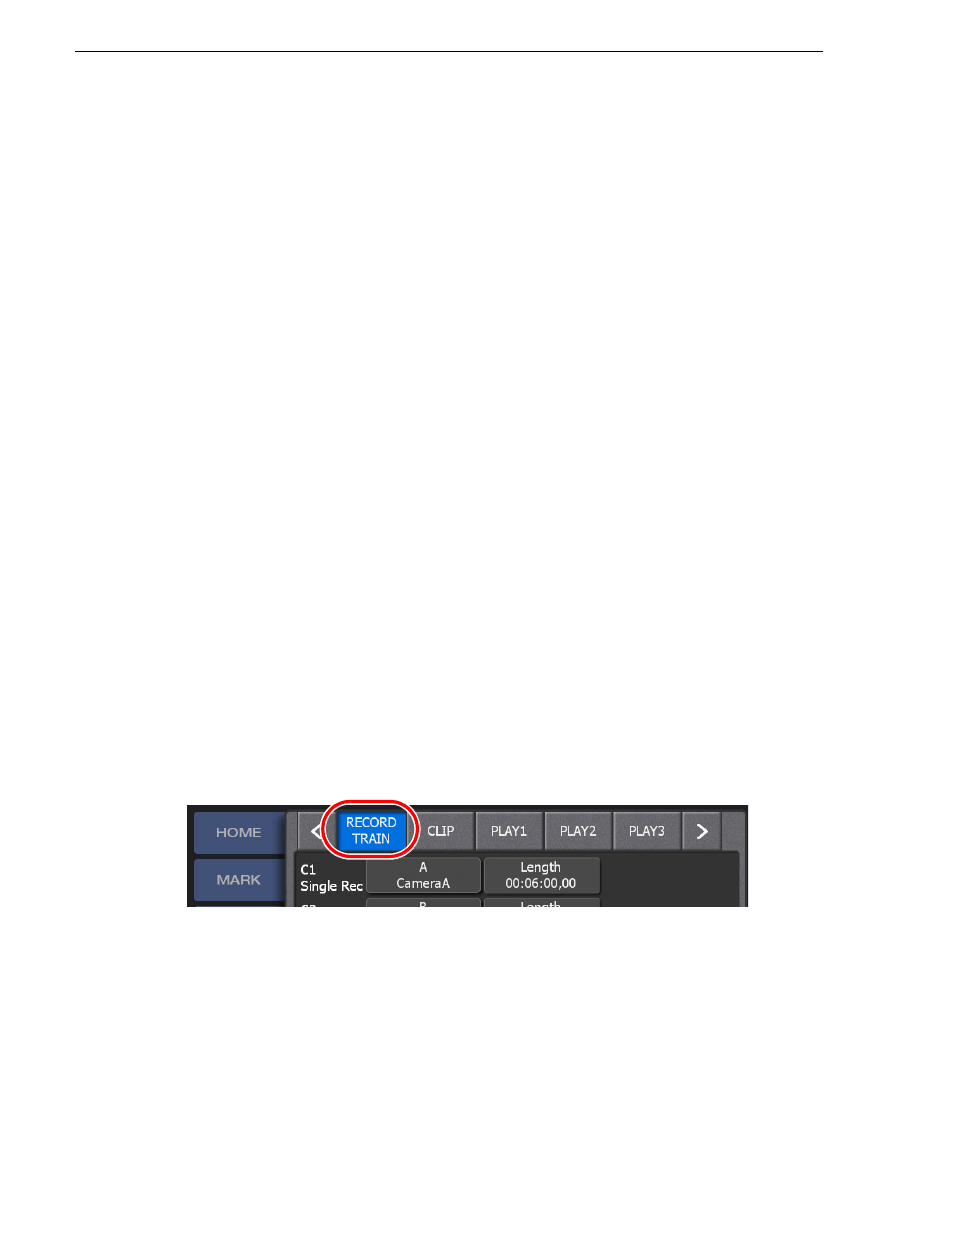
Record train length allocation settings
The maximum recording time for each train can be set by entering the timecode.
NOTE: The Train Length setting only indicates the maximum recording time. The
actual available recording time depends on the remaining space in the Summit.
1. Touch
<
or
>
in the CONFIG screen, and then touch
RECORD TRAIN
.