Renaming a video or audio track, Using track mapping, Importing audio tracks – Grass Valley K2 Media Client User Manual v3.3 User Manual
Page 243
June 5, 2009
K2 Media Client User Manual
243
Using track mapping
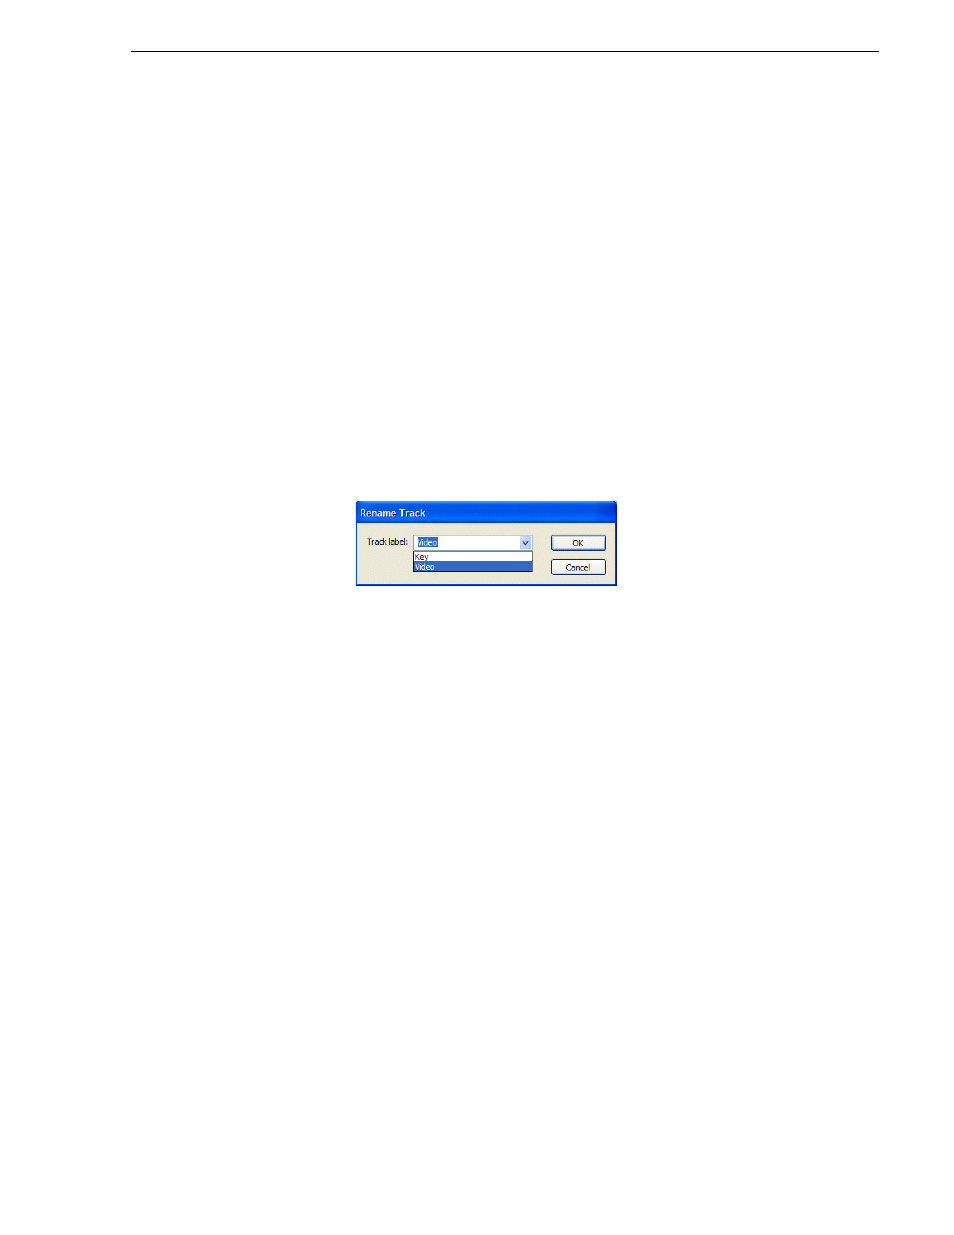
Renaming a video or audio track
If no input tags have been specified, any audio tracks that you have recorded appear
in the Clip Properties dialog box as
A1
,
A2
, etc. The video tracks by default are labeled
Video
. Multiple video and audio tracks can be labeled with the same name.
To rename a video or audio track, follow these steps:
1. Open the Clip Properties dialog box and select the Tracks tab.
2. Highlight the track and perform one of the following actions:
• Click the
Rename
button.
—or—
• Right-click with the mouse and select Rename.
—or—
• Double-click on the track name.
3. A drop-down list displays, allowing you to select a new name for the track. You
can also enter in a name. Track names can be up 16 characters long.
Using track mapping
You can add, remove, or re-arrange audio or video tracks in a clip through the Tracks
tab of the Clip Properties dialog box.
This section covers the following topics:
“Adding a video or audio track”
“Removing a video or audio track”
“Re-arranging the order of the tracks”
Importing audio tracks
This feature is part of the licensable AppCenter Pro option.
You can import an audio track from an audio file. The file must be in the .wav format
with a sample rate of 48 kHz. The imported file is aligned to the start of the clip.
To import an audio file, follow these steps.
1. Highlight the clip that you want to import the track into.
2. Open the Clip Properties. (list ways) and select the Track tab.
3. Click the Import button.
4. The Windows Open dialog box displays