Multi-function display – Polaris 2000 Victory Special Edition User Manual
Page 58

1
2
51
MULTI-FUNCTION DISPLAY
MFD Functions
1. Odometer
2. Trip Odometer
3. Clock
4. Backlight dimming
5. Hi-Beam Dimming
6. Fuel Level
7. Voltmeter
8. Check Engine
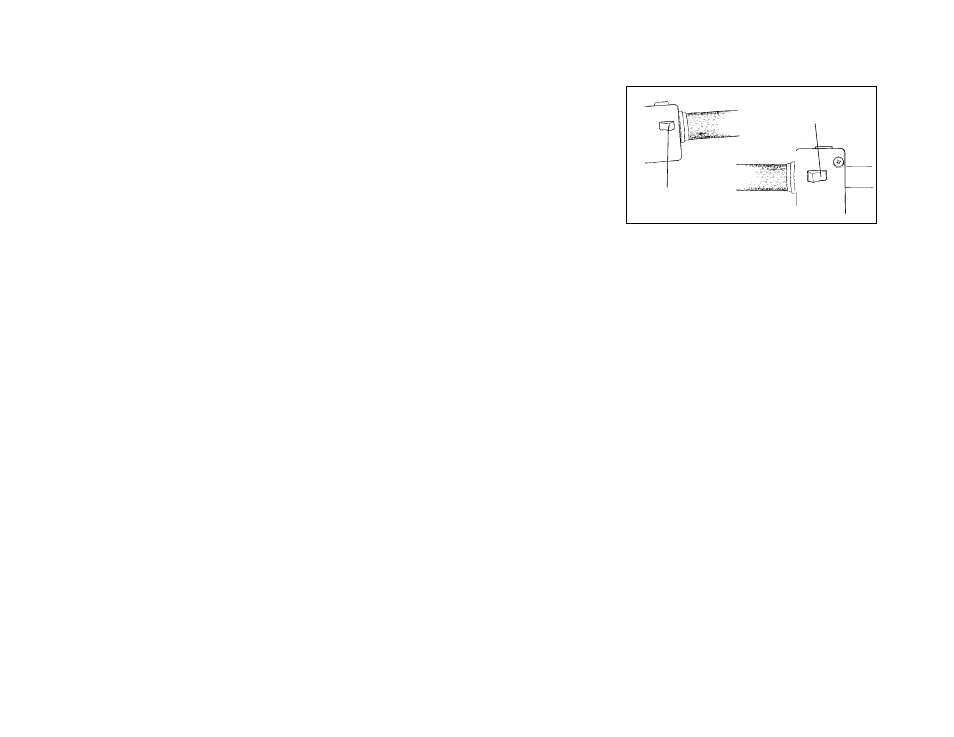
MODE SWITCH (1) - Toggles all Multi-LCD display functions except “Check En-
gine.” The indicator scrolls from left to right, displaying selection.
SET SWITCH (2) - Function varies with selected function mode. Used to set the
clock, to select English or metric while in Odo mode and resets the trip odometer
while in trip mode.
ODOMETER - Default function on LCD when starting the machine. It accumulates
the distance of the vehicle. The global numeric system can be toggled between
English and metric by pressing the SET button for 3 seconds while in this function.
Pressing the mode button will change to the next LCD function.
TRIP ODOMETER - This function also accumulates and stores distance but can
be reset to zero by pressing the SET button for 3 seconds while in this mode. TRIP
MI or TRIP KM indicators are on when in this mode (depending on the current nu-
meric system of choice). Pressing once the MODE button will change to the next
LCD function.
CLOCK - the clock function on the LCD shows the time. The CLOCK indicator is
on when in clock mode. You must be in CLOCK mode to set the time. To set the
time, hold SET key for 3 seconds (hours digits start flashing), press SET to select
the hour and MODE to enter the set hour; the first digit of minutes will begin to flash.
press SET to select the number and MODE to enter it; continue with this procedure
for the final digit. After the last digit is entered, the display will return to normal op-
erational mode (colon flashing). After the clock is set, pressing the MODE button
will change to the next LCD function.
BACKLIGHT DIMMING - the intensity of the backlight of the module can be
changed to one of 6 levels by pressing the SET button. The LCD display will show
in bars the proportional part of the dimming. Pressing the MODE button will change
to the next LCD function.
HIGH BEAM INDICATOR DIMMING - The intensity of the high beam indicator can
be set to one of 4 levels by pressing the SET button. The LCD display will show
HB followed by bars, indicating the proportional part of the dimming. In this mode,
the DIM indicator is still on and pressing the MODE button once will change to the
next LCD function.
FUEL - Fuel of the vehicle will be shown on the LCD display in gallons or liters ac-
cording to the current numeric system of the module. The range goes from 0 to 5
gallons. In this function all indicators will be off, pressing the MODE button once
will change to the next LCD function.