Changing image resolution (size), Red-eye correction – Canon PowerShot SX60 HS User Manual
Page 52
52
Before Use
Basic Guide
Advanced Guide
1
Camera Basics
2
Auto Mode /
Hybrid Auto Mode
3
Other Shooting Modes
5
Tv, Av, M, C1, and C2 Mode
6
Playback Mode
7
Wi-Fi Functions
8
Setting Menu
9
Accessories
10
Appendix
Index
4
P Mode
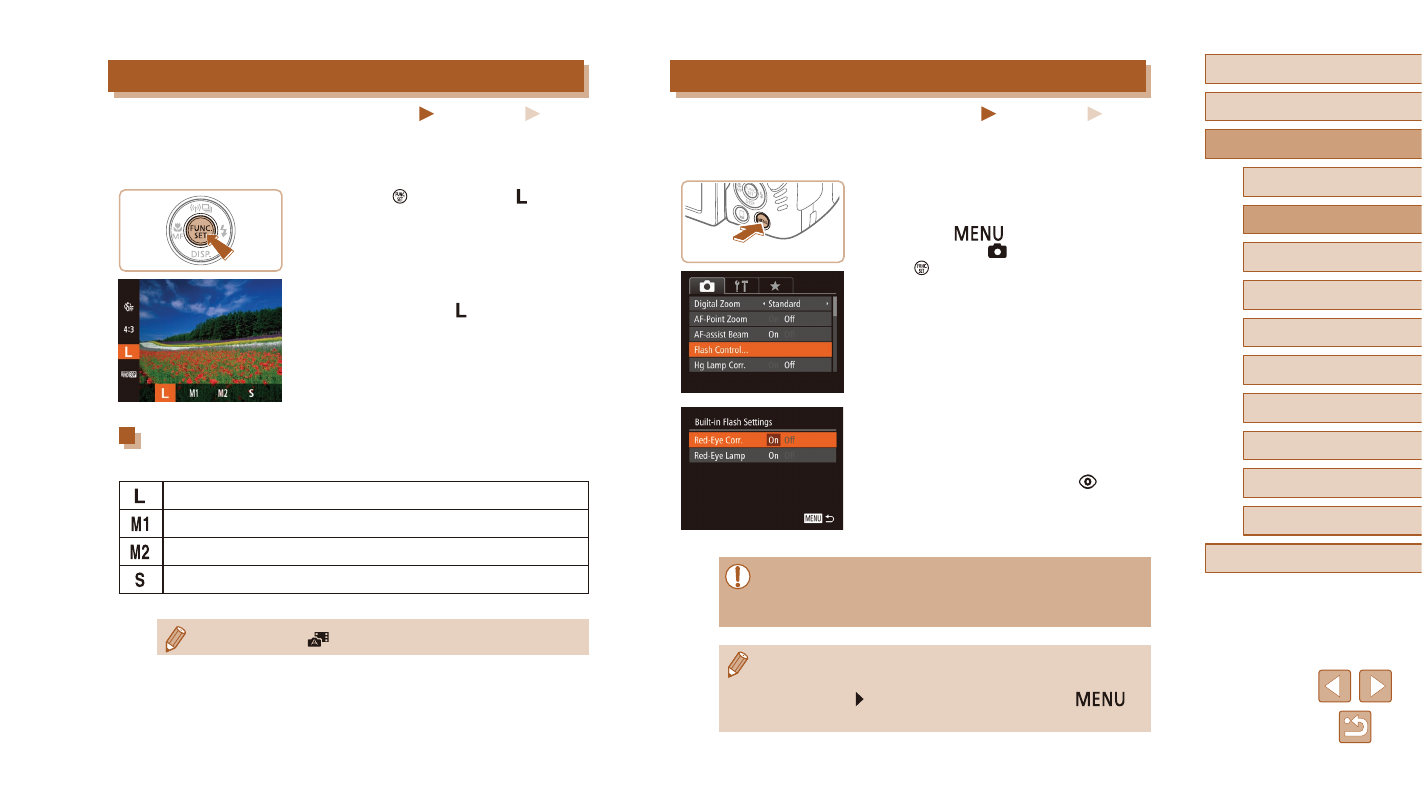
Red-Eye Correction
Still Images
Movies
Red-eye that occurs in flash photography can be automatically corrected
as follows.
1
Access the [Built-in Flash Settings]
screen.
●
Press the [
] button, choose [Flash
Control] on the [ ] tab, and then press
the [ ] button (= 30).
2
Configure the setting.
●
Choose [Red-Eye Corr.], and then
●
Once the setting is complete, [ ] is
displayed.
●
To restore the original setting, repeat this
process but choose [Off].
●
Red-eye correction may be applied to image areas other than
eyes (if the camera misinterprets red eye makeup as red pupils,
for example).
●
You can also correct existing images (= 119).
●
You can also access the screen in step 2 when the flash is up by
pressing the [ ] button and immediately pressing the [
]
button.
Changing Image Resolution (Size)
Still Images
Movies
Choose from 4 levels of image resolution, as follows. For guidelines on
how many shots at each resolution setting can fit on a memory card,
see “Number of Shots per Memory Card” (= 197).
●
Press the [ ] button, choose [ ] in the
menu, and choose the desired option
●
The option you configured is now
displayed.
●
To restore the original setting, repeat this
process but choose [ ].
Guidelines for Choosing Resolution Based on Paper
Size (for 4:3 Images)
A2 (16.5 x 23.4 in.)
A3 – A5 (11.7 x 16.5 – 5.8 x 8.3 in.)
3.5 x 5 in., 5 x 7 in., Postcard
For e-mailing and similar purposes
●
Not available in [
] mode.