Using the menu screen – Sony ECM-M1 Compact Camera-Mount Digital Shotgun Microphone User Manual
Page 13
Flash
HVL-F60RM/HVL-F60RM2/HVL-F46RM
Using the MENU screen
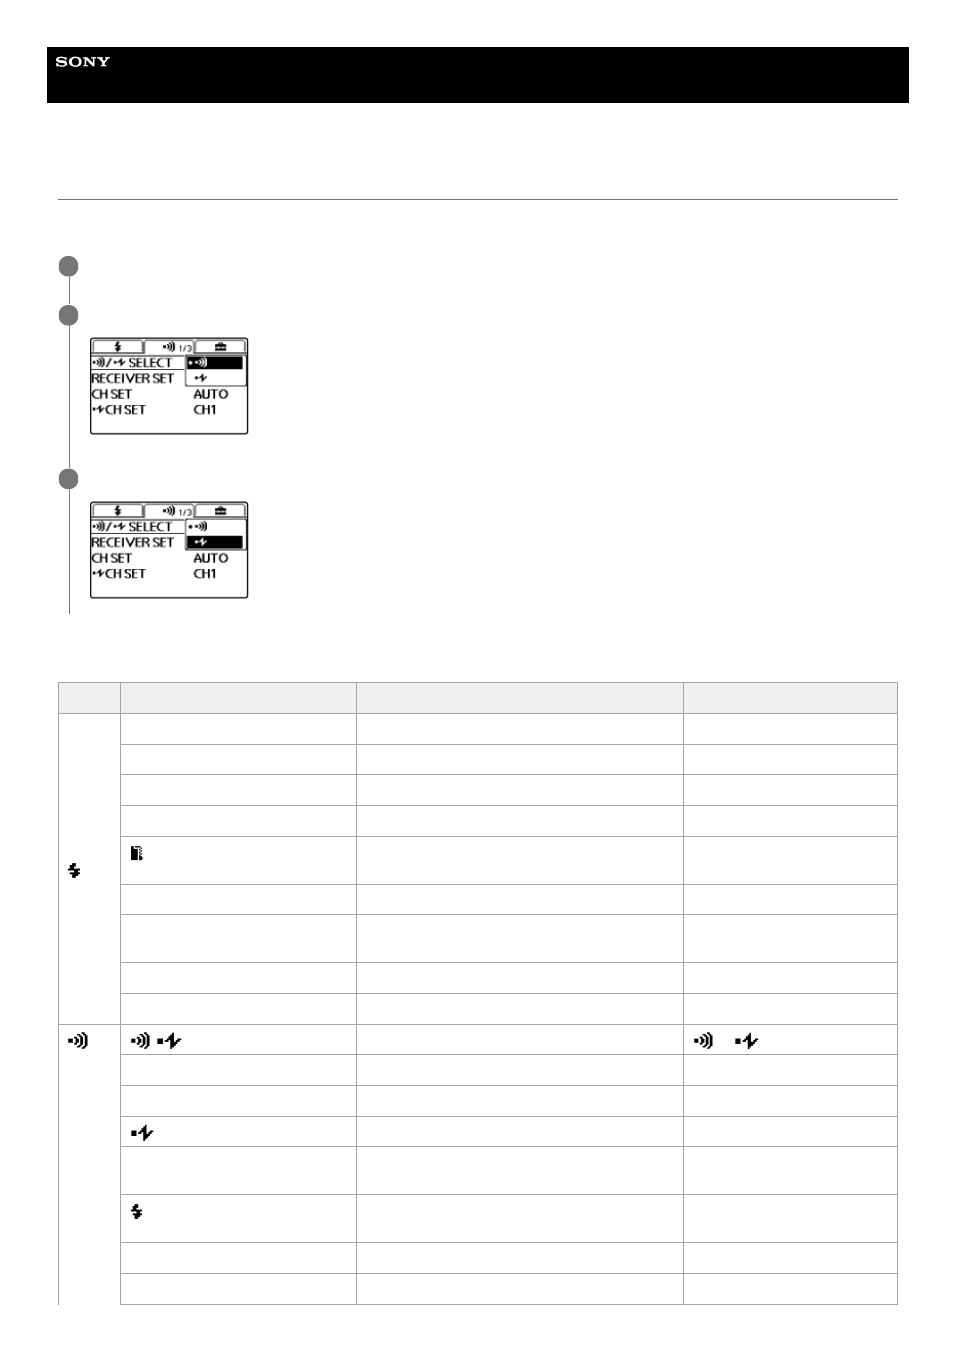
You can press the MENU button on the flash unit to change the settings on the MENU screen. Move the focus to the setting item of your choice
with the direction buttons, and then press the center button to select the item.
On the MENU screen, you can the following setting options.
Press the MENU button.
1
Move the focus to the setting item of your choice with the direction buttons, and then press the center button.
2
Change the setting option with the direction buttons and press the center button.
3
Groups
Setting items
Descriptions
Setting options
FLASH DISTRIBUT.
Flash distribution setting
STD(*)/CENTER/EVEN
LIGHT MODE (HVL-F60RM)
LED light ON/OFF setting
-
MEMORY
Registration of the desired modes and settings
MR1/MR2
AF LED LEVEL (HVL-F60RM)
AF illuminator level setting
HIGH/LOW(*)
CHARGE SET (HVL-F60RM/HVL-
F60RM2)
Flash charge-up setting when the External Battery
Adaptor is connected
EXT.+INT.(*)/EXT.
TEST
Test-flash setting
GROUP/1TIME(*)/3TIMES/4SEC
TTL LEVEL MEMORY (HVL-
F60RM/HVL-F60RM2)
TTL level memory setting
ON(*)/OFF
LEVEL STEP
Step of flash power level setting
0.3EV(*)/0.5EV
CUSTOM KEY
Custom key settings
-
/
SELECT (HVL-F60RM)
Wireless control type setting
(*)/
RECEIVER SET
Receiver settings
-
CH SET
Channel setting (radio control)
AUTO(*)/CH1 - CH14
CH SET (HVL-F60RM)
Channel setting (optical control)
CH1(*) - CH4
REMOTE RELEASE (HVL-
F60RM/HVL-F60RM2)
Remote release mode setting
ON/OFF(*)
WITH RELEASE (HVL-
F60RM/HVL-F60RM2)
Remote release sync flash setting
ON/OFF(*)
PAIRING
Pairing
-
PAIRED DEVICE
List of the paired devices
-
13