Digi-Star Diet Manager Set-up & User Guide User Manual
Page 14
Set-up and User Guide
08/31/05
10
Then click on Send
Auto Send (RF Datalink)
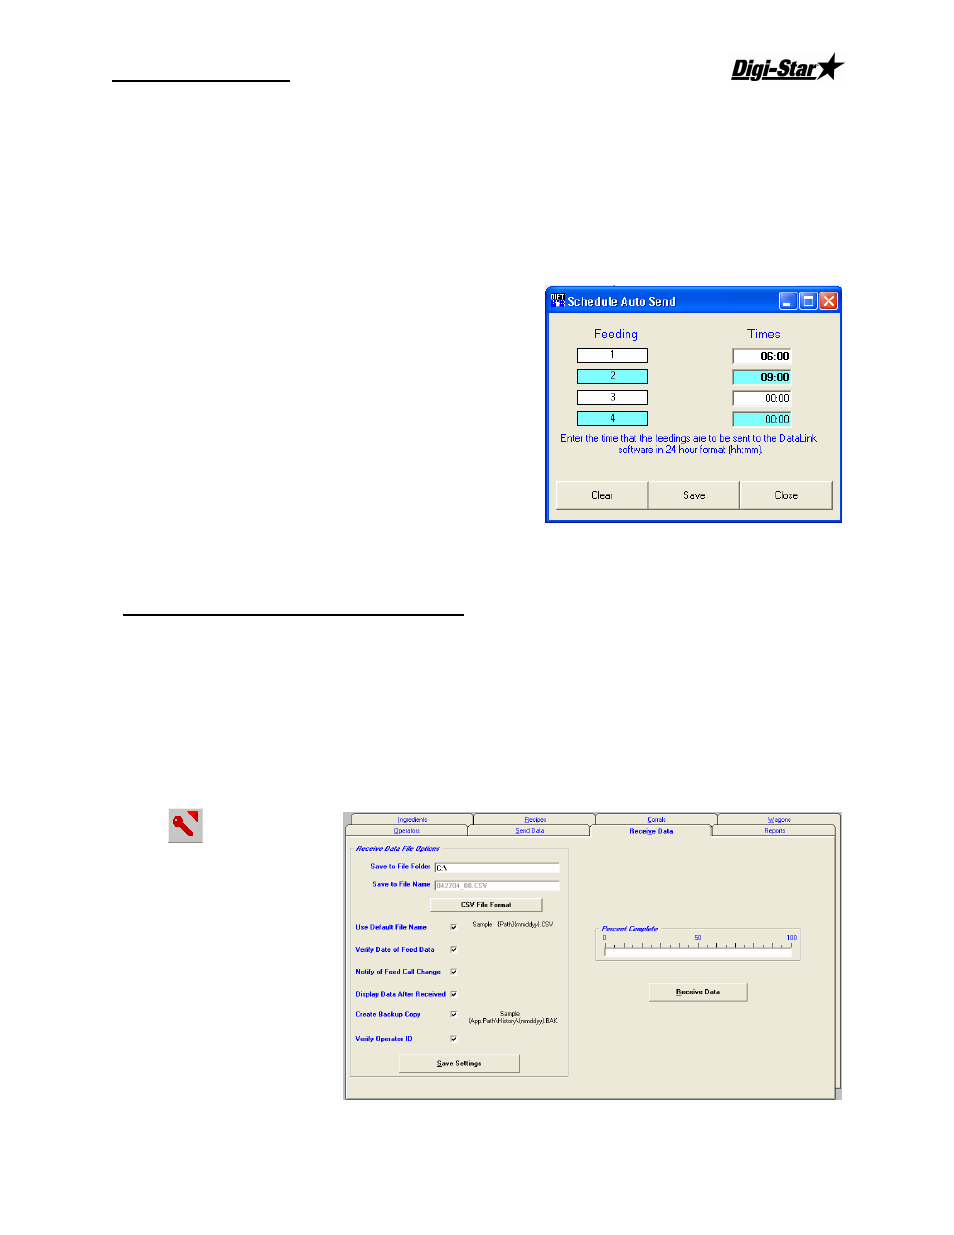
In the send data screen, you may set a time for Diet Manager to automaticly send data to RF Datalink.
Start by clicking on Setup Auto Send.
The following screen will appear:
Enter the times to automaticly send the feeding number to
RF Datalink. Enter the time in 24 hour format.
Then cick Save and the times will be displayed in the
Send Feeding Data screen.
Note: Do not set times the same for feedings. Set 1 or more
minutes apart.
Feeding with the EZ3500 Indicator
With the feeding information stored on the key, insert the DataKey
™
into the EZ3500 and upload the
information by selecting the [ON] button. If data is already stored in the EZ3500, the stored data will be
written to the DataKey first then follow the previous instructions. Use the [RECIPE] button to locate the
load you wish to start, and press the [LOAD] button to start loading. Refer to the EZ3500 operators
manual for complete information. With feeding completed, insert the DataKey
™
into the indicator and turn
to write the completed information to the DataKey
™
.
Receive Data from the DataKey
™
To access the Receive
Data screen, Select the
Receive Data tab, or
from the Main Menu,
select DataKey
™
,
Receive Data.
Save to File Folder
This option sets the path
that the received data will
be saved to. The defualt
location is C:\. To create
a differrent location, first
create the location in Windows
®
. Next, enter the new file location.