Accessing the analyzer’s functions, Setting up the analyzer – Fluke Biomedical ESA620 User Manual
Page 26
ESA620
Users Manual
12
During the self-test, the Analyzer checks its ac mains
input for proper polarity, ground integrity and voltage
level. The high voltage indicator illuminates briefly during
the self test. If the polarity is reversed, the Analyzer
indicates this condition and allows the polarity to be
reversed internally. If the ground is open, the Analyzer
displays this fault. If the mains voltage is too high or too
low, the Analyzer displays this fault and does not continue
until the supply voltage is corrected and the ESA620
power cycled off and then on again.
Accessing the Analyzer’s Functions
For each test and setup function, the Analyzer uses a
series of menus to access various Analyzer test and
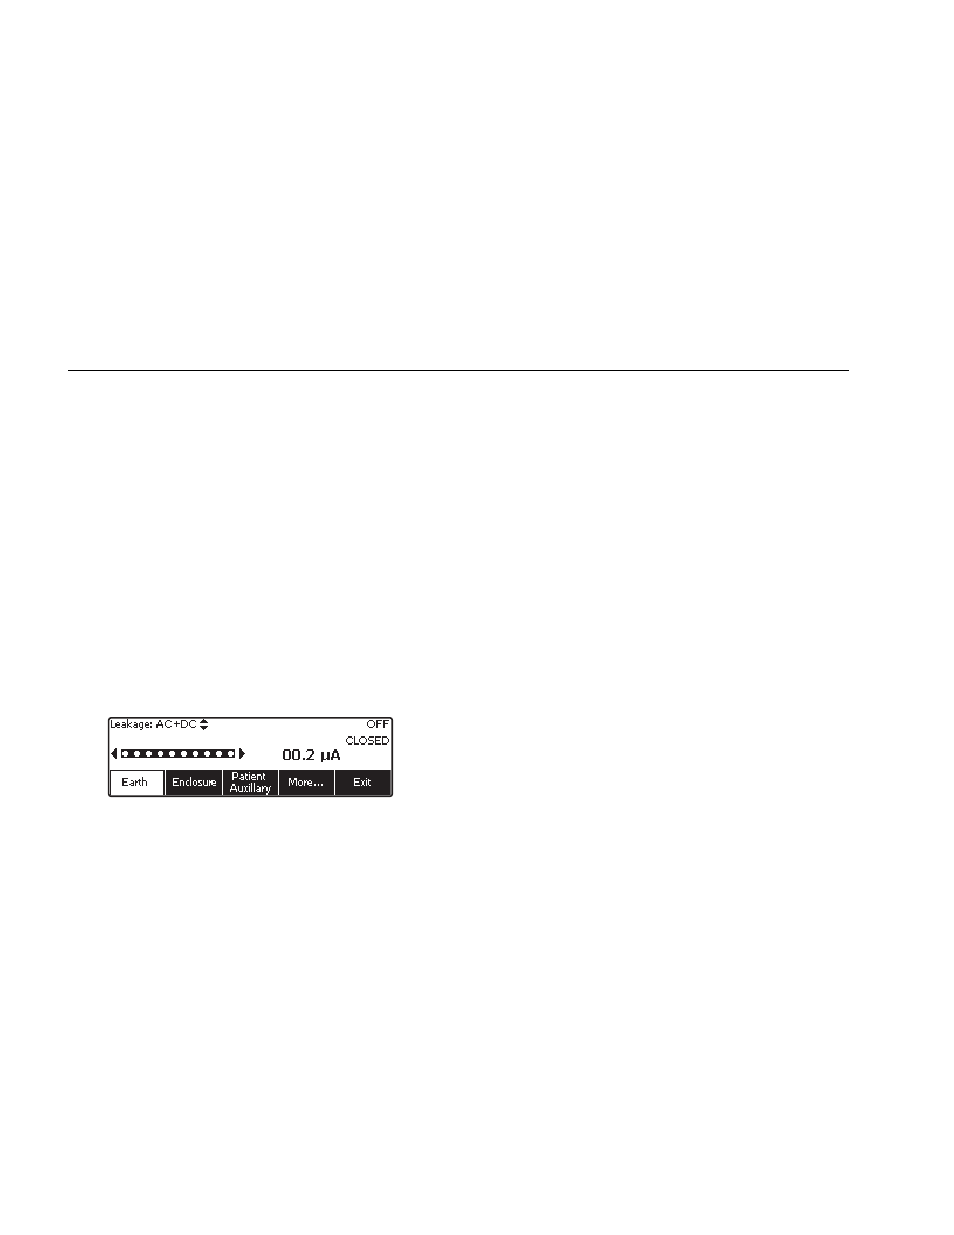
setup variables. As shown in Figure 5, the Analyzer
indicates various leakage current tests along the bottom
of the display. An Exit selection is also indicated as a way
of backing out of the leakage current tests. Pressing a
softkey (F1 through F5) under a specific test will cause
the analyzer to setup for or perform the selected test.
faw04.eps
Figure 5. Leakage Current Menu
In addition to the function softkeys, the Analyzer test
functions may require using the navigation buttons to
select parameters as well. In the example above, the
leakage selection has next to it. This icon indicates the
selection is controlled by pressing or . In this
example, the leakage current measurement is switched
between AC+DC, AC only, or DC only. The applied parts
indicator has on the left end and on the right end.
These icons indicate the use of and to select an
applied part.
The three buttons along the right side of the display
() control the wiring of the Analyzer’s
test receptacle for some electrical tests. The present state
of these three buttons is displayed along the right edge of
the display whenever these controls are active.
Setting Up the Analyzer
There are a number of Analyzer parameters that are
adjusted through a setup function. To access the Setup
menu shown in Figure 6, press .