Start-up - blower s - 1 – Greenheck DG / DGX Industrial Space Heating (464044 IOM) (Pre-2009) User Manual
Page 9
Start-Up - Blower
S - 1
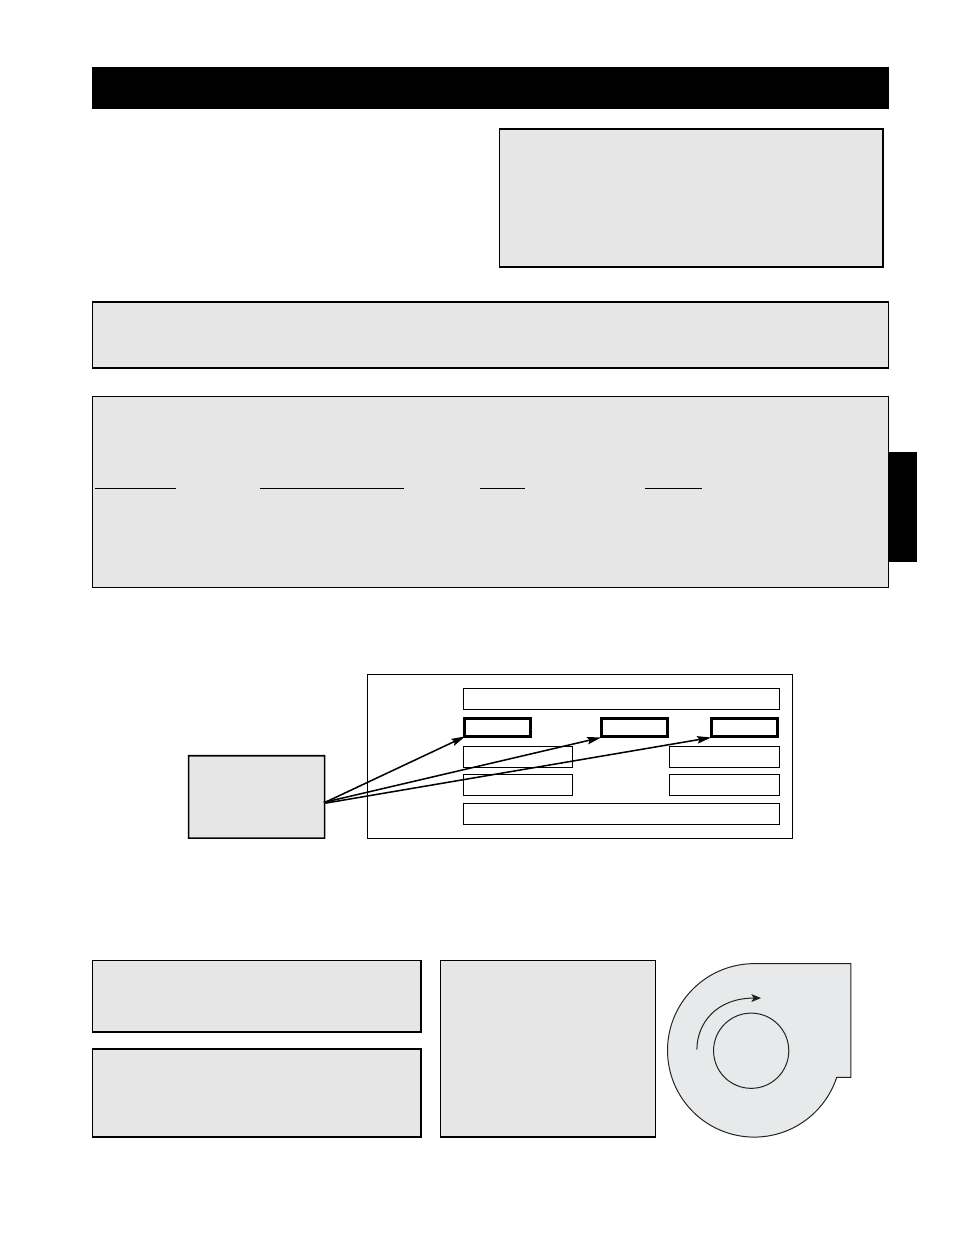
MODEL
VOLTS
SUP HP
MARK
AMPS
Hz
PH
S/N
EXH HP
Voltage, Hertz,
and Phase
Step 1 Check the Voltage
Before starting the unit, compare the supplied voltage, hertz, and phase with the unit and motor’s nameplate
information. See figure #14.
Step 2 Check the Blower Rotation
Open the blower access door and run the blower momentarily to determine the rotation. Arrows are placed on
the blower scroll to indicate the proper direction or reference figure #15.
IMPORTANT!
If the blower is rotating in
the wrong direction, the
unit will move some air,
but will not perform as
designed. Be sure to
perform a visual inspection
to guarantee the correct
blower rotation.
Blower
Rotation
Housing
SPECIAL EQUIPMENT REQUIRED
Below is a list of special tools that are required. A recommended model is shown, but equivalent
products may be used.
Description
Manufacturer-Model
Phone
Website
Voltage Meter
Fluke-23
1-800-44-FLUKE
www.fluke.com
Amperage Meter
Fluke-23
1-800-44-FLUKE
www.fluke.com
Thermometer
Fluke-50
1-800-44-FLUKE
www.fluke.com
U-Tube manometer
Dwyer-Slack Tube
1-219-897-8000
www.dwyer-inst.com
Tachometer
Monarch-Pocket Tach 100
1-800-999-3390
www.monarchinstruments.com
WARNING!
Disconnect and lock-out all power and gas
before performing any maintenance or service to
the unit. Failure to due so could result in serious
injury or death and damage to equipment.
WARNING!
Check the housing, blower, weatherhood, filter section and ductwork for foreign objects and debris
before the blower is run.
Pre Start-Up Check
Rotate the fan wheel by hand and make sure no parts
are rubbing. Check the V-belt drive for proper
alignment and tension (a guide for proper belt tension
and alignment is provided in the belt maintenance
section). Check fasteners, set screws and locking
collars on the fan, bearings, drive, motor base and
accessories for tightness. Remove any shipping
fasteners from the blower’s vibration isolators.
NOTE!
To reverse the rotation on three phase
units, disconnect and lock-out the power,
then interchange any two power leads.
NOTE!
To reverse the rotation on single phase
units, disconnect and lock-out the power,
then rewire the motor per the
manufacturer’s instructions.
Figure 14.
Electrical Nameplate
Figure 15.
Blower Rotation