Disassemble the robotic torch – Hypertherm Duramax Hyamp Robotic Torch User Manual
Page 23
Duramax/Duramax Hyamp Robotic Torches Service Manual 807460
23
2 – Torch Setup
If the through-arm cavity is large enough for the disassembled FastConnect plug (see
Figure 3 for dimensions), complete
the following instructions.
1. Remove the mounting screws from the bottom shell and pull the 2 shells apart.
The red disconnect button and tab on top of the FastConnect plug are spring loaded and
self-adjust below the surface of the plug while being routed through the through-arm
cavity.
2. Cover the end of the FastConnect plug with tape to keep dirt and other contaminants from getting into the gas line.
3. Route the torch lead through the through-arm cavity.
4. Install the 2 shells by aligning them over the torch lead, making sure the strain relief is held in place by the slot in the
FastConnect shells.
5. Tighten the mounting screws.
6. Mount the torch to the robot arm per the instructions in Mount the torch on page 30.
Disassemble the robotic torch
If the through-arm cavity is not large enough to accept the FastConnect plug at all (see
Figure 3 for dimensions),
complete the following instructions to disassemble, install, and reassemble the torch.
The instructions to disassemble and reassemble all 3 models of robotic torches are the same. The 45° robotic torch
is shown in the figures that follow.
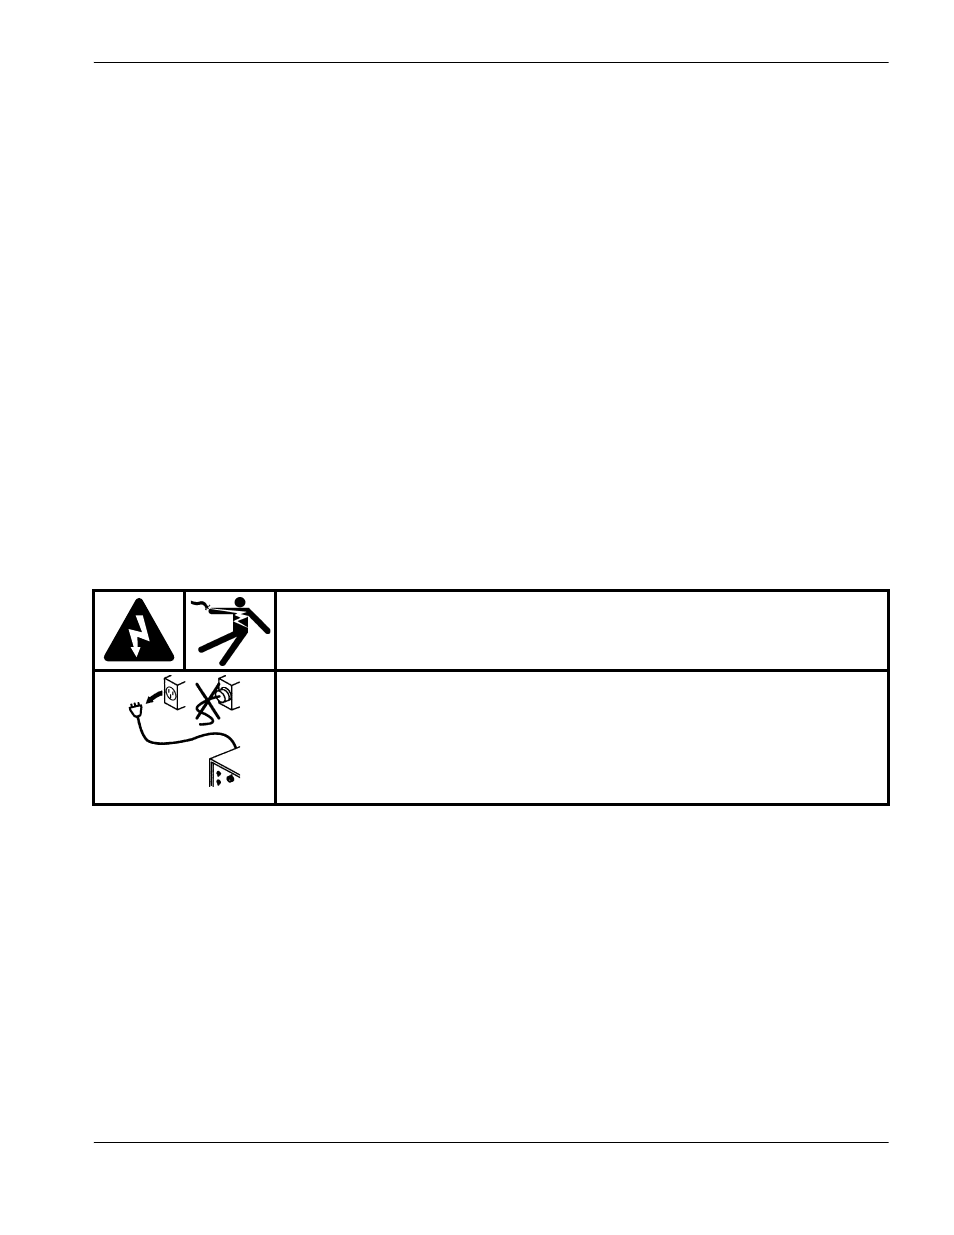
WARNING!
ELECTRIC SHOCK CAN KILL
Disconnect electrical power before performing any maintenance.
The maintenance procedures in this section must be performed by a qualified
technician.
See the Safety and Compliance Manual (80669C) for more safety
precautions.