Assembly instructions – Kreg KFT4X8 Face-Framing Table User Manual
Page 6
R
Assembly Instructions
5.
Step 7
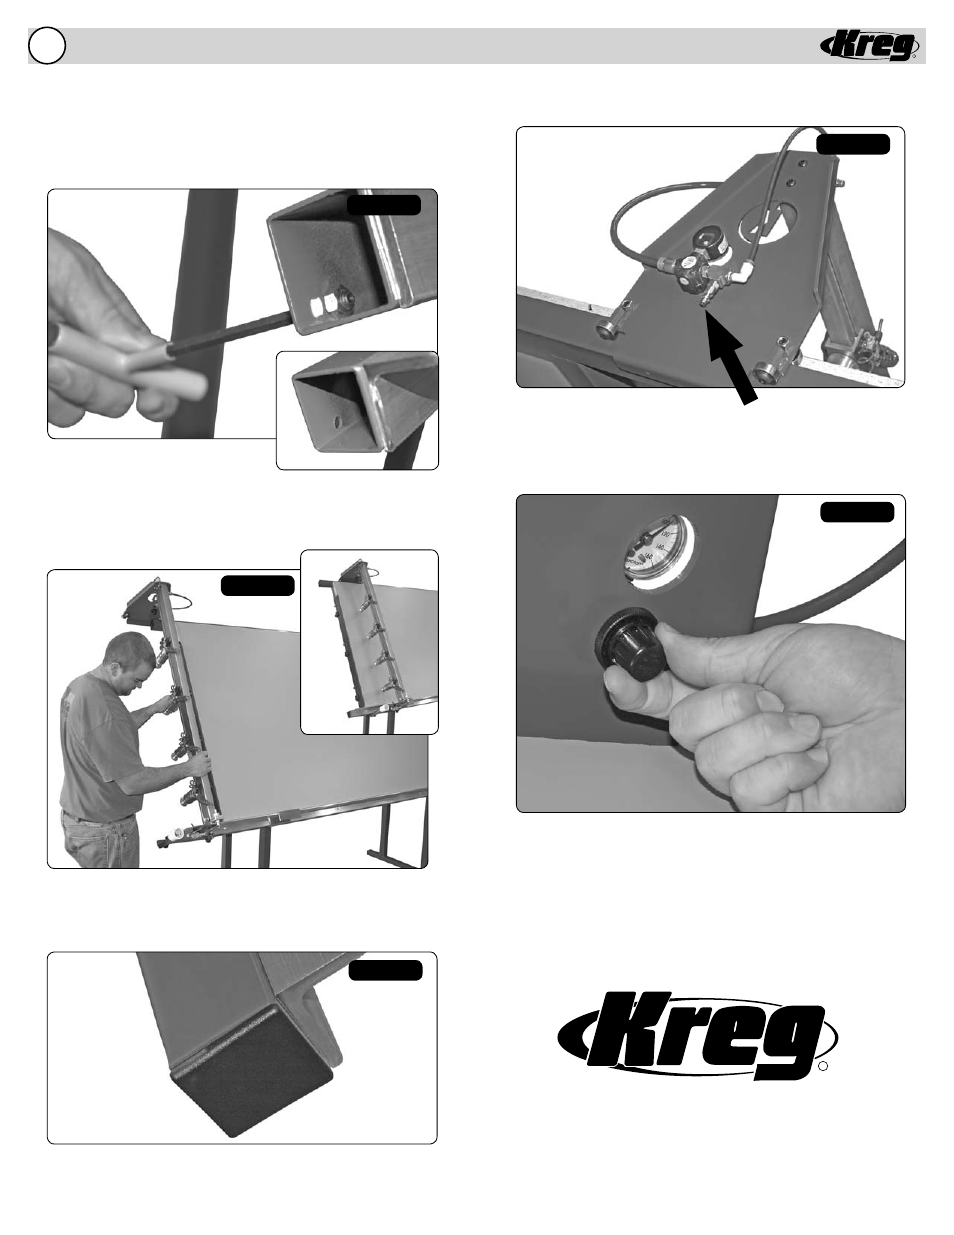
Remove the socket head stop bolt from the table frame. See
fi gures 5 below.
Step 8
Slide the clamping arm onto both the top and bottom frames
so that it rolls freely. See fi gures 6 below.
Remove socket head bolt.
Step 10
Connect to your shop’s air supply at 3/8” fi tting located on top
of clamping arm. See fi gure 8 above.
Step 11
Air pressure regulator on top of clamping arm controls pres-
sure to optional screw gun. See fi gure 9 above.
Step 9
Replace stop bolt, tighten and reattach the plastic cap in position.
Replace socket head bolt and end cap.
If you have additional questions on the set-up, operation or
maintenance of your clamping table please call 800-447-8638
or email us at [email protected].
R
Figure 5
Figure 8
Figure 7
Figure 6
Figure 9