Warning, Tips, Rout into edge of workbench – Kreg KKS1020 Klamp Trak User Manual
Page 2
Warning
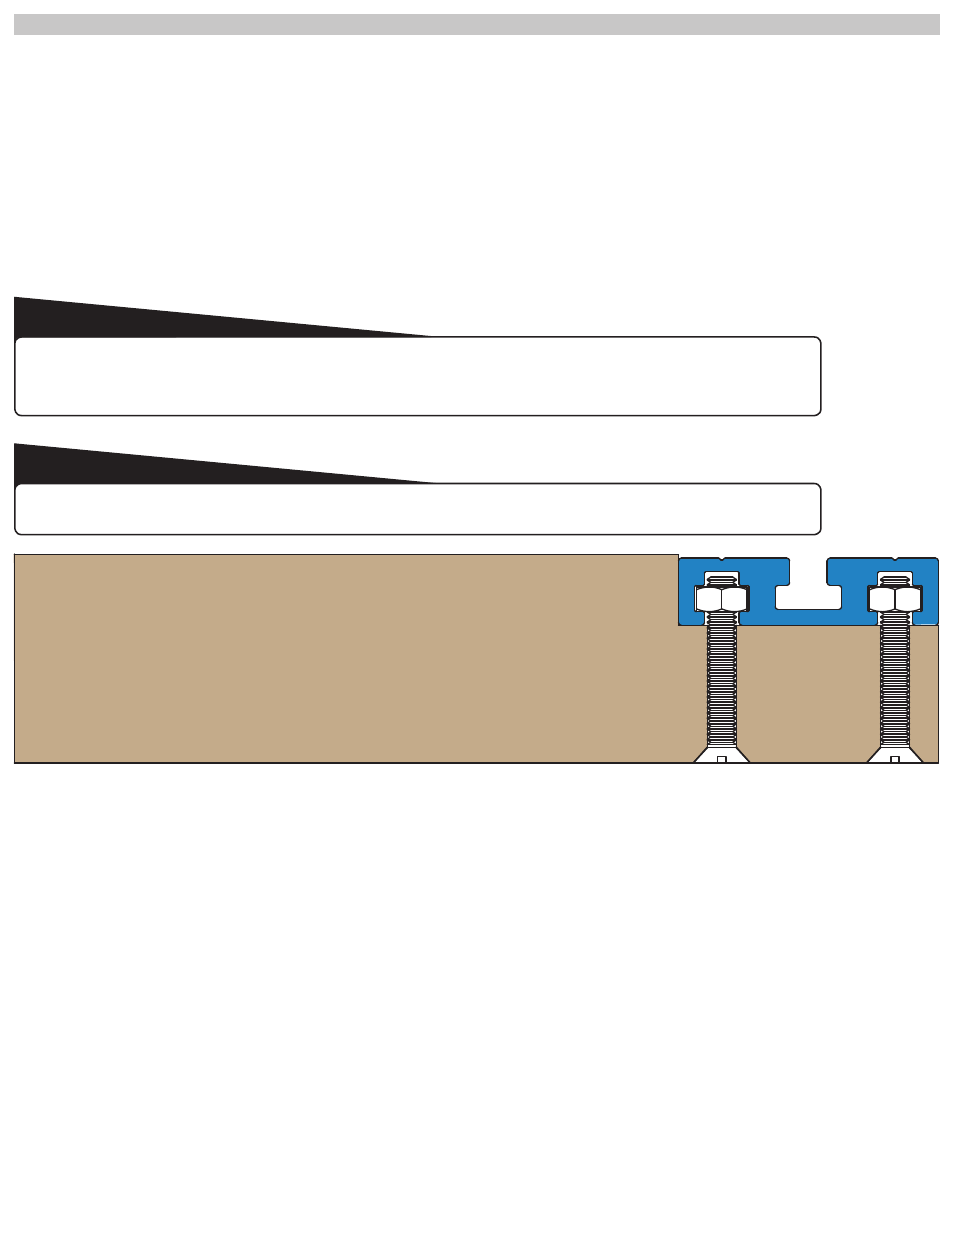
WARNING: Do not rout this Trak into material less than 1.5” deep. Doing so could result in bolts being pulled
through the surface or related damage to your work surface.
Tips
TIP: When routing, remember that your goal is for the trak to sit flush with, or slightly below the work surface. You may need to lower
your bit depth slightly, to assure the Trak does not rest above your work surface.
TIP: Follow your router’s instructions carefully.
• Rout into edge of workbench.
Good for adding fast-clamping capabilities to the edge of your current workbench.
1. Place the trak above the spot on the bench where you would like it to position it. Trace around the trak with a pencil.
2. Place your router on top of the Klamp Trak™ and drop the flat-tip bit to the table’s surface. This will make your routing depth
equal to the height of the trak.
3. Working from the outermost edge of your workbench, use the pencil marks as a guide as you rout in towards the center of the
workbench. Working from the outside in will allow you to maintain a solid base under your router.
4. After you are done routing, remove any remnant material from the corners with a hammer and chisel.
5. Test the dimensions of your routing by placing the trak inside of the opening and checking to see that it rests flush with, or below
the surface of your workbench. Make adjustments as necessary.
Page 1
Klamp Trak
TM
Instructions