Other functions, Firmware update, Inputting characters – Marantz NA7004 User Manual
Page 33
27
ENGLISH
Getting Started
Connections
Basic Operations
Advanced Operations
Advanced Operations
Troubleshooting
Explanation terms
Information
Specifi
cations
Index
Firmware update
• In order to use these functions, you must have the correct system
requirements and settings for a broadband Internet connection
(vpage 6).
• Perform the Firmware update after more than 2 minutes since the
power is turned on.
1
Press
[MENU]
.
Turns on the Menu settings mode and the Menu appears on
the display. (vpage 22 “Menu map”)
2
Use
ui
to select “Other”-“Firmware Update”,
then press
[ENTER/MEMO]
,
<ENTER>
or
p
.
[Selectable items]
Check for Update : Check for fi rmware updates. You can also check
approximately how long it will take to complete
an update.
Start
: Execute the update process.
• If updating fails, the set automatically retries, but if updating is still
not possible, one of the messages shown below is displayed. If
the display reads as shown below, check the settings and network
environment, then update again.
Display
Description
Updating fail
Updating failed.
Login failed
Failure to log into server.
Server is busy
Server is busy. Wait a while then try again.
Connection fail
Failure in connecting to server.
Download fail
Downloading of the fi rmware has failed.
[Notes concerning use of “Firmware Update”]
• Do not turn off the power until updating is completed.
• Even with a broadband connection to the Internet, approximately
20 minutes is required for the updating procedure to be completed.
• Once updating starts, normal operations on this unit cannot be
performed until updating is completed.
• Furthermore, updating the fi rmware may reset the backup data for
the parameters, etc. set for this unit.
• If the update fails, remove and re-insert the power cord. “Update
retry” appears on the display and update restarts from the point at
which update failed. If the error continues despite this, check the
network environment.
Setting the others [Other]
Other functions
Inputting characters
You can change the names as desired using the “Preset Name”
(vpage 12), “Napster Account” (vpage 18), “Last.fm account”
(vpage 17) and character input for the network functions.
For inputting characters, there are two methods, as shown below.
Method
Operations
Using the number
buttons
• Operating with the remote control unit.
•
Multiple characters are assigned to
a button, and each time the button is
pressed, a character is switched.
Using the cursor
buttons
• Operating with the remote control unit
or the main unit.
• Use
uio
p
and
[ENTER/MEMO]
or
<ENTER>
to input characters.
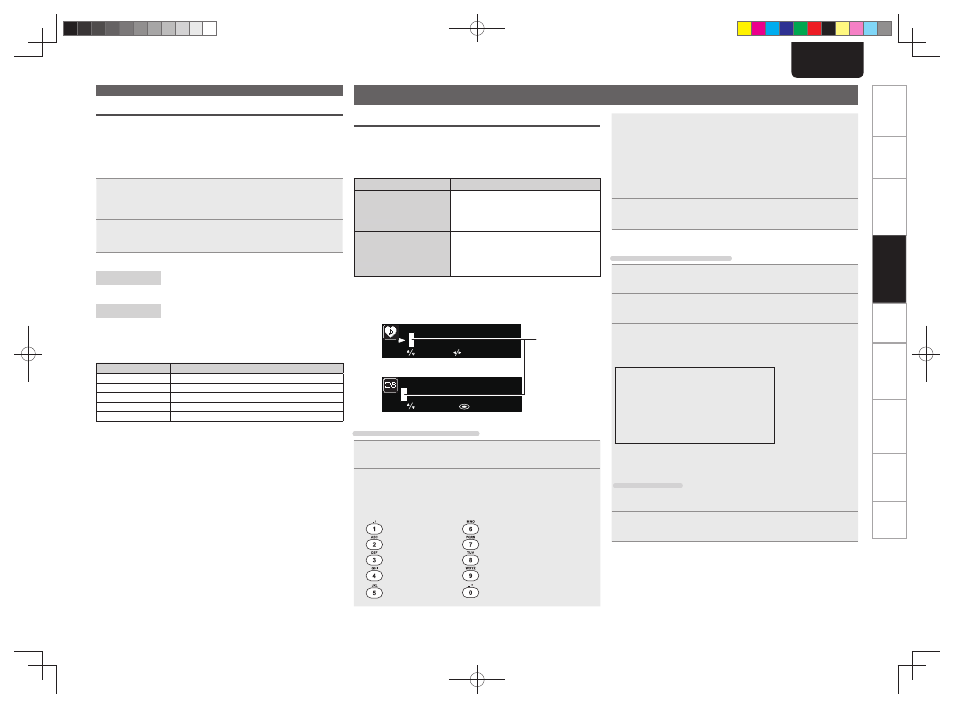
n Display of an input screen
select
move
P03
[Username]
select
: enter
GPreset nameH
GAccount inputH
Cursor
Using the number buttons
1
Display the screen for inputting characters.
2
Place the cursor at the character to be changed with
o
p
and press
[NUMBER]
(
0
–
9
) until the desired
character is displayed.
• The types of characters that can be input are as shown below.
1 . @ - _ / : ~
m n o M N O 6
a b c A B C 2
p q r s P Q R S 7
d e f D E F 3
t u v T U V 8
g h i G H I 4
w x y z W X Y Z 9
j k l J K L 5
0 (Space) ! “ # $ % & ‘ ( ) z + ,
; < = > ? [ \ ] ^ ` { | }
• The input character type can be switched by pressing
[MODE]
while
the display name is being changed.
•
For entering the characters assigned to one number button
continuously, press
p
to move the cursor to the right after entering
a character then enter the next character.
• For entering characters assigned to separate buttons, press the
number button continuously. The cursor automatically moves to
the next position, and the entered character is registered.
3
Repeat step 2 to change the name then press
[ENTER/
MEMO]
or
<ENTER>
to register it.
Using the cursor buttons
1
Display the screen for inputting characters.
2
Use o p to set the cursor to the character you want
to change.
3
Use ui to change the character.
• The types of characters that can be input are as shown below.
G
Upper case charactersH
ABCDEFGHIJKLMNOPQRSTUVWXYZ
GLower case charactersH
abcdefghijklmnopqrstuvwxyz
GSymbolsH
! “ # $ % & ‘ ( ) z + , - . / : ; <
= > ? @ [ \ ] ^ _ ` { | } ~
GNumbersH 0123456789 (Space)
• The input character type can be switched by pressing
[MODE]
while
the display name is being changed.
Other buttons
• Press
8
or
[CLEAR]
to delete the character.
• Press
9
to insert a space.
4
Repeat steps 2 and 3 to change the name then press
[ENTER/MEMO]
or
<ENTER>
to register it.
1.NA7004N_ENG_0826.indd 27
1.NA7004N_ENG_0826.indd 27
2010/08/26 19:16:18
2010/08/26 19:16:18