Tightness check, Condensation connection, Electrical connection – REMKO RM Series User Manual
Page 21
All electrical installation
work should be performed by
specialist contractors. Isolate the
voltage supply when connecting
the electrical terminals.
CAUTION
Tightness check
Once all the connections have
been established, the pressure
gauge station is attached as
follows to the Schrader valve (if
fitted):
red = small valve
= injection pressure
blue = large valve
= suction pressure
Once connected, perform a
tightness test using dried nitrogen.
The tightness test involves
spraying a leak detection spray
onto the connections. If bubbles
are visible, the connections have
not been properly made. Re-
tighten the connection or prepare
a new flange.
If the tightness test is successfully
completed, depressurise the
refrigerant pipes and start a
vacuum pump with an absolute
final partial pressure of min. 10
mbar to remove the air in the pipe.
Any humdity present in the pipes is
also removed.
A vacuum of
min. 0.05 mbar abs. must be
created!
CAUTION
The time required to generate
the vacuum is dependent on
the pipework volume of the
indoor unit and the length of the
refrigerant pipes. This always takes
at least 60 minutes.
Once any foreign gases and
humdity have been completely
extracted from the system, the
valves on the pressure gauge
station are closed and the valves
on the outdoor component are
opened as described in the chapter
on "Commissioning".
Condensation
connection
If the temperature falls below the
dew point, condensation will form
on the vaporiser during cooling.
The collection tray below the
vaporiser should be connected to
the drain.
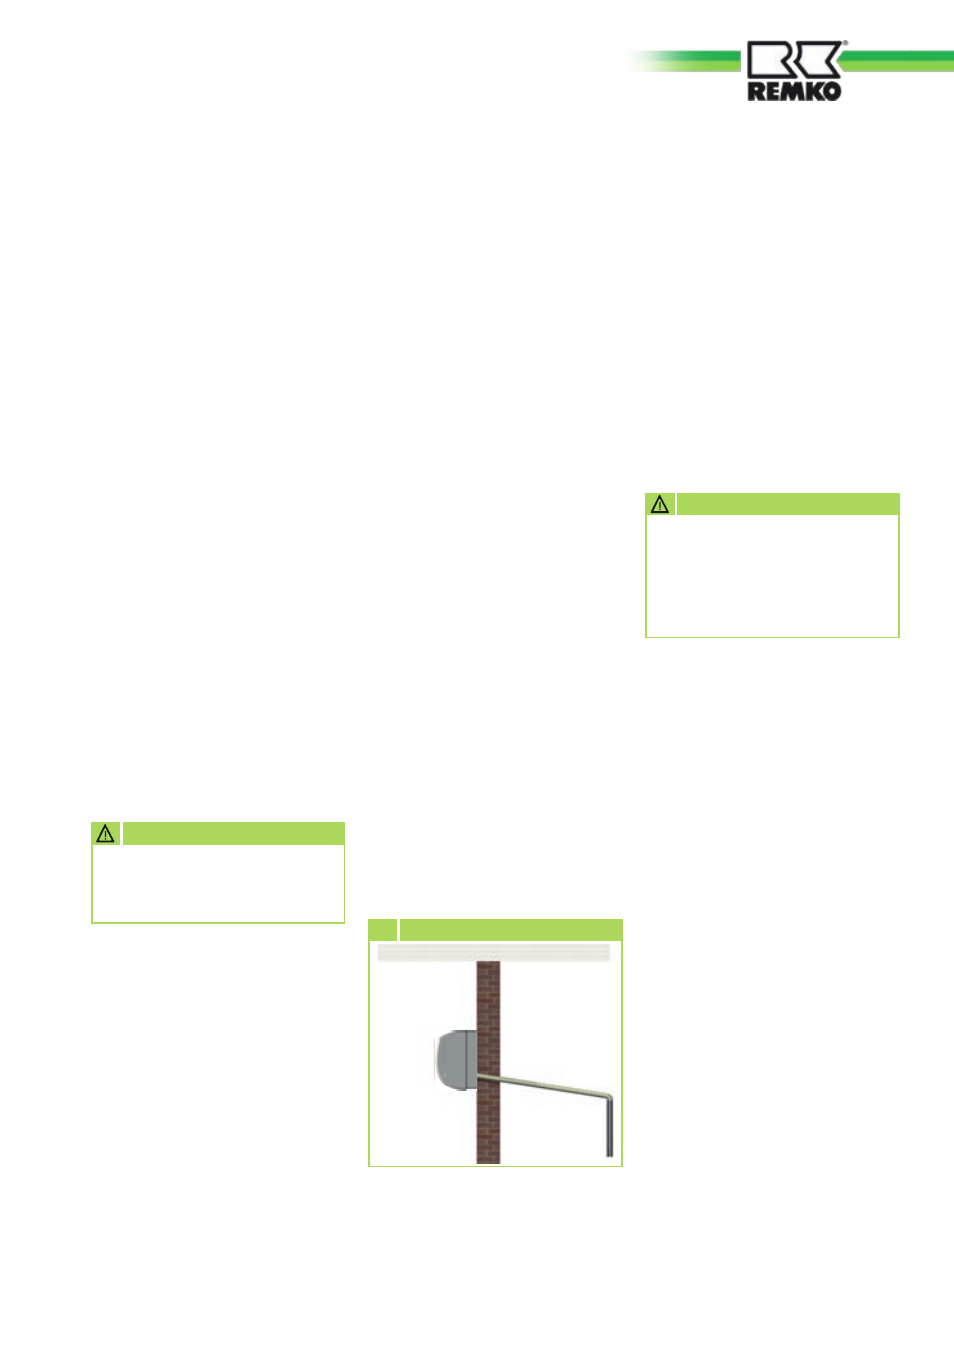
■
The condensation pipe should
have a fall of min. 2 % (Fig
11)
. This is the responsibility
of the customer. If necessary,
fit vapour diffusion tight
insulation.
■
The condensation pipe from
the unit should run freely
into the drainage pipe. If the
condensation runs directly
into a sewer pipe, fit a trap to
prevent any unpleasant odours.
■
When operating the unit at
outdoor temperatures below
0 °C, ensure the condensation
pipe is laid to protect it
against frost. If necessary, fit
supplementary pipe heating.
■
Once the pipe has been laid,
check the condensation drains
off and permanently seal it.
Electrical connection
11
Fall on condensation pipe
at least
2% fall
The standard condensation hose is
for connection to the left side (as
viewed from the front).
Units RM 226 to RM 335 require a
single mains supply feed, whereas
units RM 426 to RM 435 require
two mains supply feeds to the
outdoor unit and a four-wire
control cable between the outdoor
component and indoor unit.
We recommend the use of
screened control cables with a
cross-section of at least 1.5 mm².
■
We recommend that customers
install a main/repair switch
in the vicinity of the outdoor
component.
■
If an optional condensation
pump is used in conjunction
with the unit, it may be
necessary to install an
additional relay with a higher
contact rating after the switch-
off contact on the pump to
switch off the compressor.
■
Control cables should be
screened if laid in areas exposed
to strong magnetic fields.
■
Details concerning the electrical
protection of the system are
given in the section on technical
data.
21