Apple pay, 30 apple pay – Apple MacBook Pro (15-inch, 2016) User Manual
Page 30
Chapter 2
Get started
30
Apple Pay
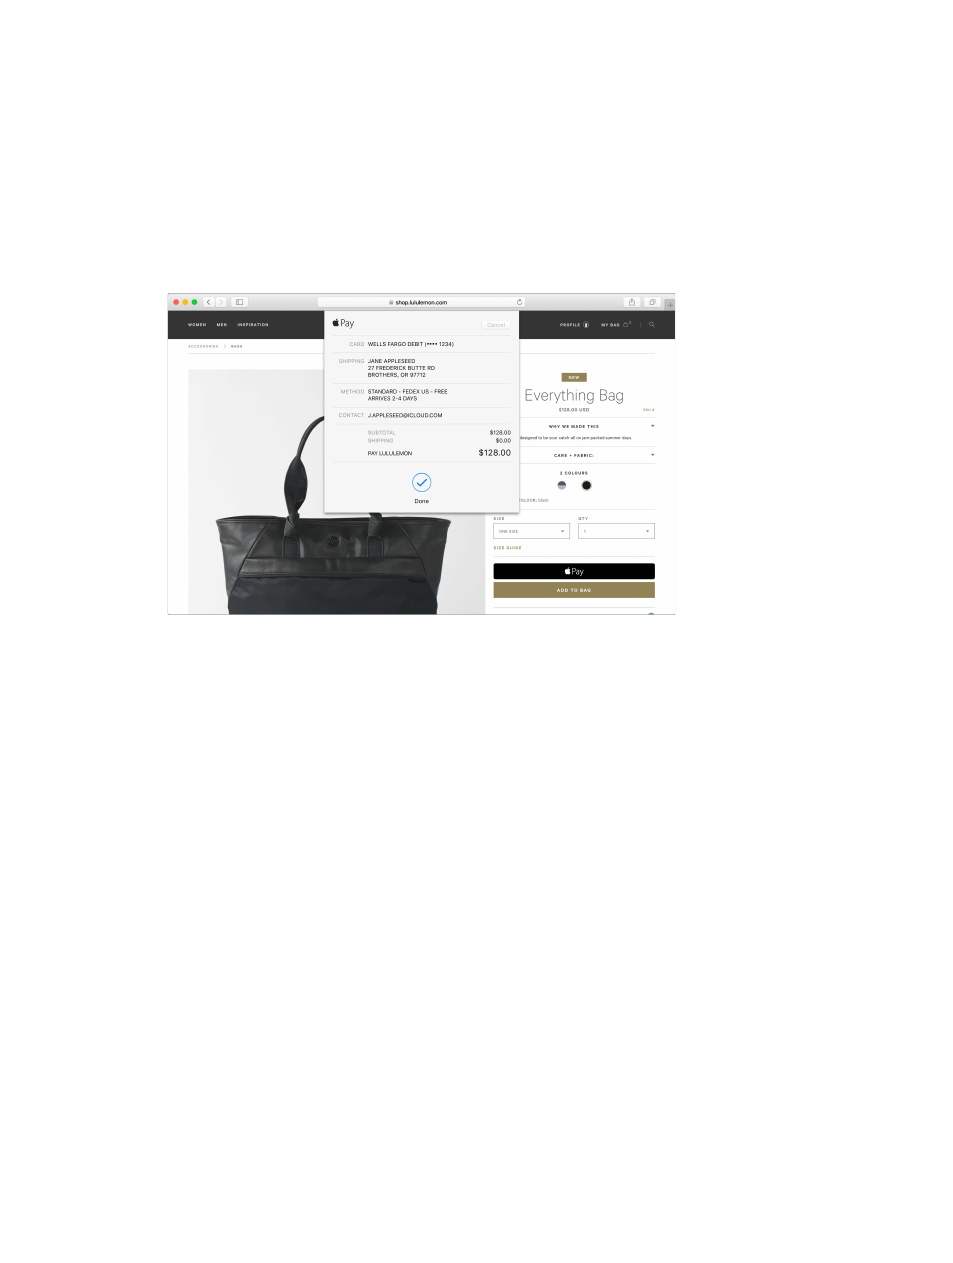
You can make easy, secure, and private purchases on websites using Apple Pay on your
MacBook Pro. With Apple Pay, your credit or debit card information is never stored by Apple or
shared with the merchant. When you shop online using Safari, look for an Apple Pay button.
Confirm payment using your iPhone or Apple Watch. If your MacBook Pro has the Touch Bar and
you are the first user to go through setup, place your finger lightly on the Touch ID sensor to
authenticate and complete your purchase.
Note: For information about Apple Pay, go t
. For information about
current card issuers, see the Apple Support article
Set up Apple Pay. Apple Pay uses the credit or debit cards you’ve already set up on your iPhone
or Apple Watch, so no extra setup is required. You must be signed in to an iPhone or Apple
Watch that has Apple Pay set up with the same Apple ID you’re using on your MacBook Pro. The
default payment card, shipping, and contact information that is set on your iPhone or Apple
Watch is used for purchases on your MacBook Pro.
If your MacBook Pro has the Touch Bar, you’re prompted to configure Apple Pay during setup.
If you don’t choose to set up Apple Pay when you first start up, you can set it up later in the
Wallet & Apple Pay pane of System Preferences. Manage your payment cards there—add or
delete cards and make updates to contact information.
Make a purchase. Click the Apple Pay button on the website, then to confirm the payment, use
Touch ID or the passcode on your iPhone, or double-click the side button on your unlocked
Apple Watch. If your MacBook Pro has the Touch Bar, you can confirm the merchant name and
purchase amount on the Touch Bar. Then place your finger lightly on the Touch ID sensor to
authenticate and complete your purchase.
For more information about Apple Pay, see the Apple Support articles
,
,
74% resize factor