Starting and stopping recording – Teac DR-10C User Manual
Page 14
14
TASCAM DR-10C
Whether the power is on or off, when connected, the
POWER/STORAGE
screen appears to allow selection
of bus power supply or USB connection with the
computer.
Use the . [j] and / [k] buttons to select
(highlight) the
POWER
or
STORAGE
item at the
bottom of the display, and press the 7’9 [ENTER]
button.
•
If
POWER
is selected, power will be supplied from
the USB port and the Home Screen will open.
•
If
STORAGE
is selected,
USB connected
will
appear on the display after the unit connects to
the computer without any problems.
The unit will be shown on the computer as a USB
device named “DR-10”.
Double-click the “DR-10” drive to open it and
show a list of the recording files, so you can
retrieve the desired files.
Starting and stopping
recording
You can use a single operation to start recording
with this unit even when it is off.
8
One touch recording
When the unit is off, slide and hold the
¤?o—0
REC switch toward 0REC for
about one second until the
TASCAM DR-10
startup message appears and recording starts.
8
Ordinary recording
To start recording when the unit is on, slide the
¤?o—0
REC switch toward 0REC for
about one second.
8
Stopping recording
Slide the switch toward 0REC during recording
for about one second to stop recording.
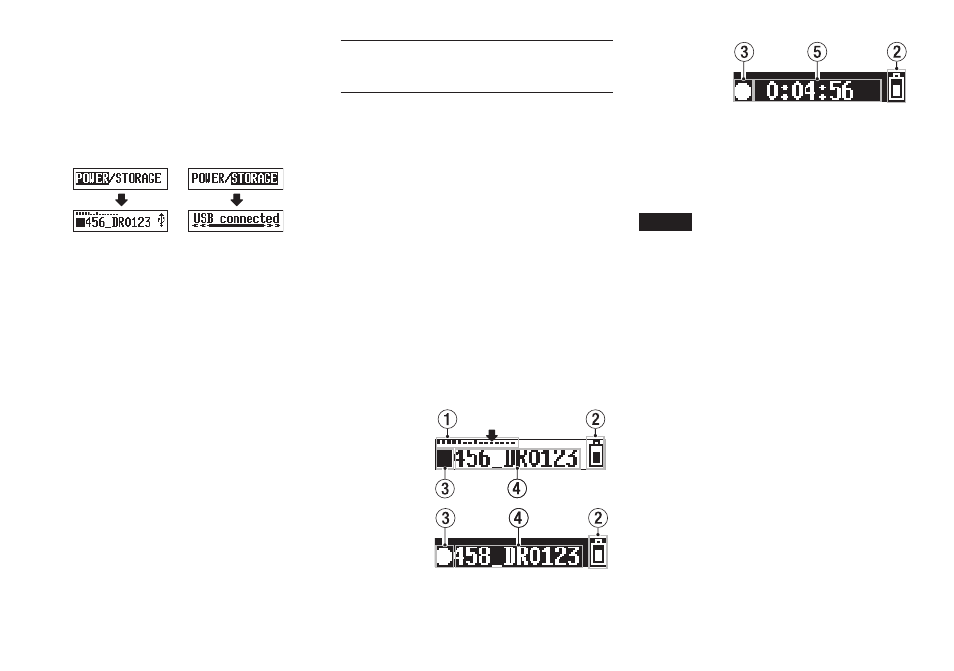
The following information appears on the display
when stopped, when recording starts and during
recording.
Stopped
−12dB
When recording
starts
Recording
1
Level meter
2
Remaining battery charge
3
Recorder operation status
4
File name
5
Elapsed recording time
NOTE
• The one-second delay is intended to prevent
accidental operation.
• Without pausing recording, a new file can be
created automatically during recording when
the file size reaches 2 GB. (Track incrementing)
• Set the mic input sensitivity with the
MIC GAIN
item on the Menu Screen so that that activity
of the level meters reaches the arrow (at −12
dB) in the illustration. (See “Menu structure” on
page 18.)