Normalize audio – Grass Valley EDIUS v.5.1 User Manual
Page 649
EDIUS — User Reference Guide
649
Normalize Audio
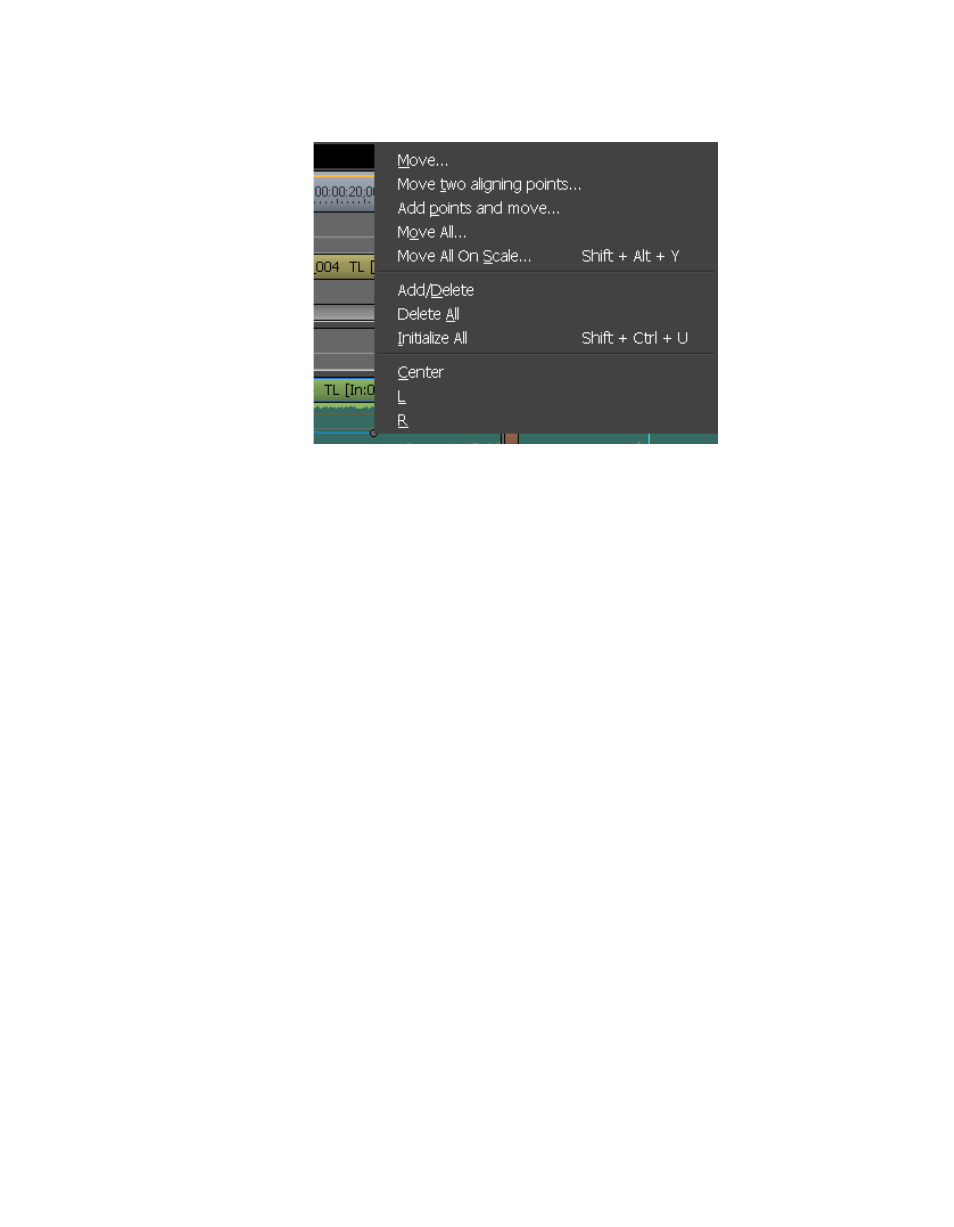
Figure 794. Volume/Pan Right-Click Menu
4.
Select the desired action from the menu.
•
Add/Delete - Delete the selected rubber band point.
•
Delete All - Delete all points on the selected rubber band and ini-
tialize the rubber band to the default position.
•
Initialize All - Initialize all points on the selected rubber band to the
default position without deleting the points.
Normalize Audio
The normalize function simultaneously adjusts the audio level of one or
more clips to the level specified.
Audio normalization cannot be applied to the following clip types:
•
Timeline sequence clips
•
Clips created by time remap editing
•
Proxy clips
To normalize audio, do the following:
1.
Select one or more clips on the Timeline.
2.
Right click on one of the selected clips and select “Normalize” from the
menu as illustrated in
Note
The Normalize function is also accessed by selecting Clip>Normalize from the
Preview window menu bar.